
Cargo Plus Rear Rack installation (instructions/video)Updated 2 months ago
Cargo Plus Rear Rack Installation Guide
Follow the steps below to install the Cargo Plus Rear Rack on your Ariel Rider e-bike.
*Note: This guide applies to pre-2025 X-Class 52V and Grizzly models.
Hardware & Tools Needed
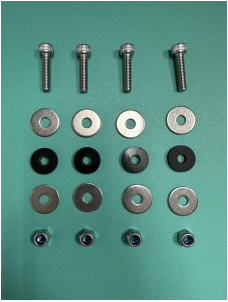
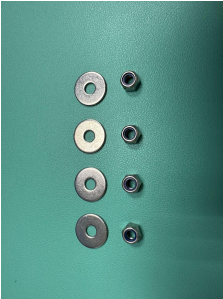
- 4 Bolts
- 8 Metal Washers
- 4 Rubber Washers
- 4 Nylock Nuts
- 4mm Hex Key
- 10mm Wrench
Step-by-Step Installation Instructions
- Hardware check:Verify that you have all required bolts, metal washers, rubber washers, and nylock nuts before starting.
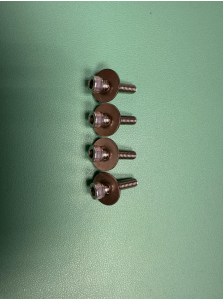
- Prep the bolts:Slide one metal washer onto each of the 4 included bolts.
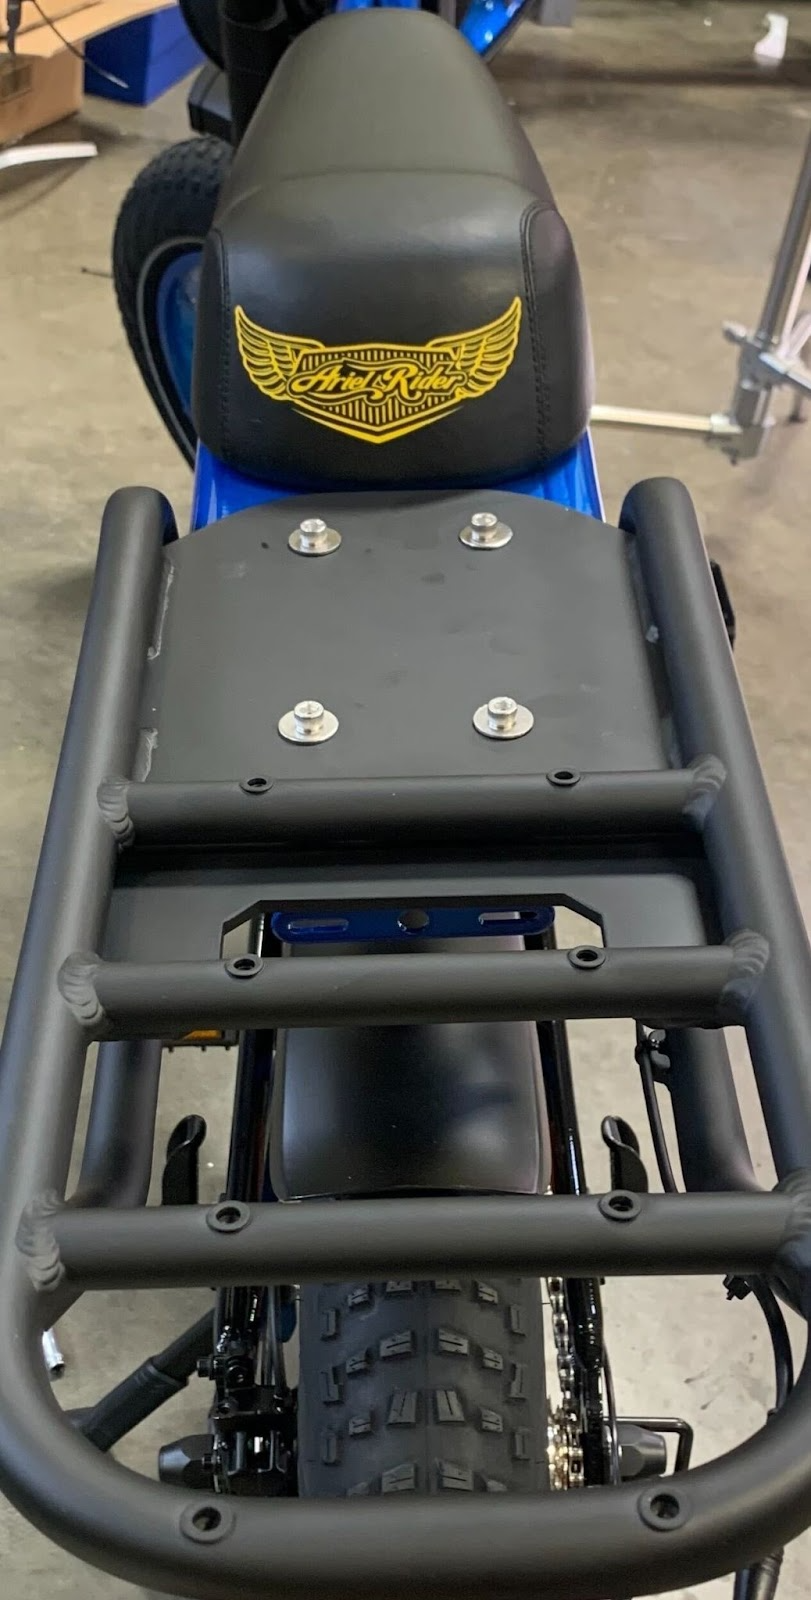
- Insert top bolts:Insert the 4 prepped bolts down through the top of the Cargo Rack mounting plate.
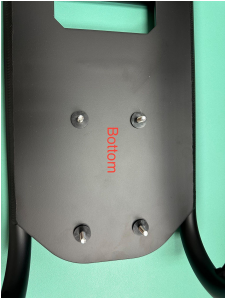
- Install rubber washers underneath:From the underside of the Cargo Rack plate, push the rubber washers onto the exposed bolt threads. These retain the bolts so they won't fall out during installation, while also dampening road vibrations and protecting your bike's paint.
- Mount rack to frame: Align the rack bolts with the 4 mounting holes on the frame located behind the seat. Tip: Having a second person hold the rack steady makes this step much easier.
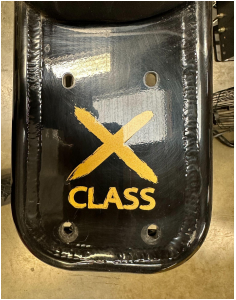
- Secure bottom hardware:Place the remaining 4 metal washers onto the exposed bolt ends under the frame, then thread on the 4 nylock nuts. Tighten securely using a 4mm hex key and a 10mm wrench.
Ride safe, and don't forget your helmet!
If you have any questions, please reach out to us through our contact form.