
Front Rack installation video & instructions || Ariel Rider Kepler 52VUpdated 2 months ago
Kepler Front Rack Installation Guide
Follow the steps below to safely install the front rack/basket on your Ariel Rider Kepler e-bike.
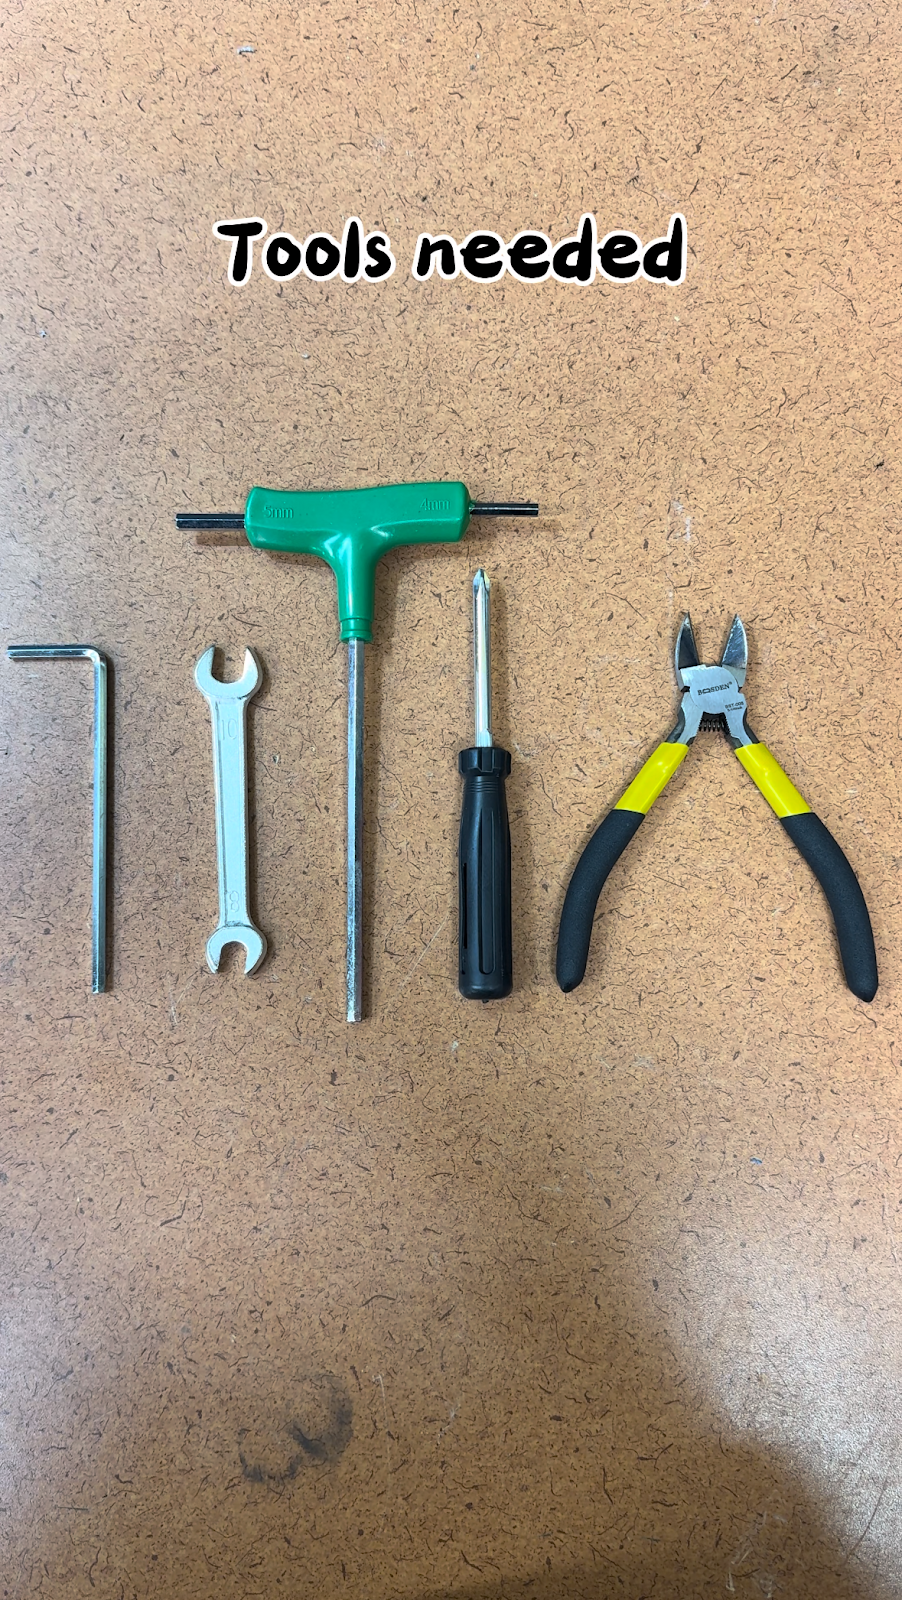
Required Tools
- 4mm Allen wrench
- 5mm Tri-wrench (or Allen wrench)
- 8mm / 10mm crescent wrench
- Phillips head screwdriver
- Wire snips / flush cutters
Step-by-Step Installation Instructions
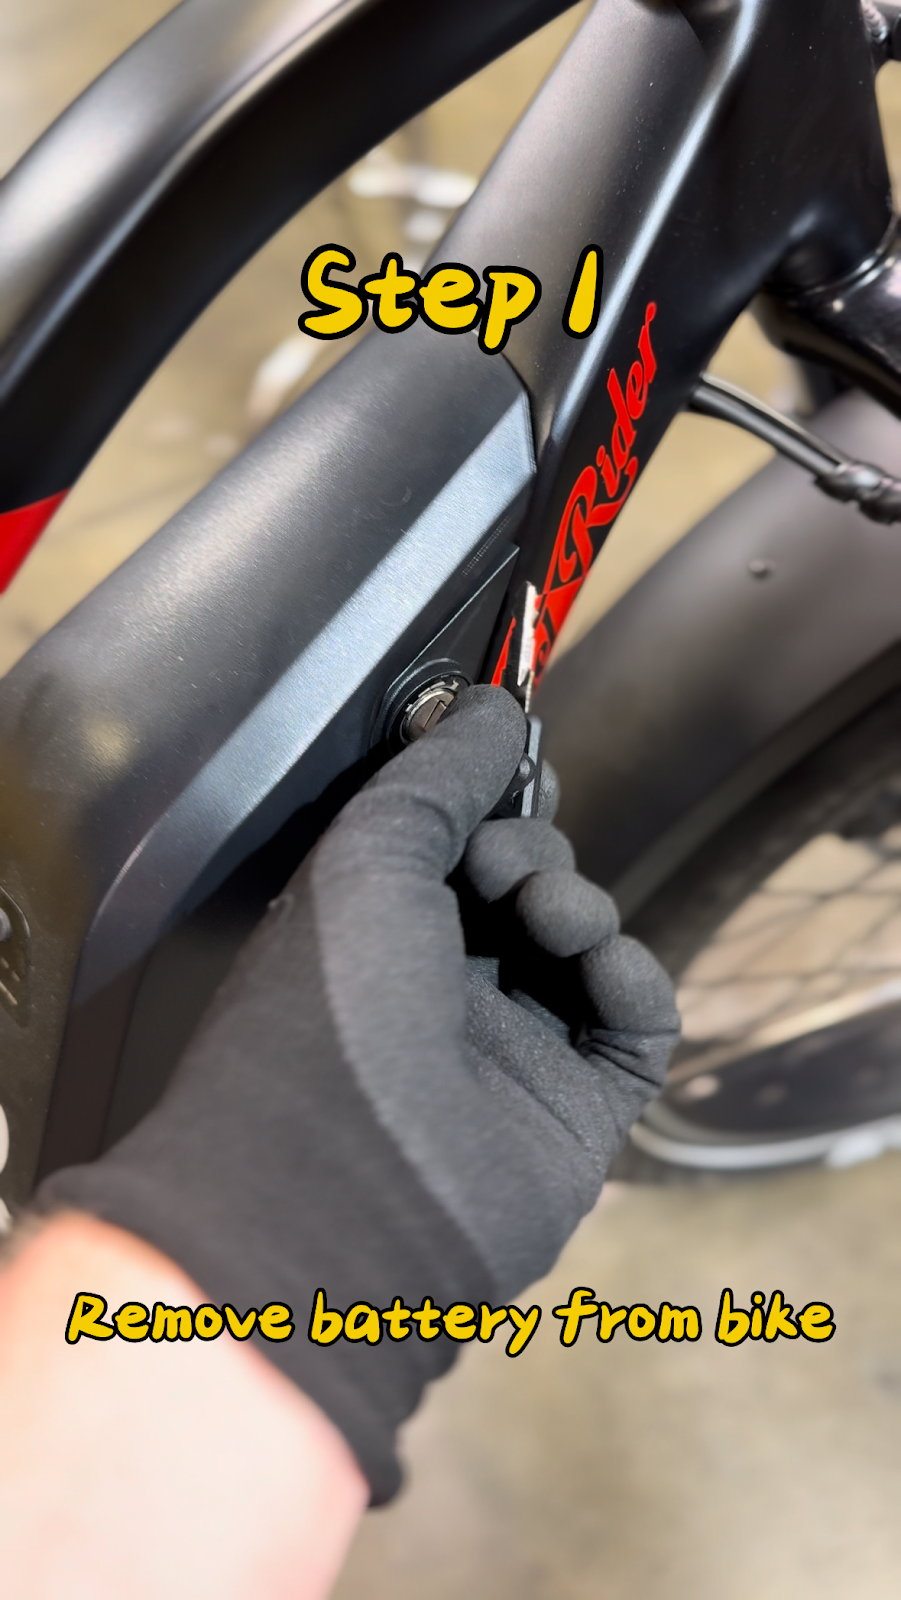
- Remove the battery:Use your key to unlock and remove the battery from the frame.
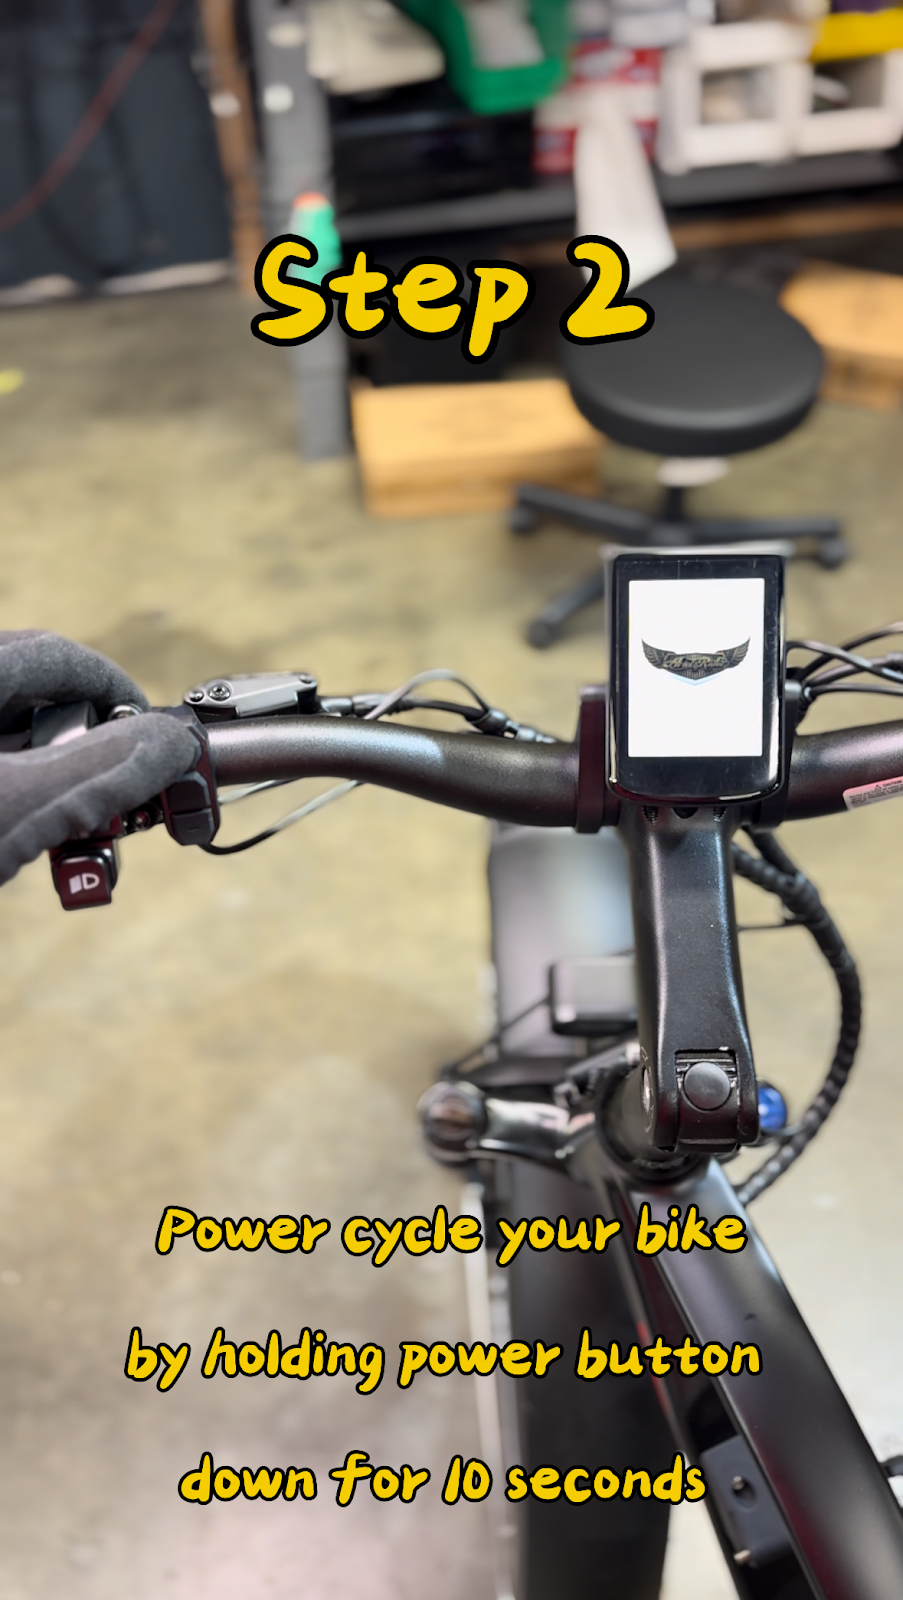
- Power cycle the bike:Press and hold the power button for 10 seconds until the Ariel Rider logo flashes and turns off completely to discharge residual power.
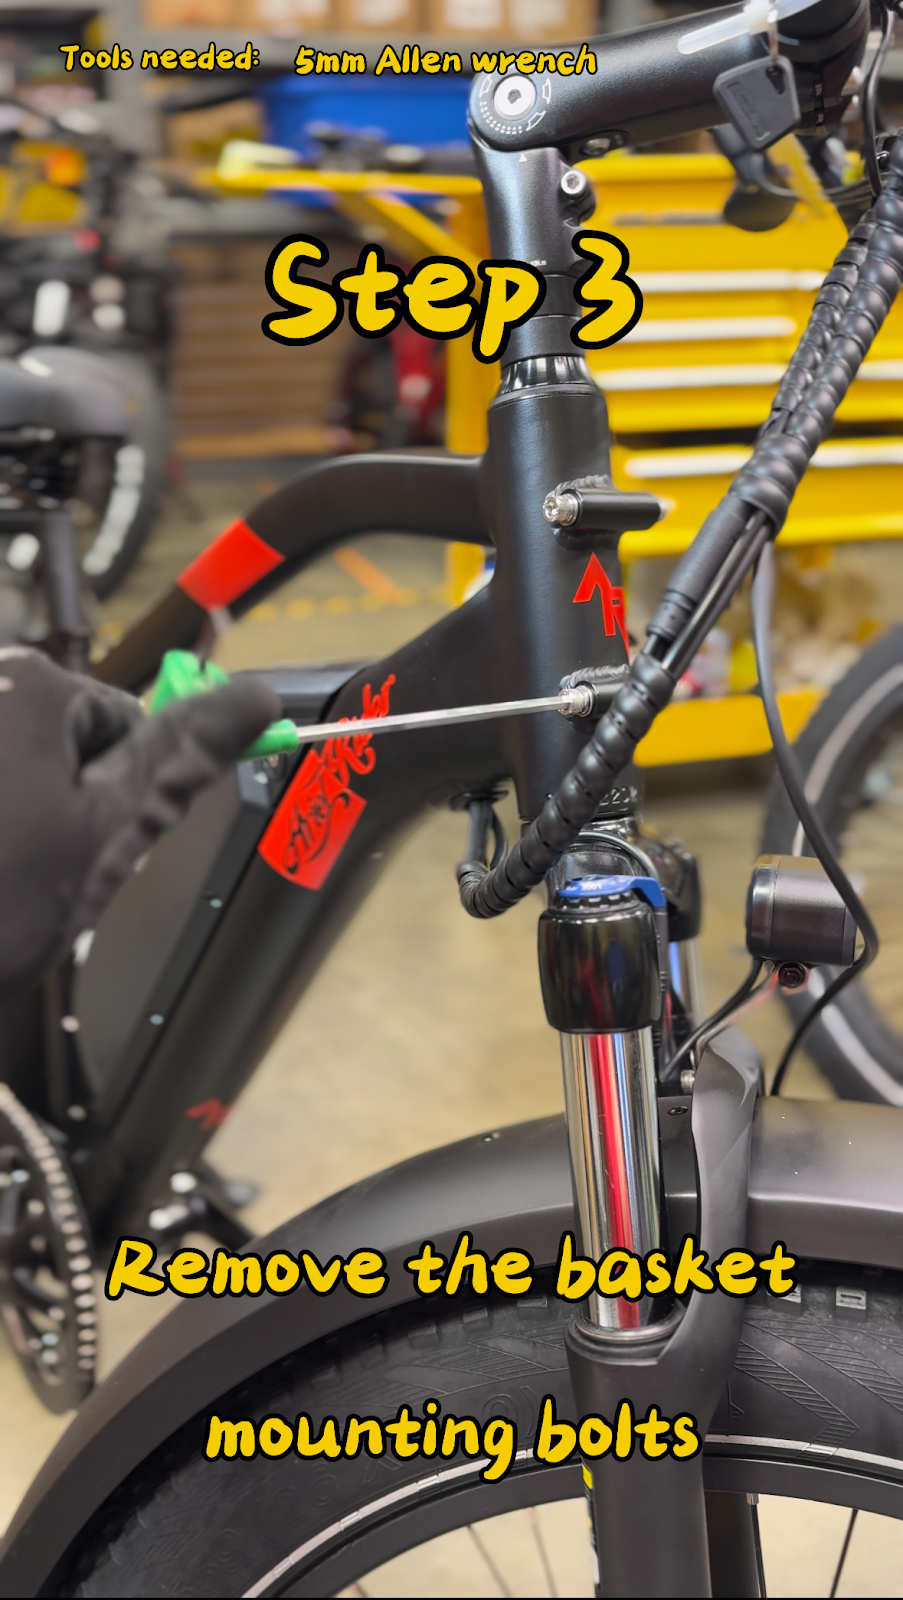
- Remove mounting bolts:Unbolt the frame mounting bolts where the front basket will attach.
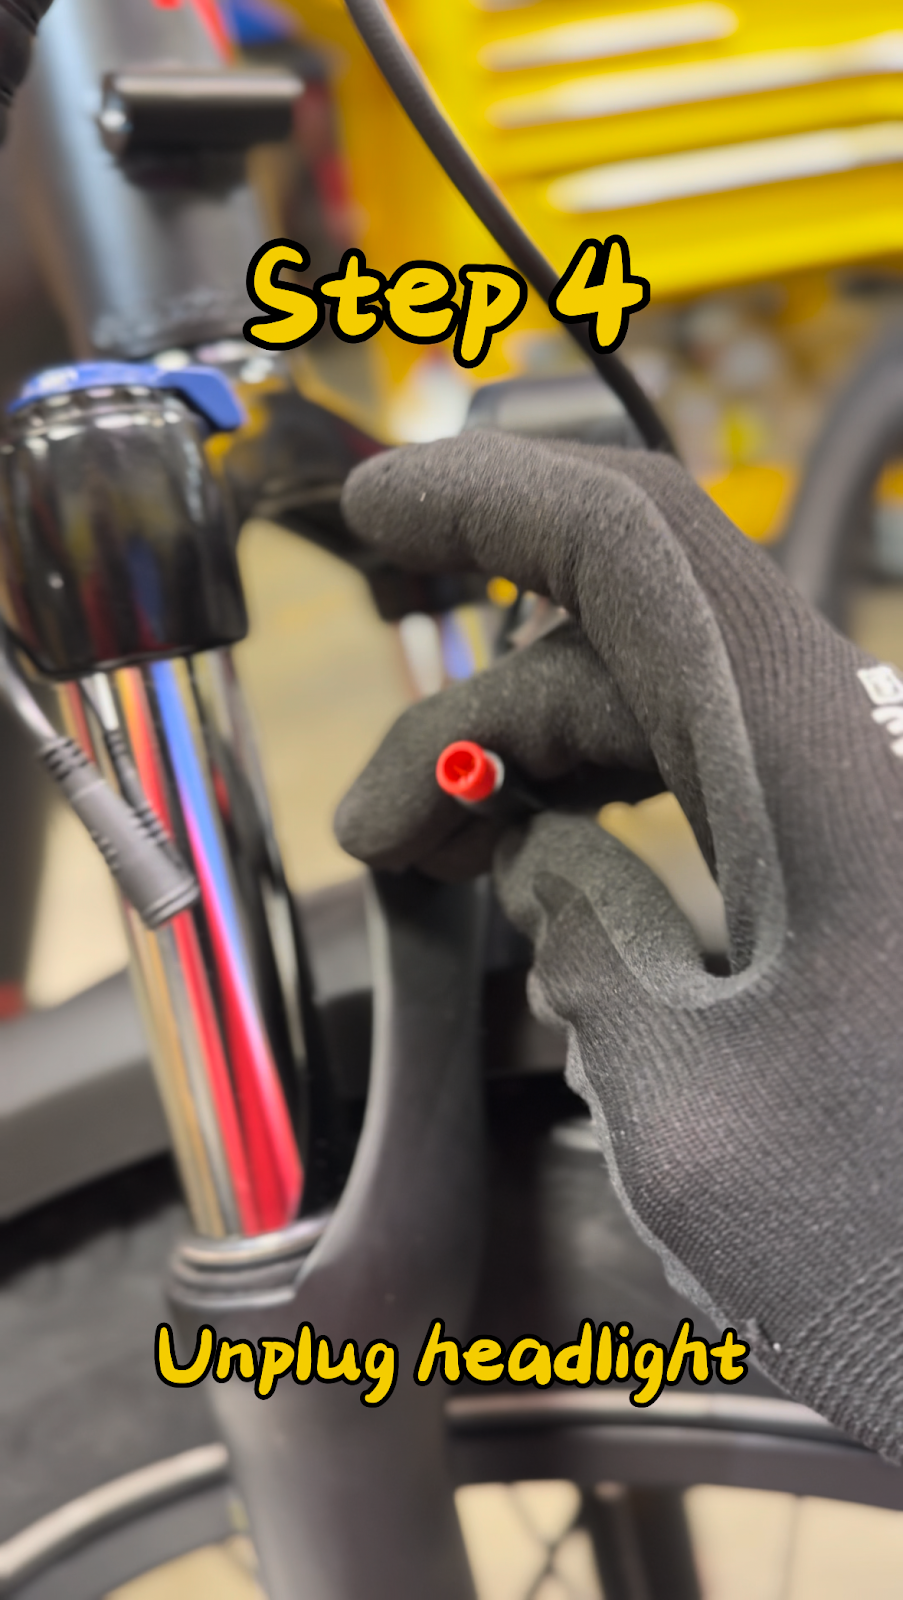
- Unplug the headlight:Disconnect the headlight cable connector from the main wire harness.
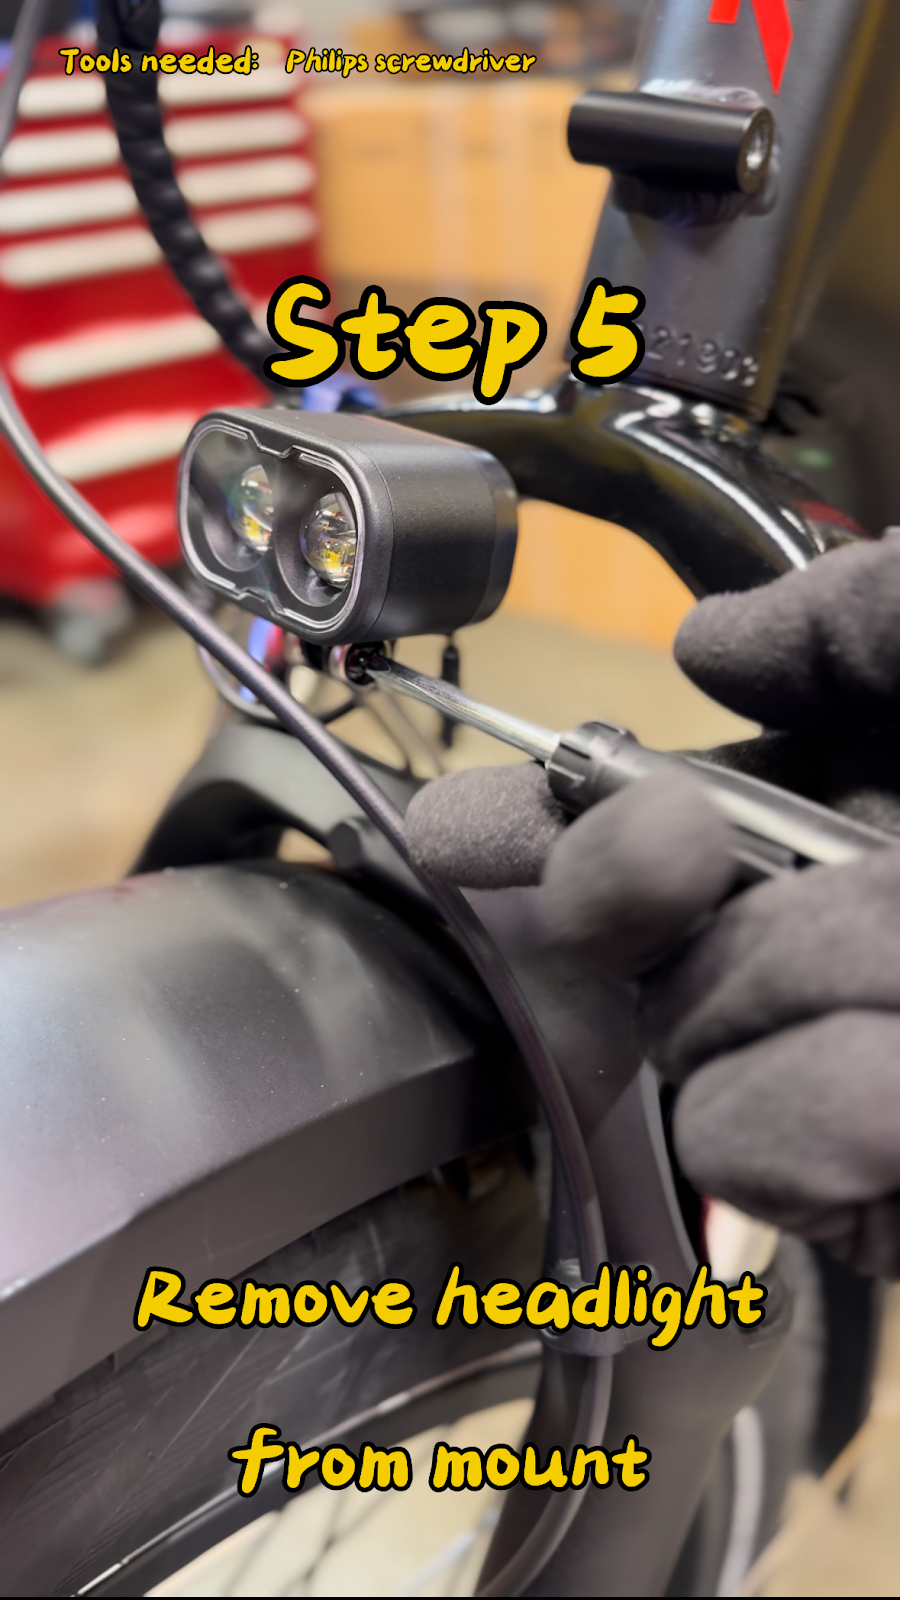
- Remove headlight from bracket:Unbolt and remove the headlight unit from its mounting bracket.
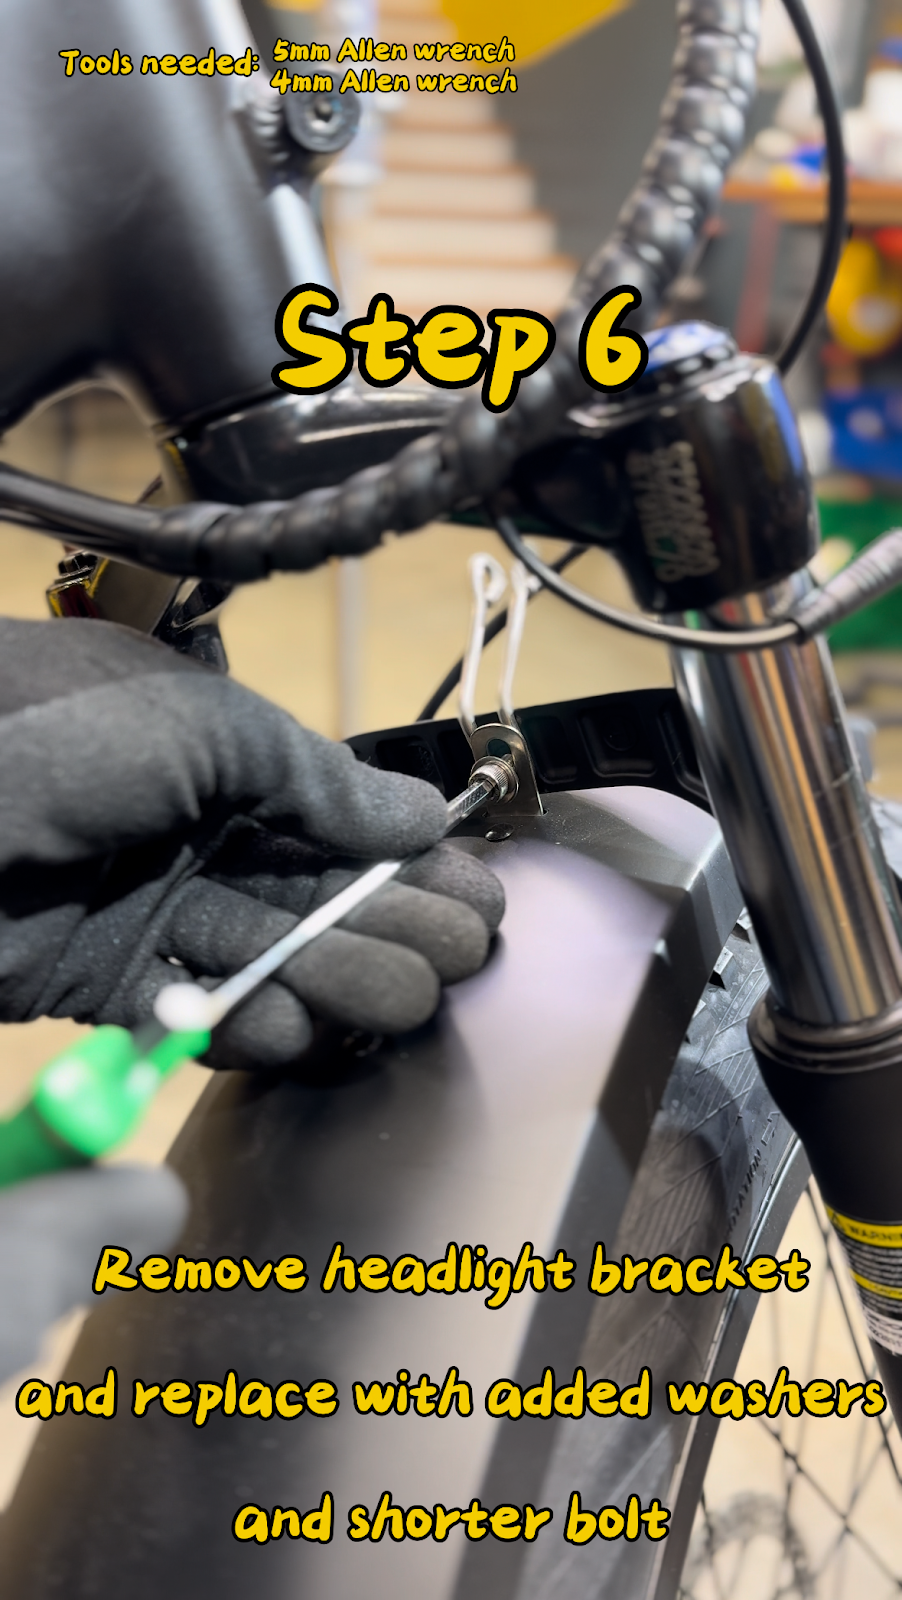
- Remove bracket & secure fender:Remove the headlight bracket from the fork arch. Use the provided short screw with two washers to re-secure the front fender mount.
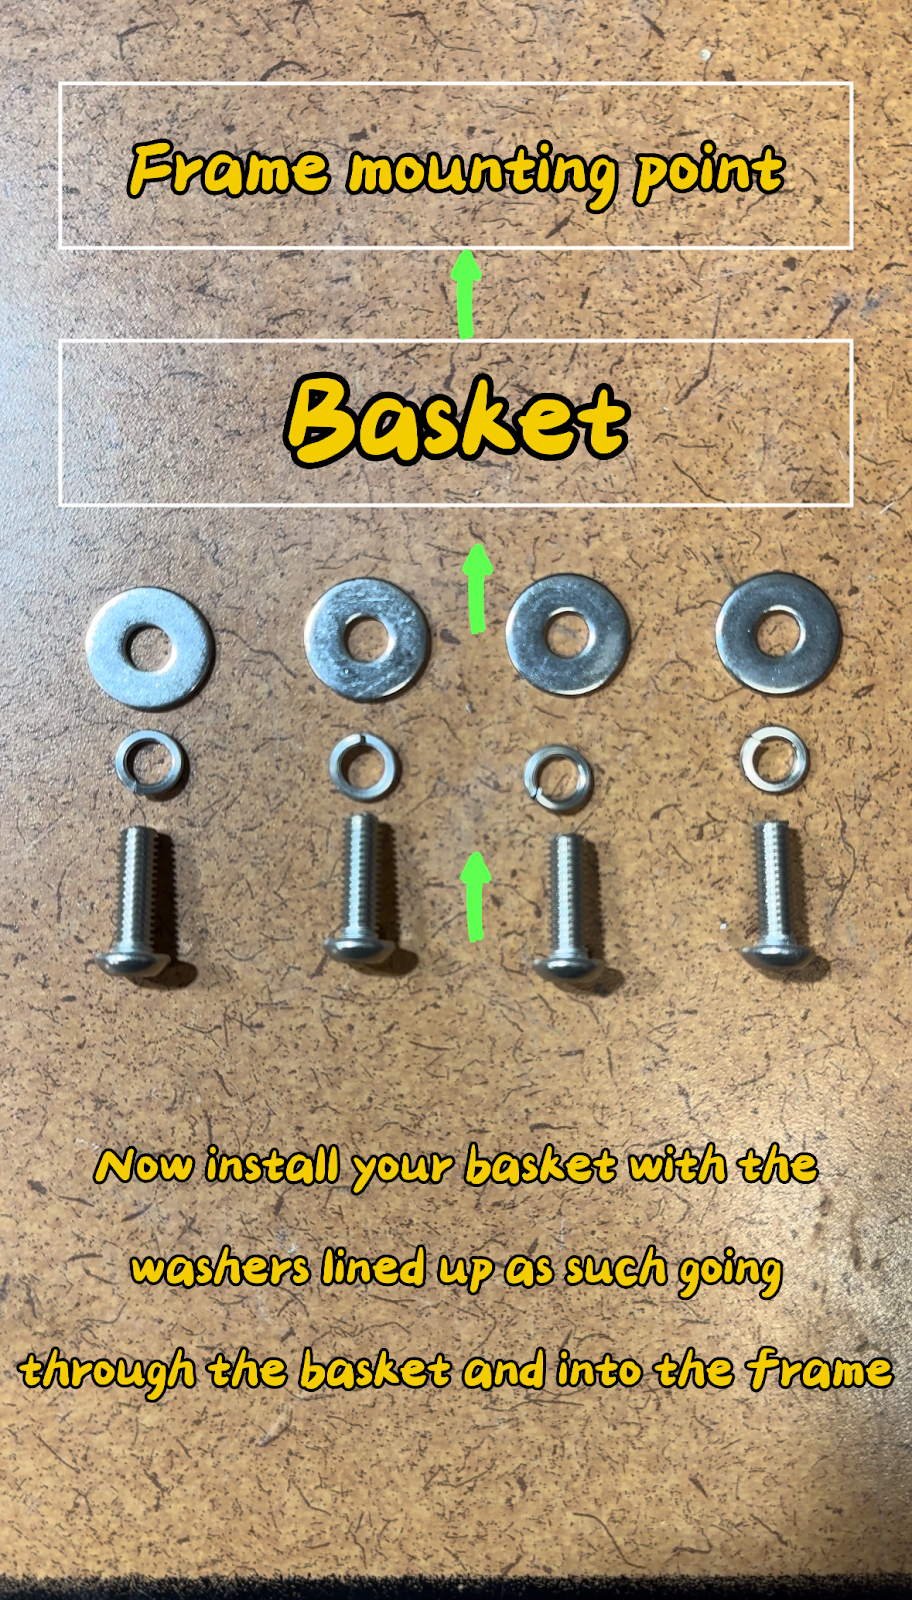
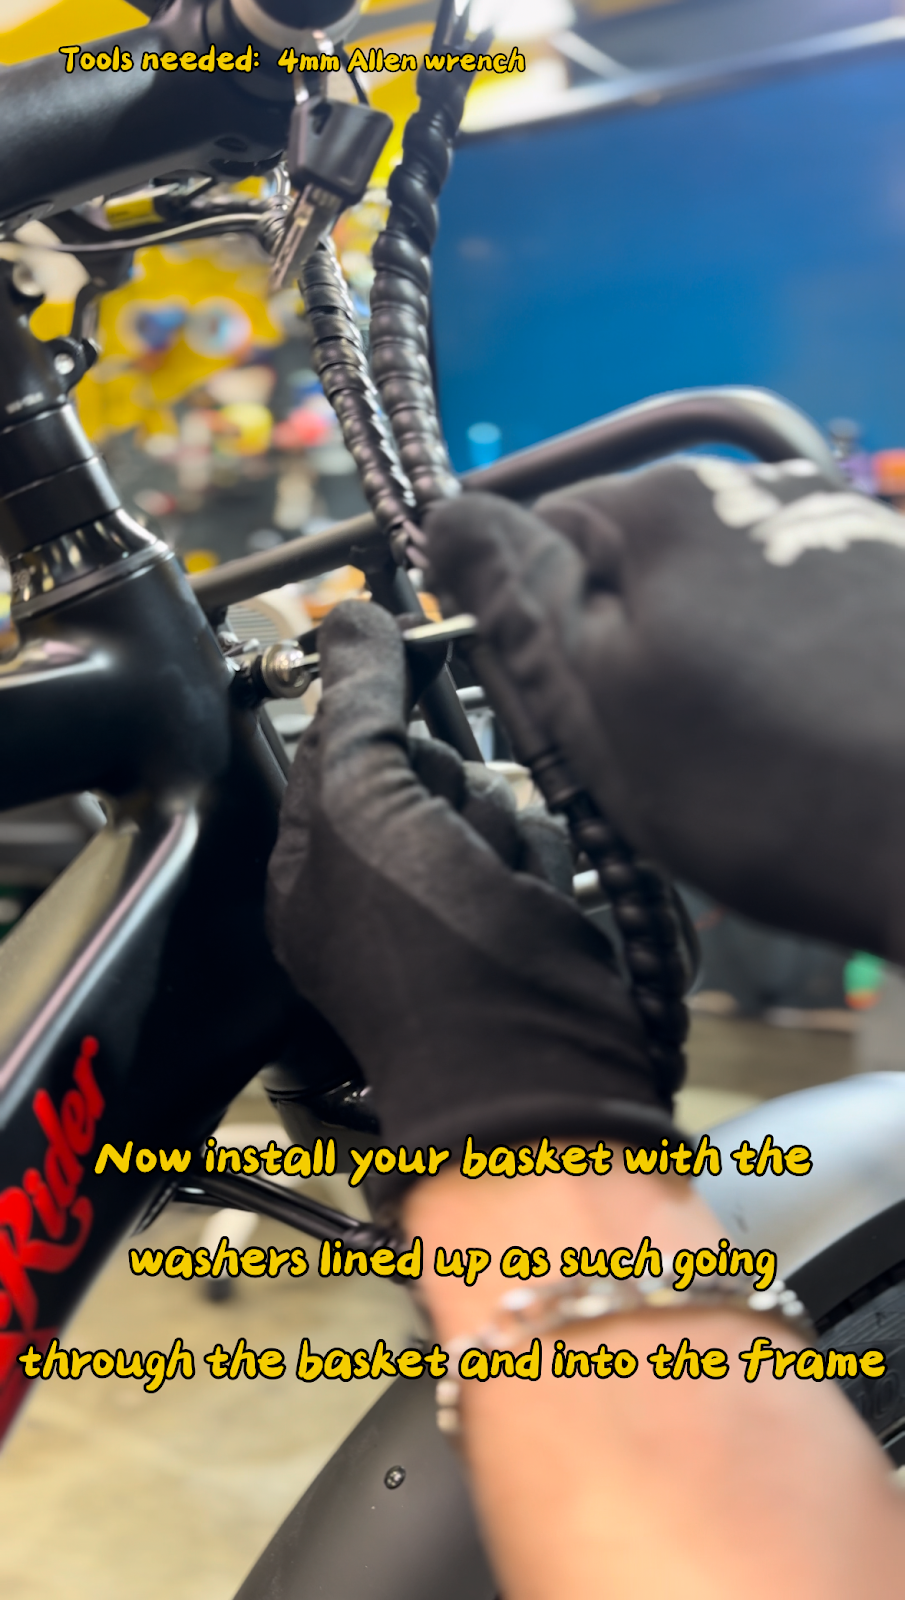
- Mount the basket:Align the basket to the frame, ensuring all cables route smoothly along the right side of the frame (rider's perspective). Secure using the bolts and washers in the correct sequence shown below.
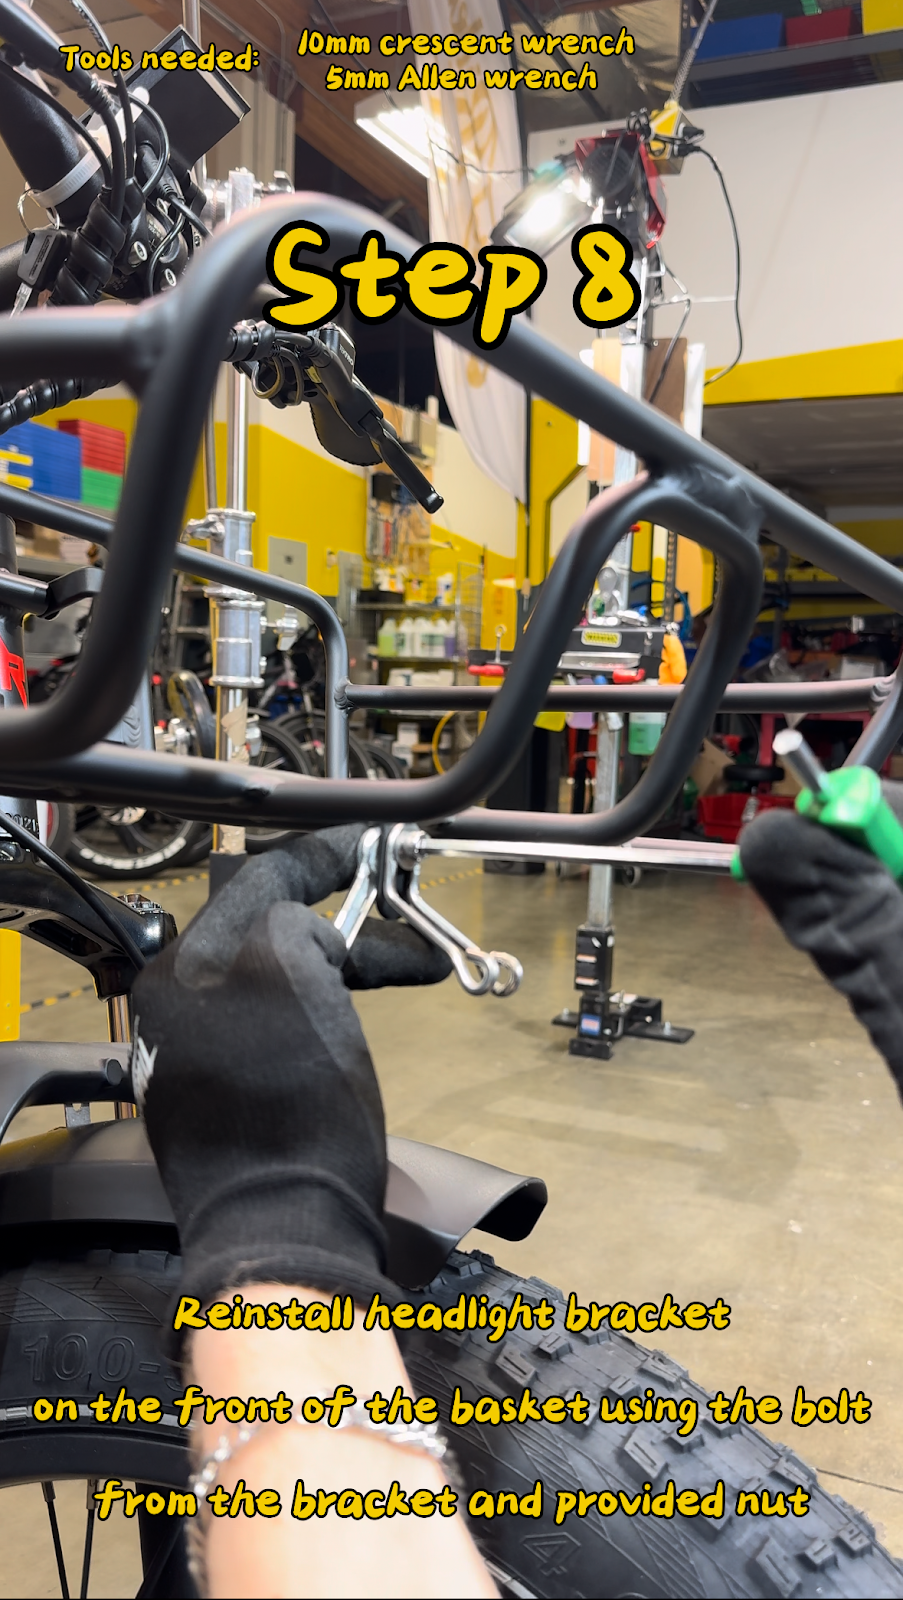
- Install headlight bracket to basket:Attach the headlight bracket onto the front of the basket using the original bolt and nut.
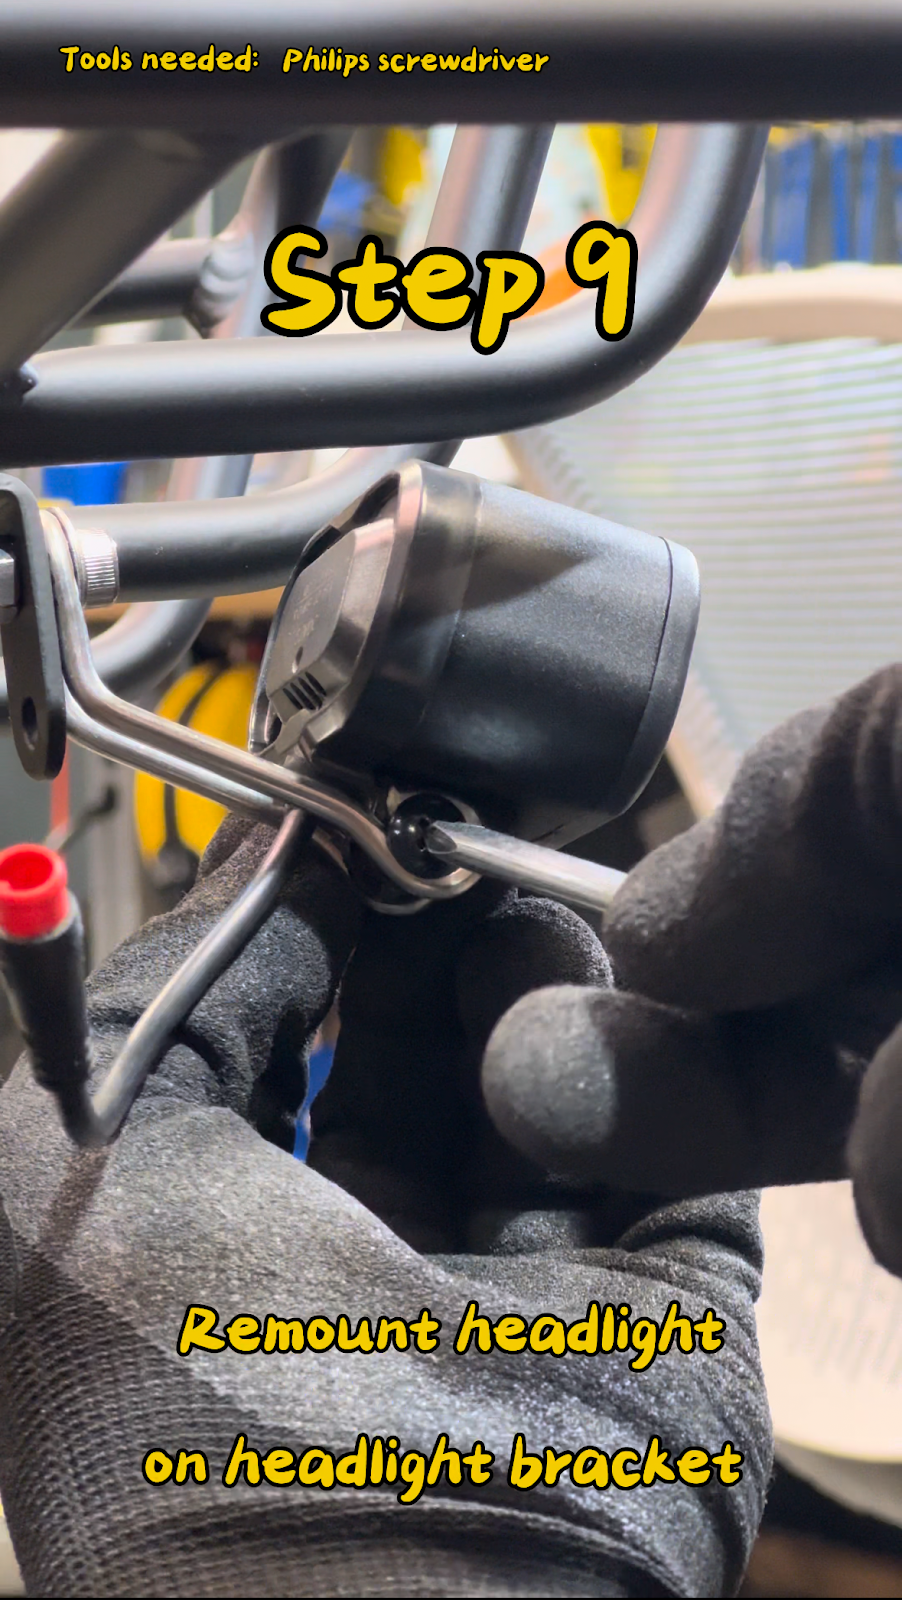
- Remount headlight:Fasten the headlight onto the newly installed bracket.
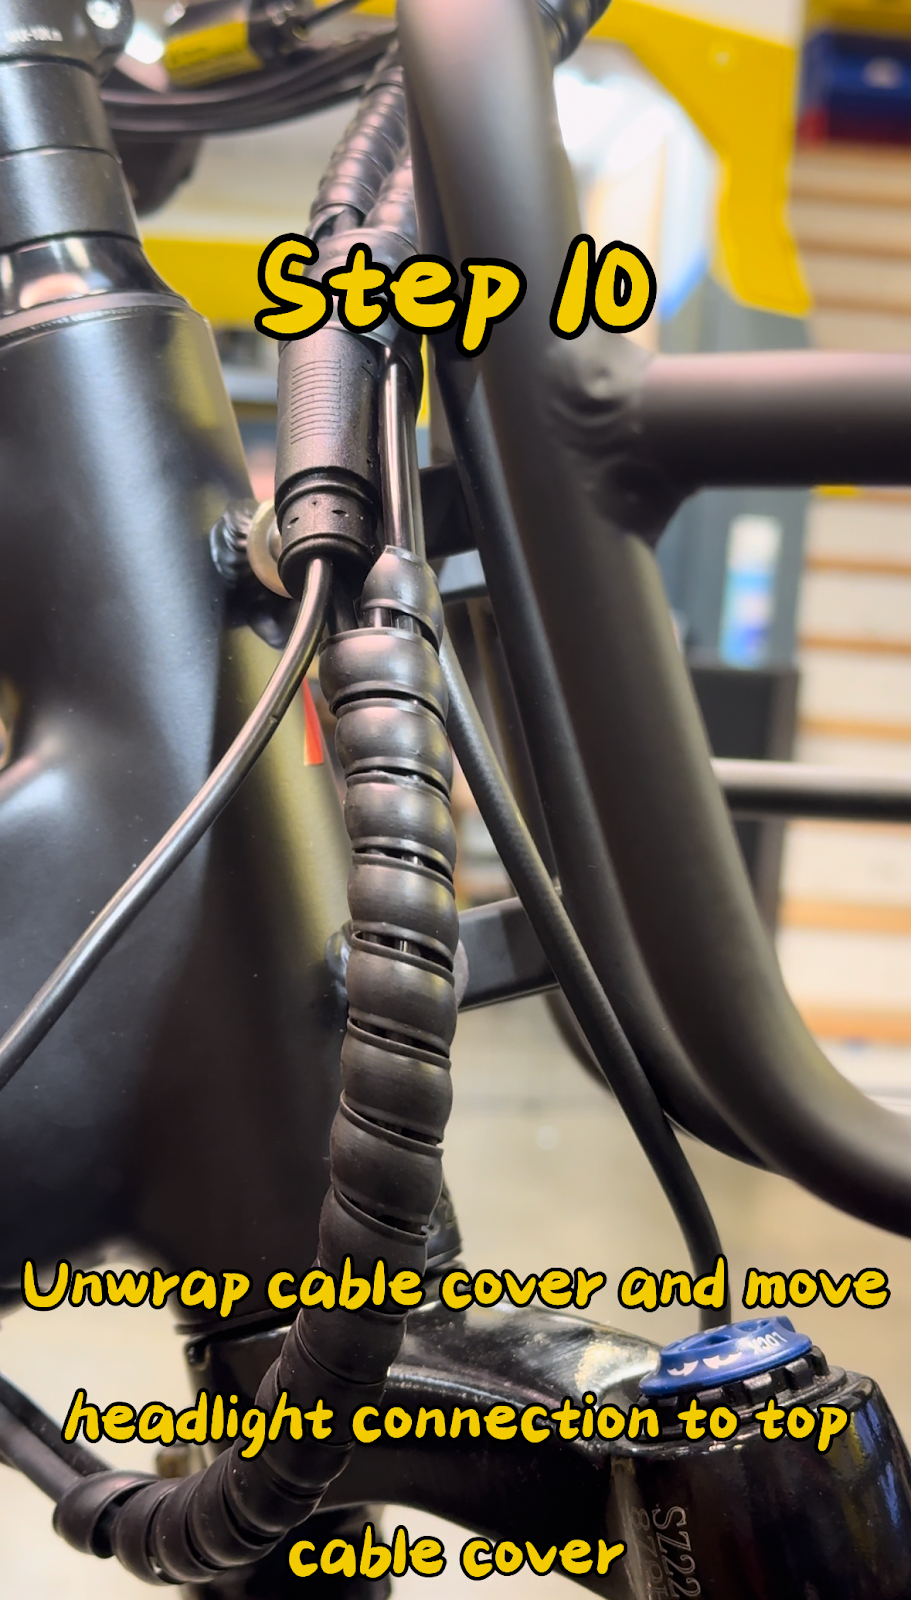
- Adjust cable wrap:Unwrap the main spiral cable wrap, free the headlight cable, and re-wrap the remaining harness neatly.
- Connect cable extension:Attach the headlight cable extension between the light and the main wire harness connector.
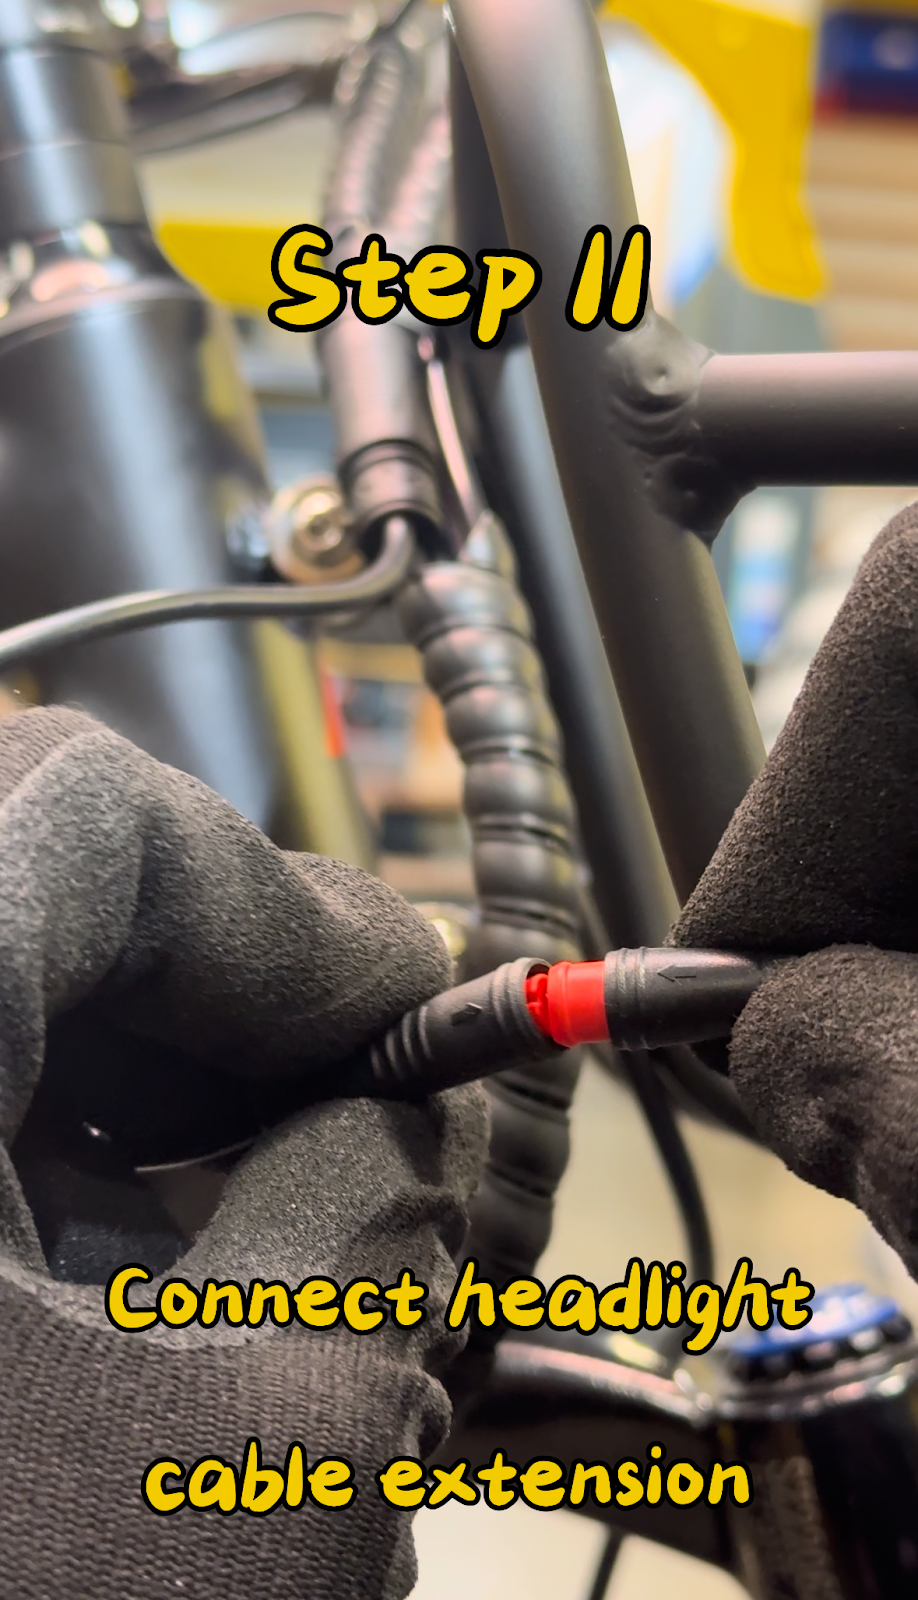
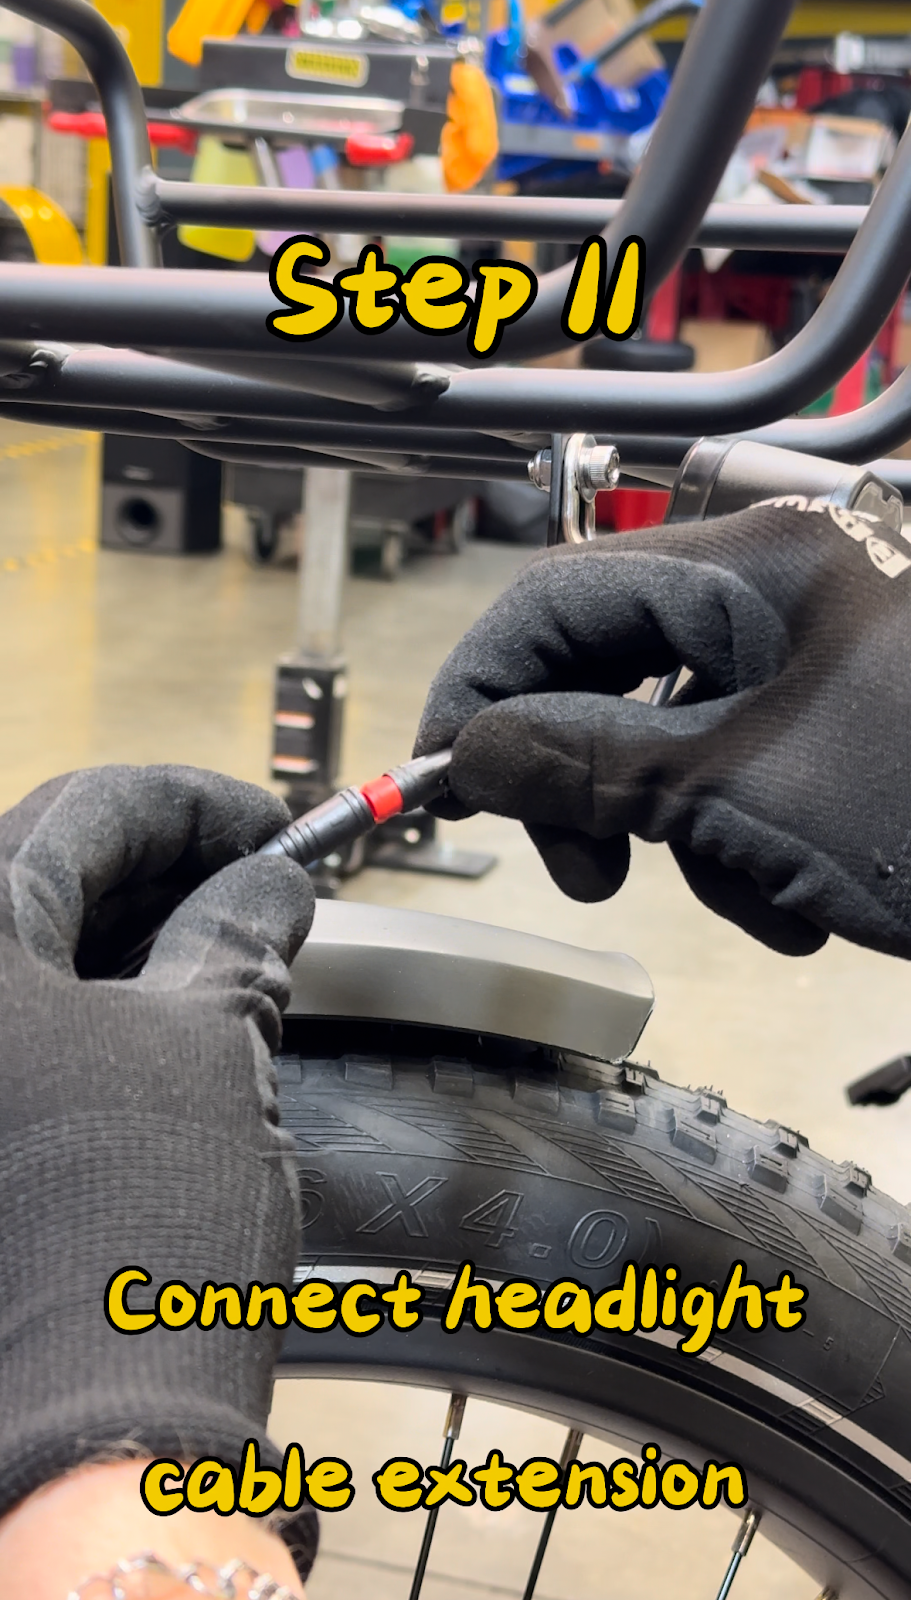
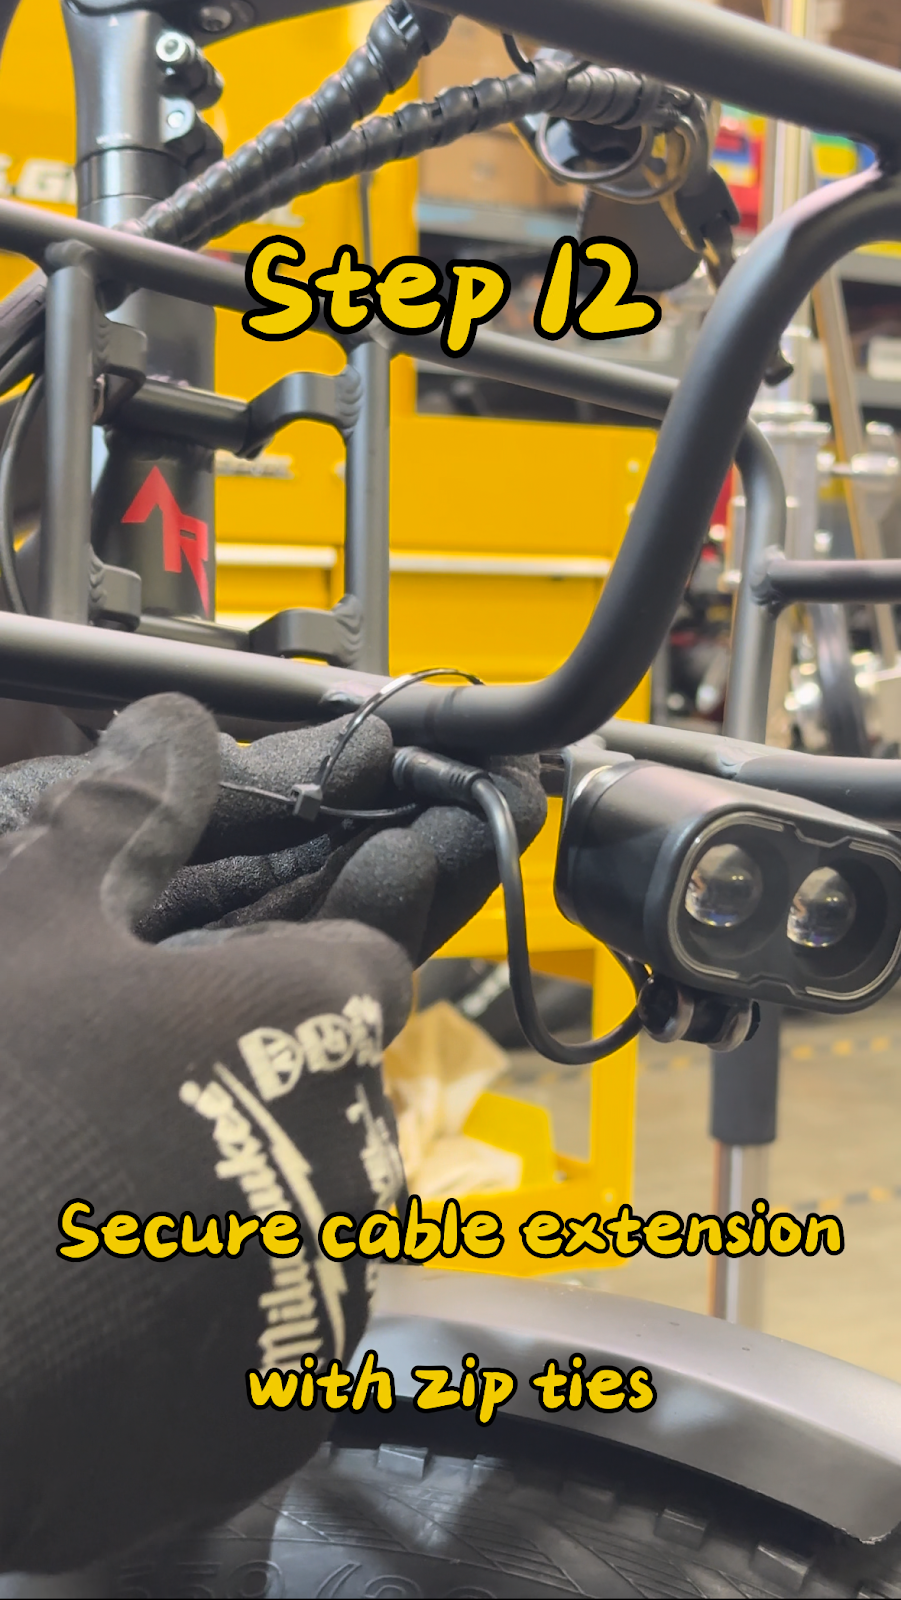
- Secure wiring with zip ties:Zip-tie the cable extension and harness securely along the basket frame. Ensure sufficient slack so cables do not pull tight when turning the handlebars from lock to lock.
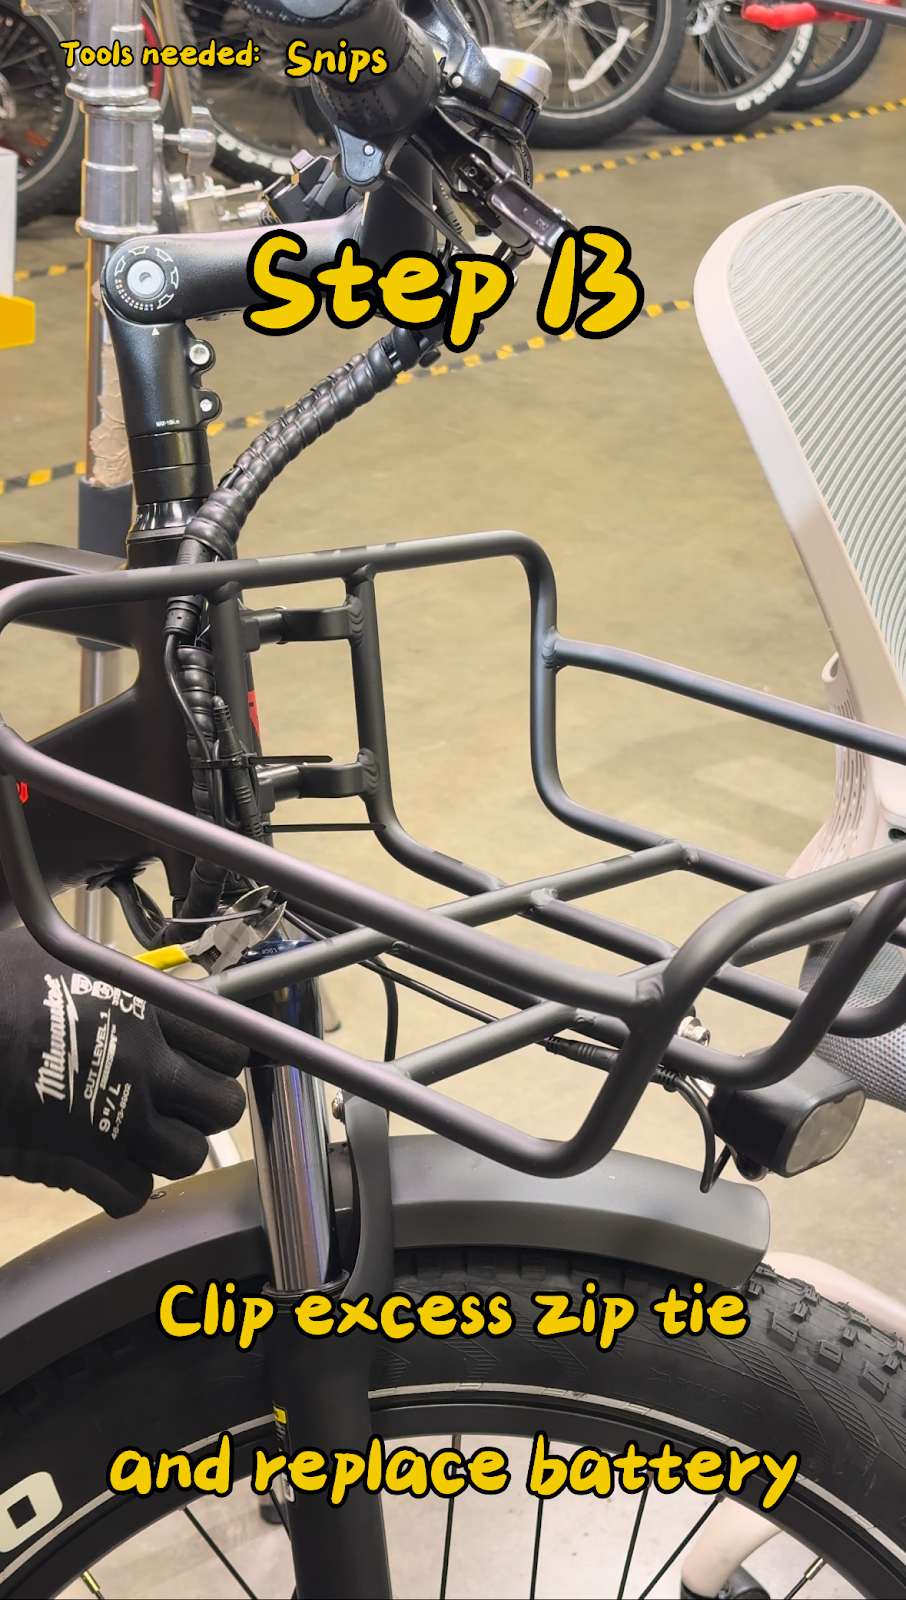
- Finalize installation:Trim excess zip-tie tails using wire snips and reinstall your battery.
If you have any questions, please reach out to us through our contact form.