
Grizzly 72V PPB - Front Wheel AssemblyUpdated a month ago
GRIZZLY 72V PPB SUPPORT
Use this guide to install or reinstall the supplied front wheel, align the brake rotor, and complete the safety checks before riding.
Installation video
If the video does not load, watch the Grizzly 72V PPB front wheel assembly video on YouTube.
Safety first: The Grizzly 72V is a Power Performance Bike intended for private-property/off-road use. Keep it powered off, disconnect the charger, and support it securely before beginning.
Use only the original compatible front-wheel axle and hardware. Follow the current Grizzly 72V Owner Manual or packed assembly guide for the exact tightening sequence and approved torque value. Do not use a value shown in a photo, video, online post, or another model's guide.
Before you start
- Work on a stable, protected surface with the PPB securely supported.
- Keep all original axle hardware together and in its original order.
- Inspect the tire, wheel, spokes, hub, brake rotor, brake caliper, fork ends, axle, and hardware for damage before installation.
- Keep the brake rotor clean. Do not pull the front brake lever while the rotor is removed from the caliper.
- Do not adjust the brake caliper, brake hose, rotor, or fork hardware as part of this procedure.
Stop and contact Ariel Rider Support before riding if a component is bent, cracked, missing, damaged, or does not fit as shown.
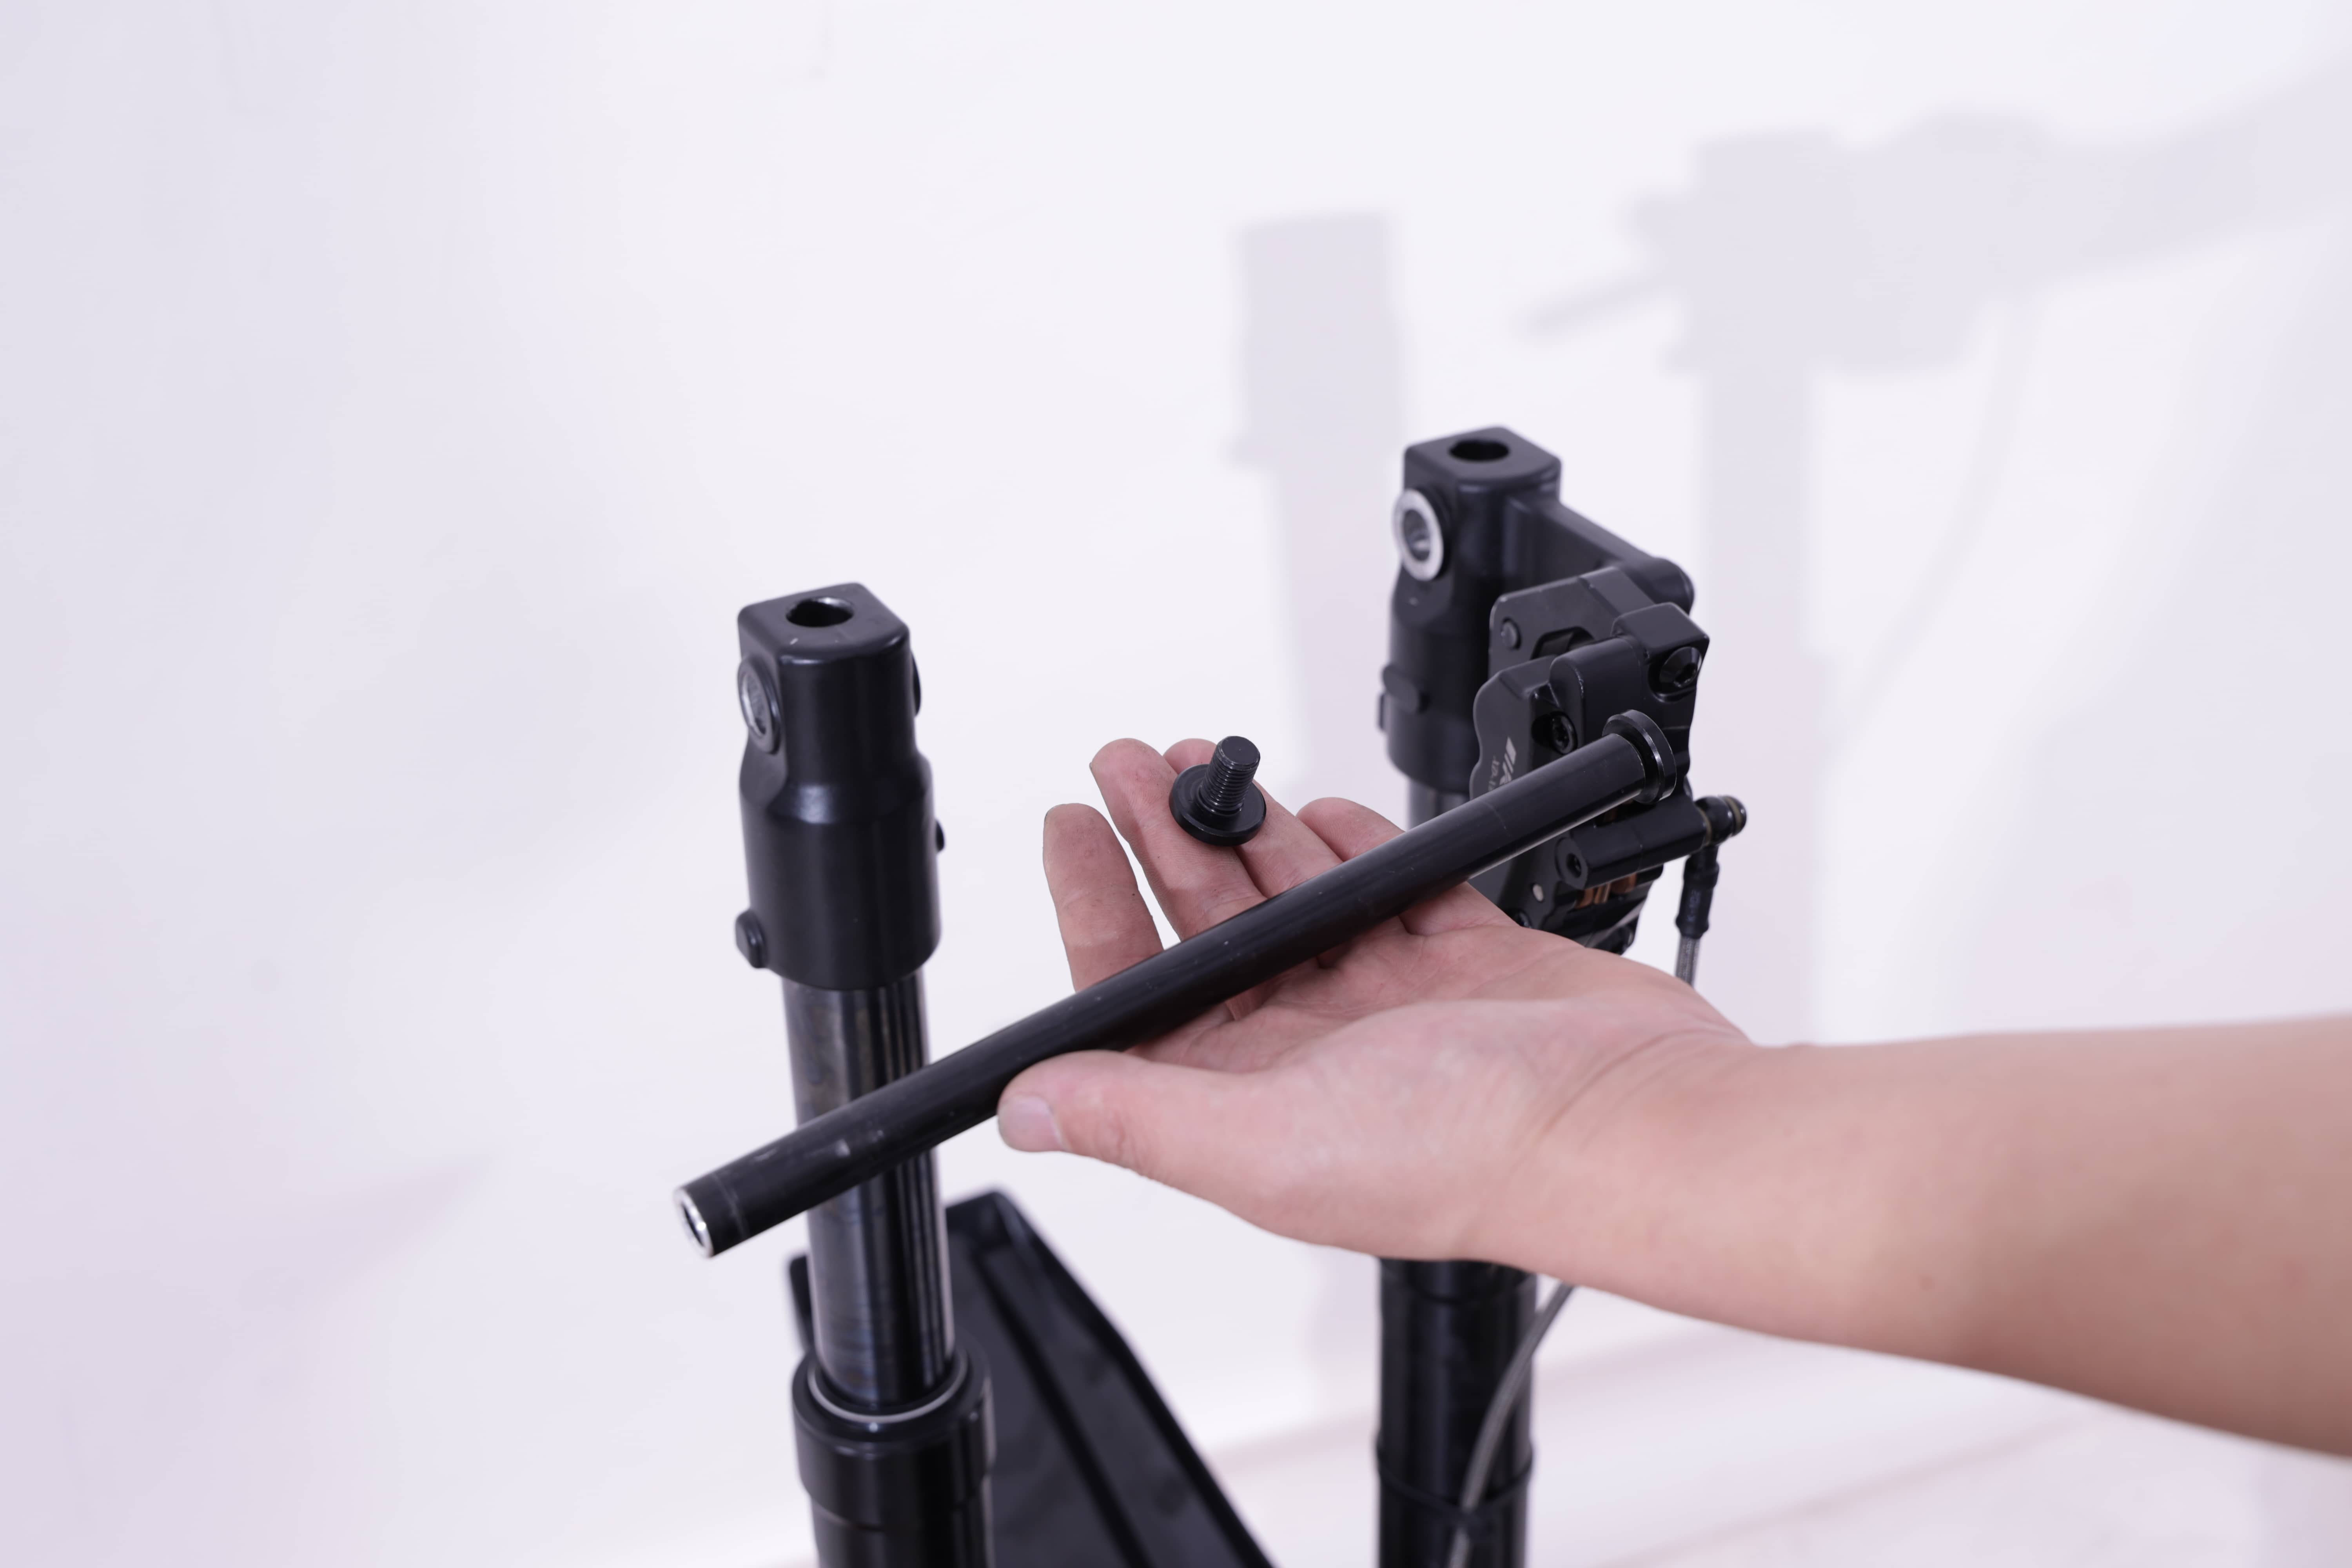
1. Prepare the wheel and hub hardware
Set out the original axle, spacers or end caps, and all hardware. Keep the pieces in their original order. If your hardware does not match the supplied parts or a piece is missing, pause the installation and contact Support.
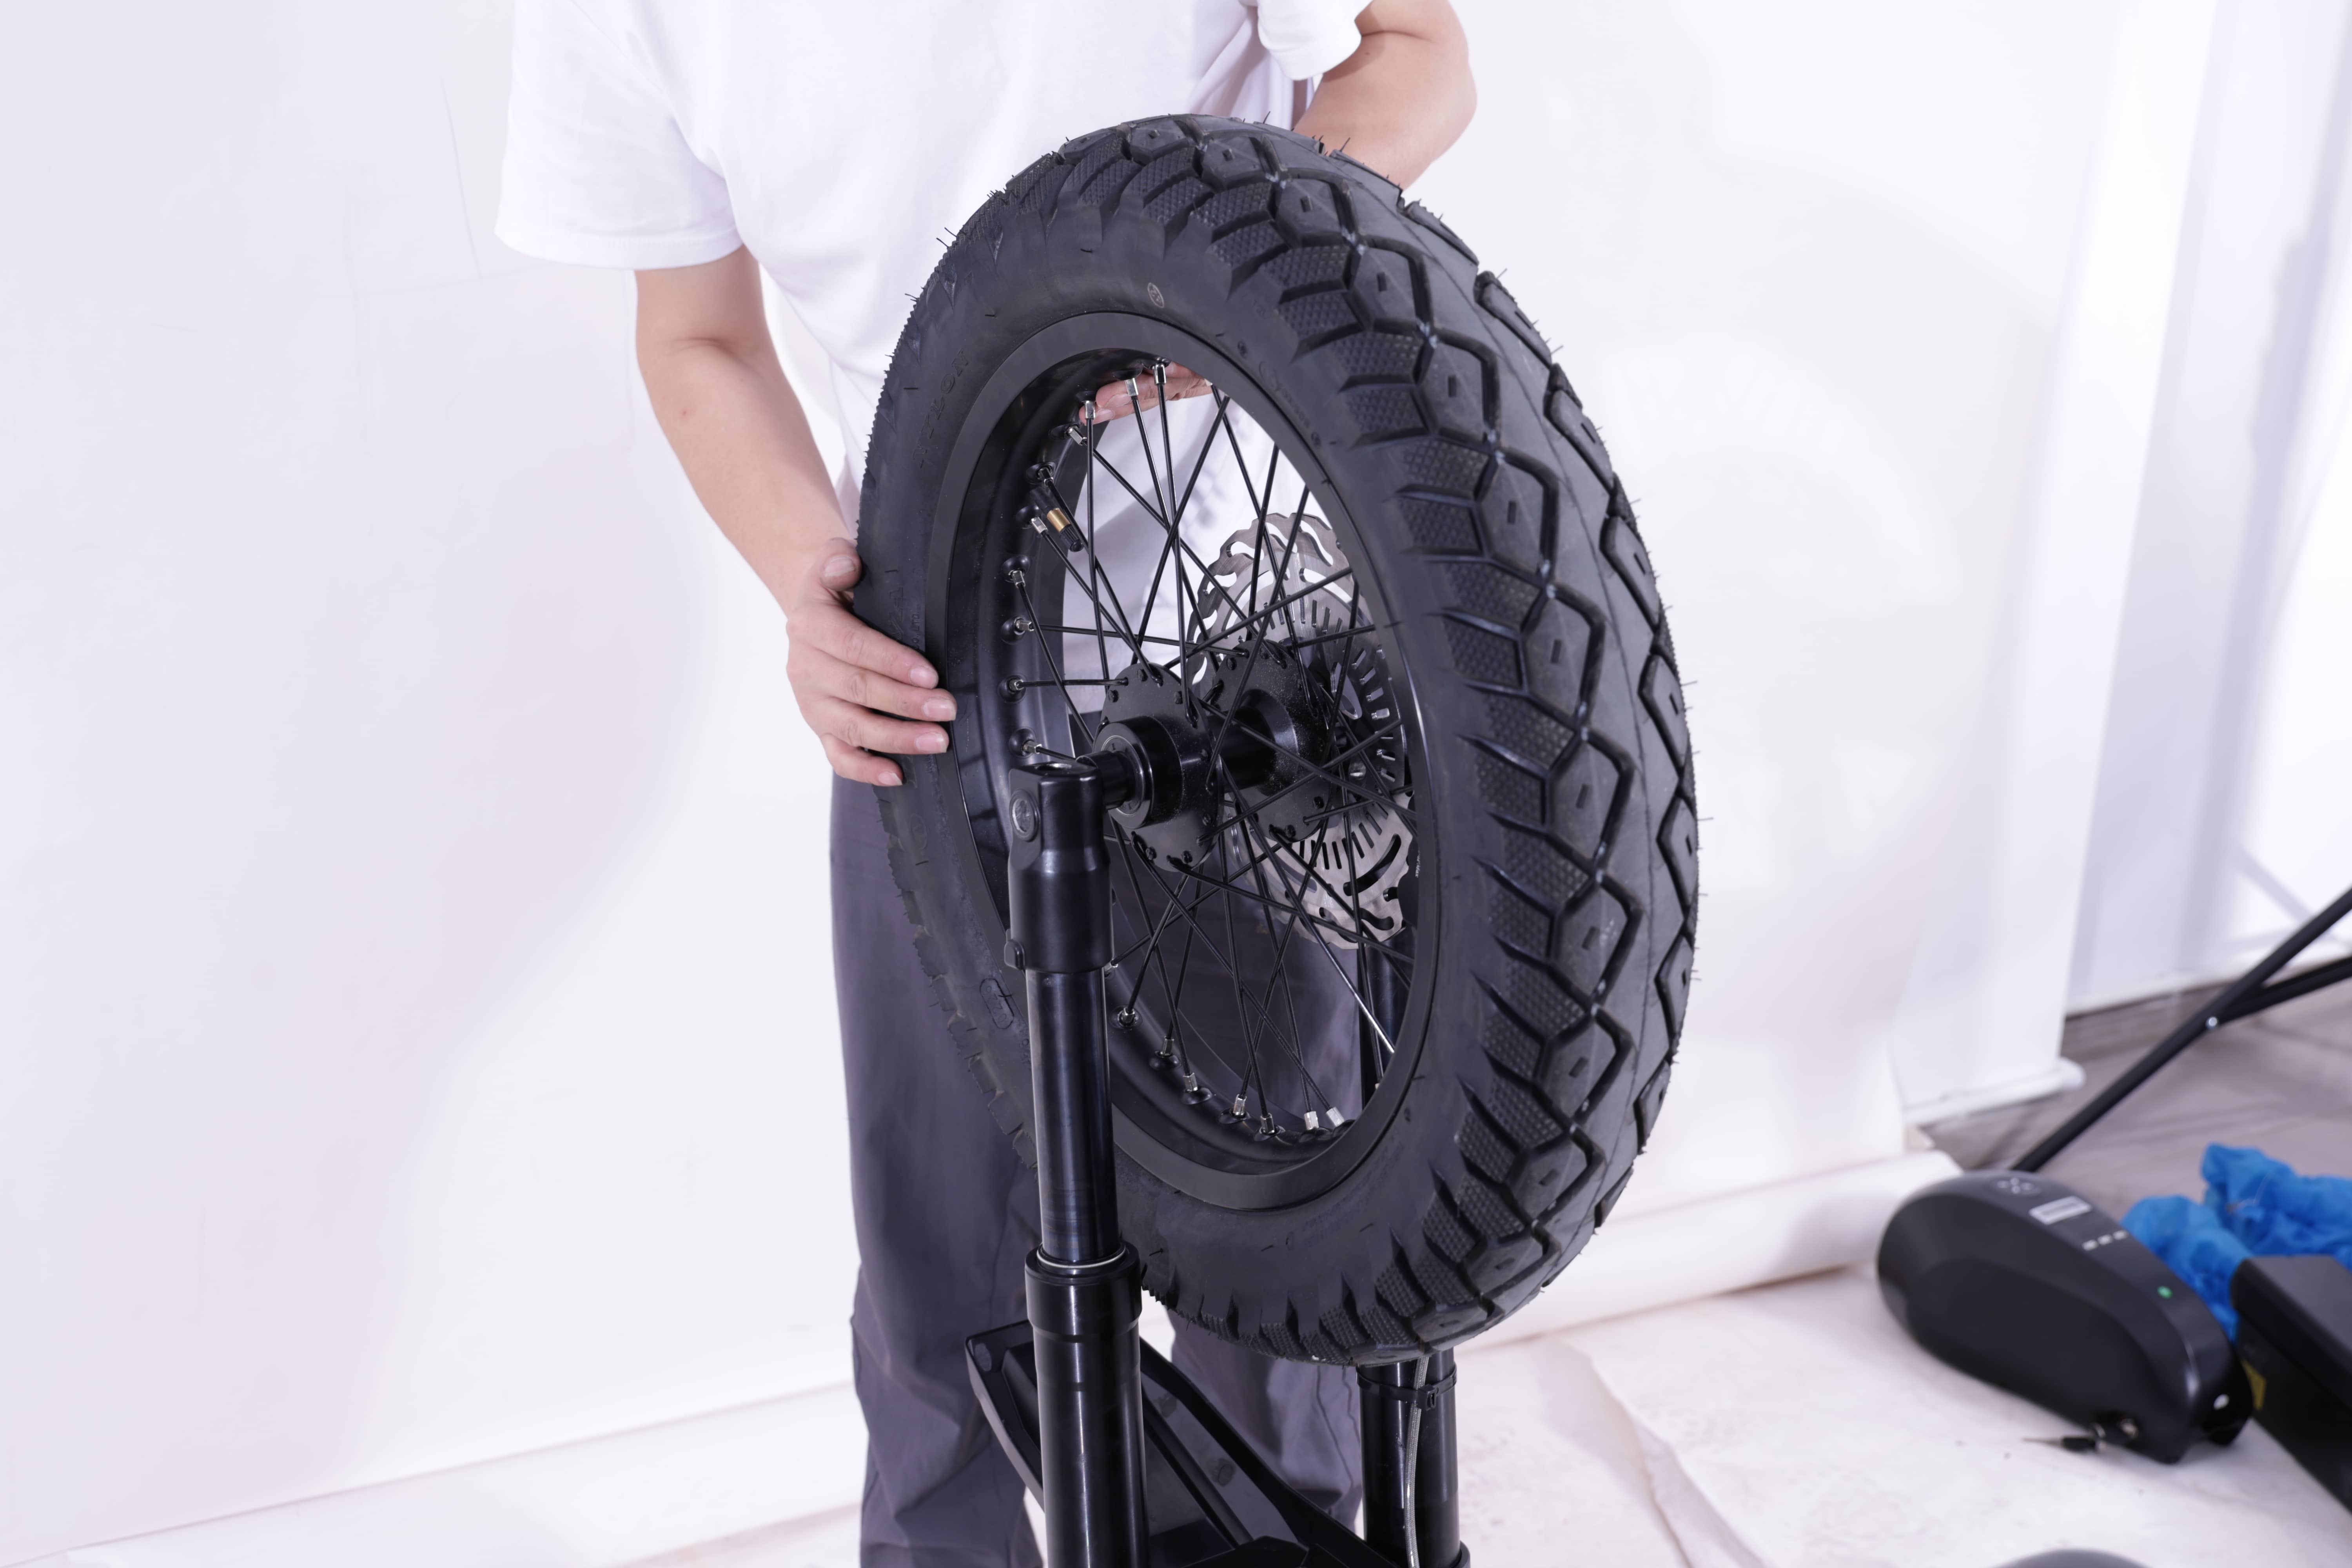
2. Position the wheel
Check the tire's direction arrow and orient the tire forward. Lift the wheel between the fork ends with the brake rotor on the brake-caliper side. Keep the wheel supported as you align the hub with the fork mounting openings.
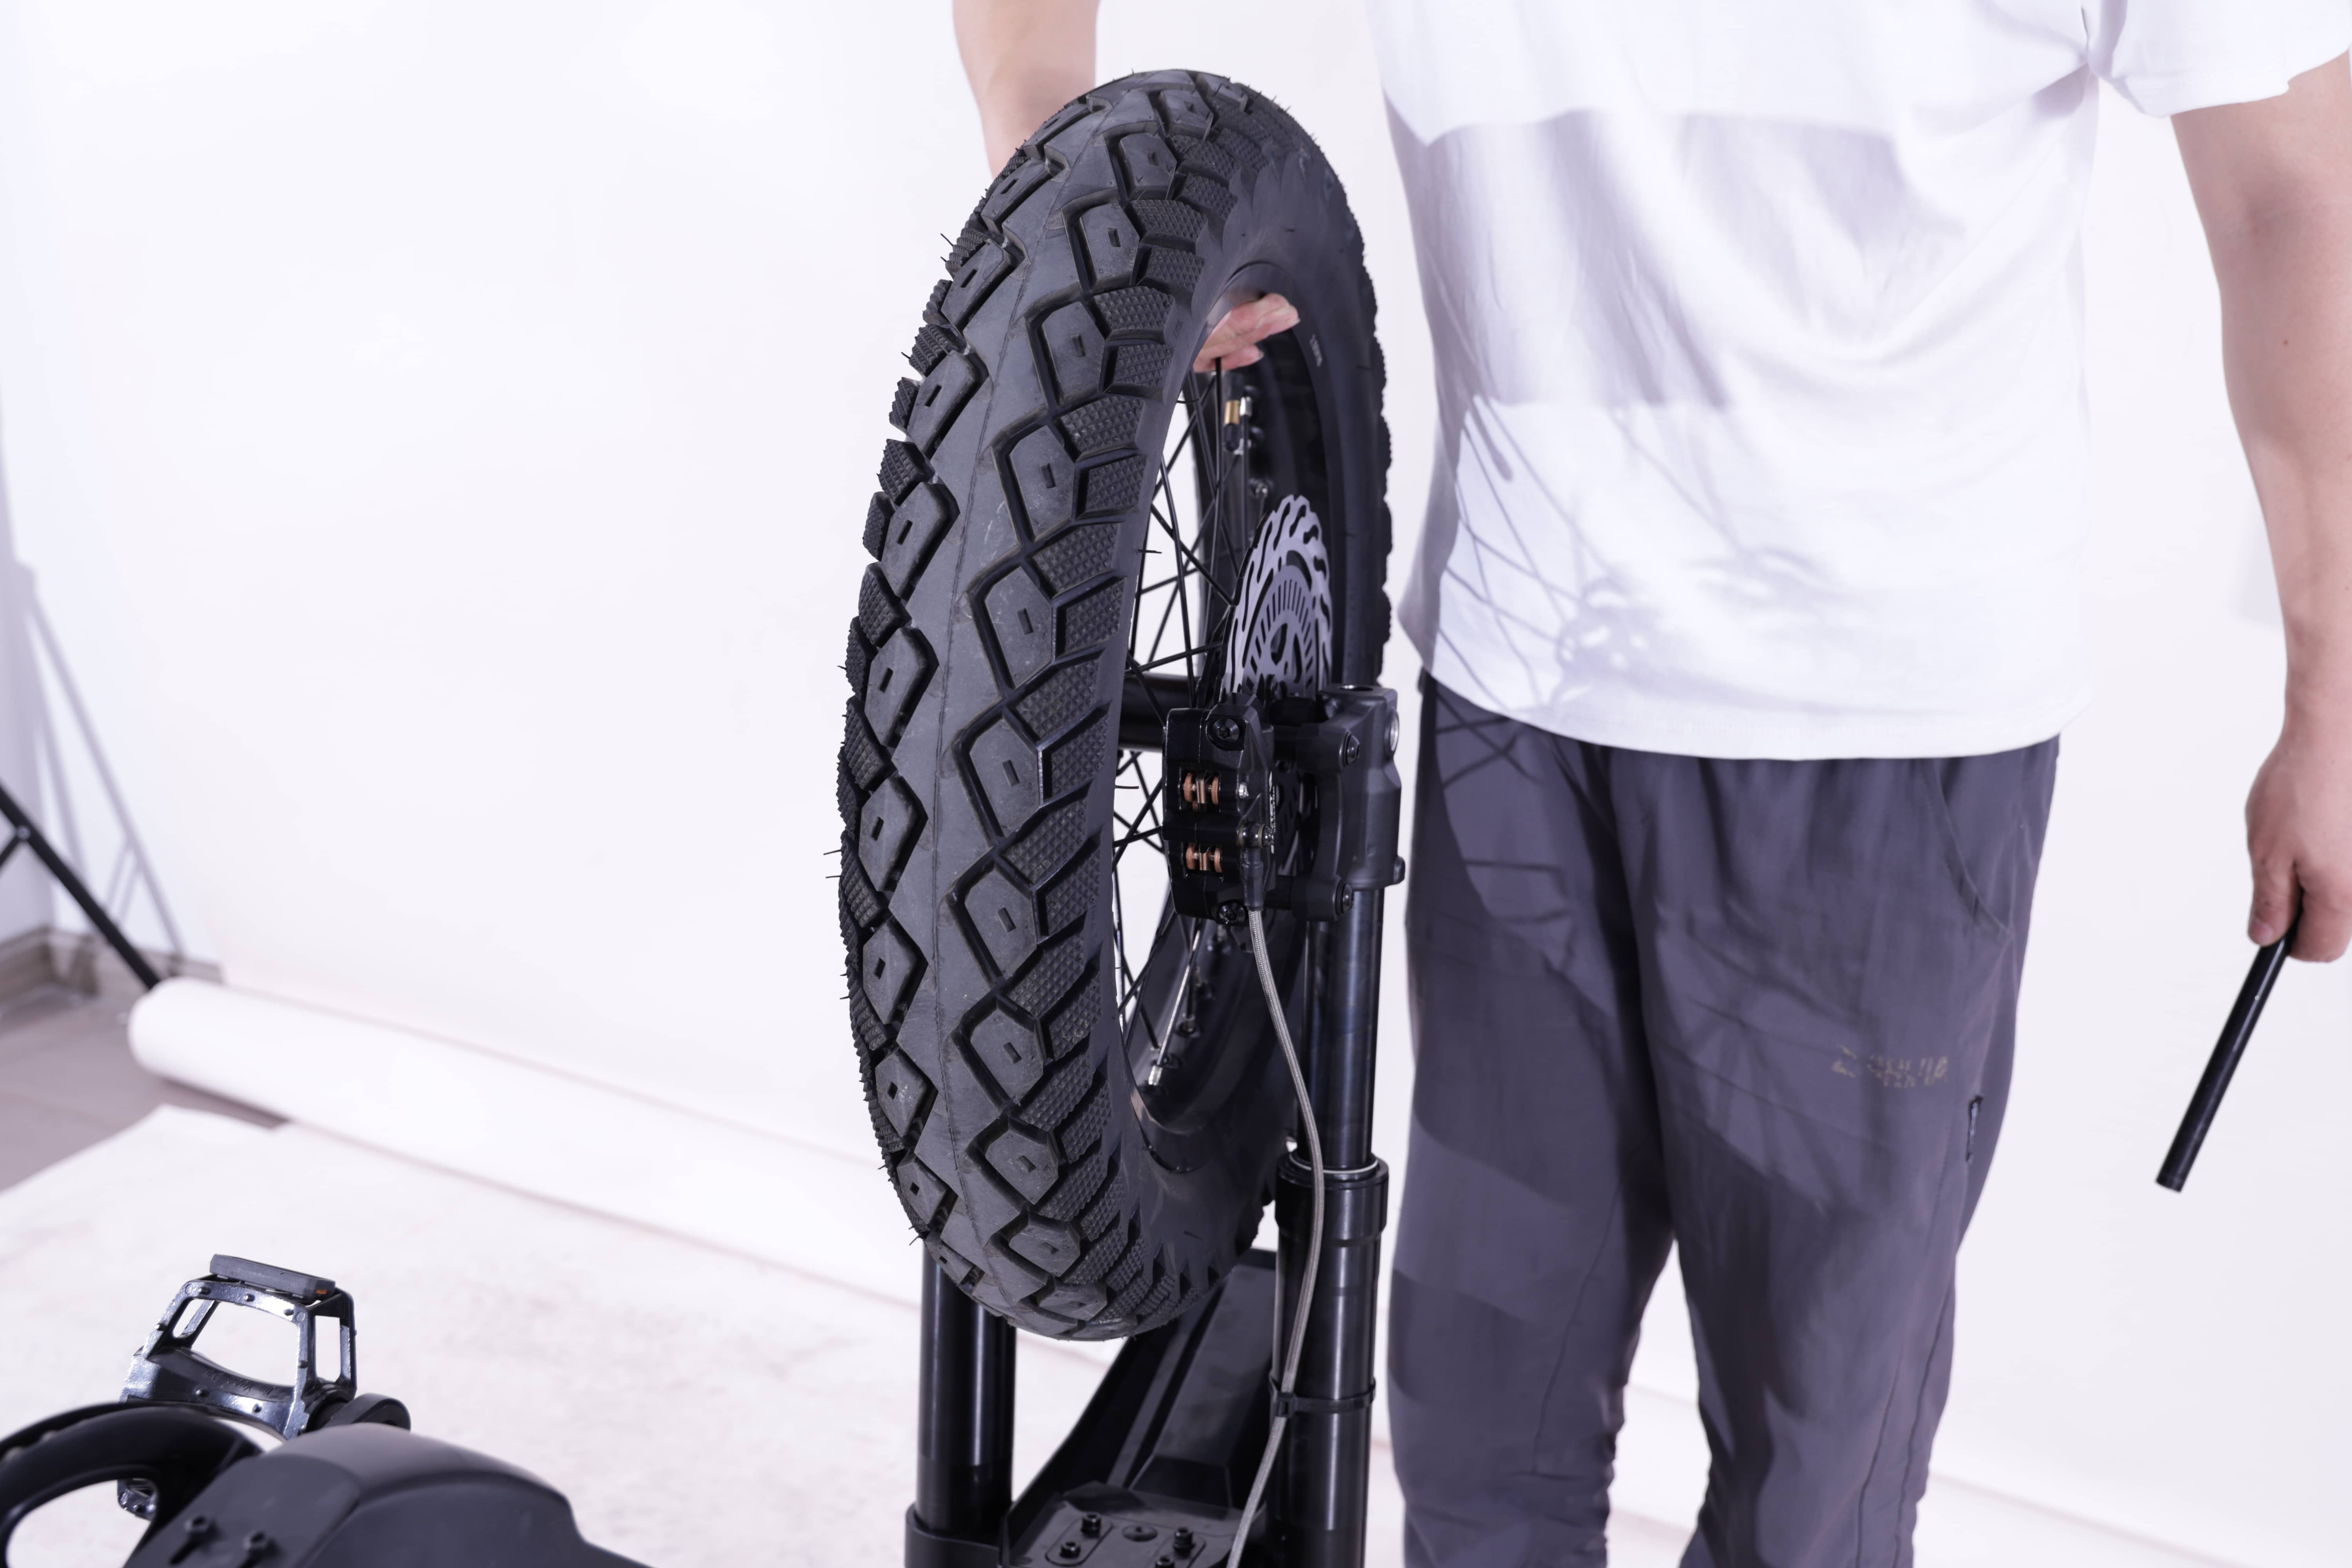
3. Guide the rotor into the caliper
Carefully guide the brake rotor straight between the brake pads while seating the wheel evenly between the fork ends. Keep the brake hose clear of the tire, rotor, and other moving parts.
Do not force the rotor or wheel into place. Do not hammer the axle, spread the fork, pry components, or use threaded hardware to pull misaligned parts together. If the rotor will not enter the caliper cleanly, stop and contact Support.
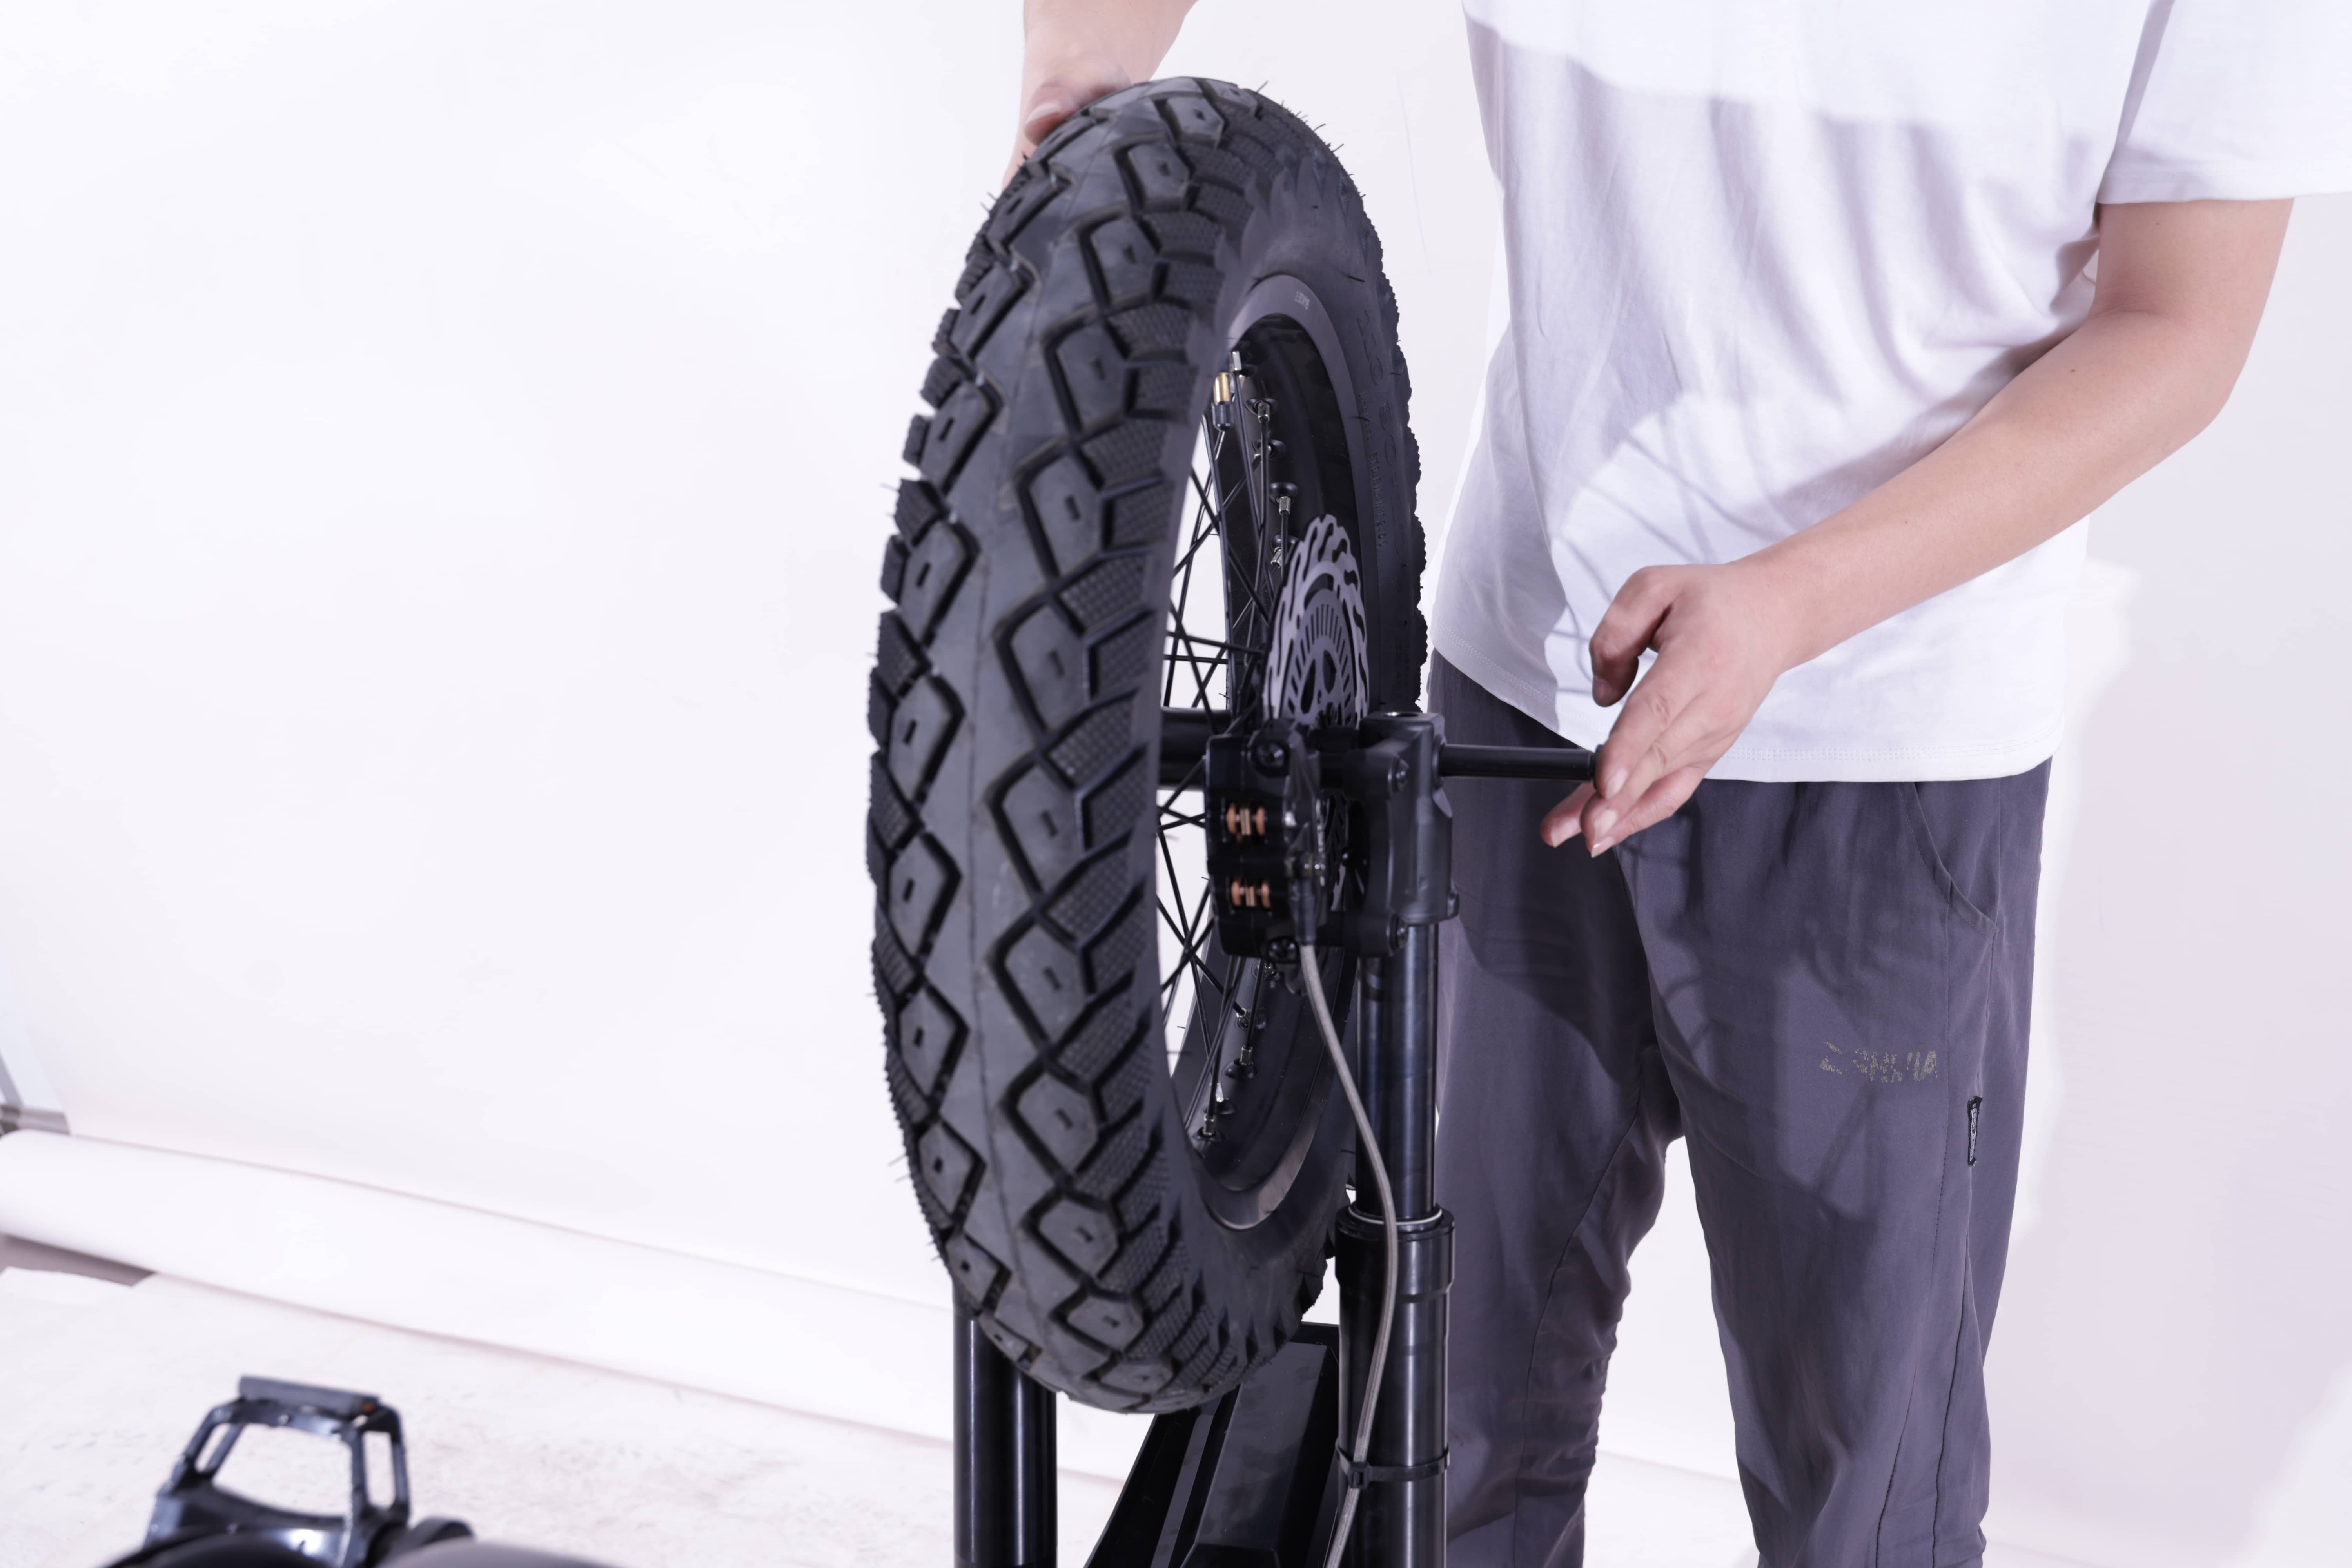
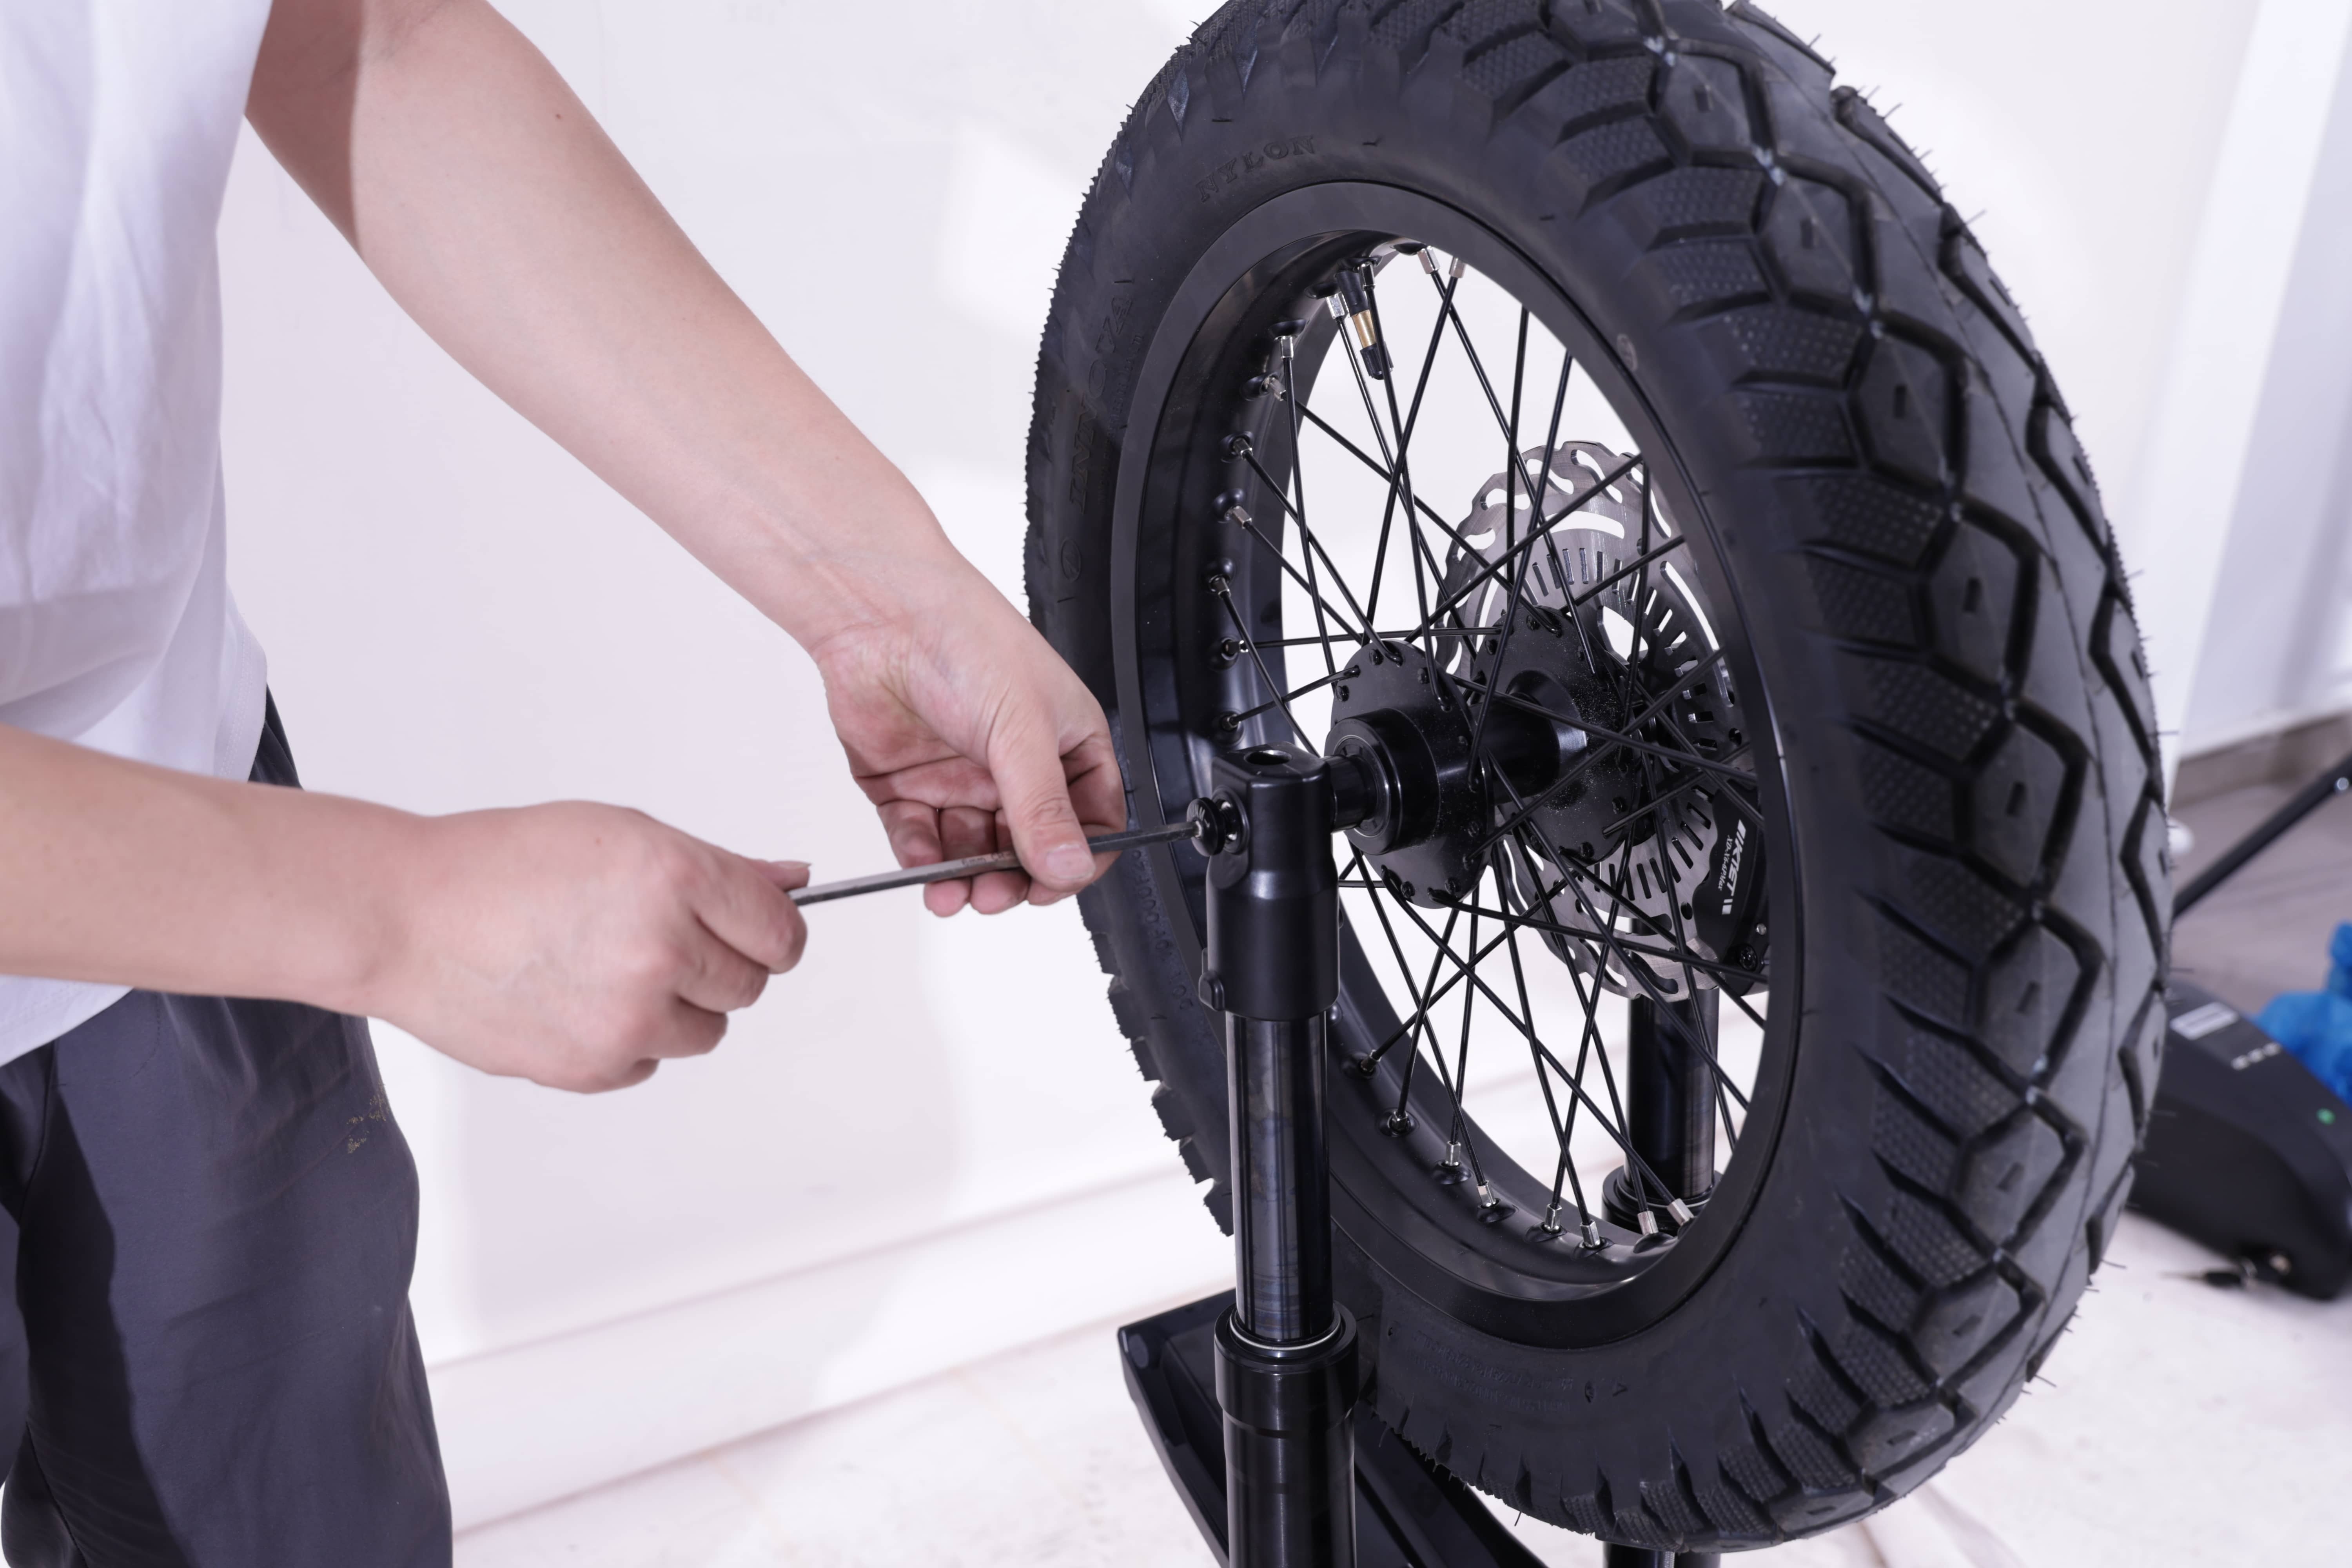
4. Install the axle and original hardware
When the wheel is fully seated, insert the original axle by hand in the orientation specified by the current Owner Manual or packed assembly guide. Reinstall the original hardware in the correct order and hand-start threaded fasteners.
If a fastener will not thread smoothly by hand, stop. Do not cross-thread, substitute hardware, or continue with uncertain hardware order.
5. Tighten to the approved specification
Use the exact tightening sequence and torque value printed in the current Grizzly 72V Owner Manual or packed assembly guide. The photo and video materials illustrate the procedure only. They do not establish a torque value, tool size, axle direction, or hardware order for every PPB.
If the approved value is not available, do not ride. Contact Ariel Rider Support for a technical review.
Pre-ride safety check
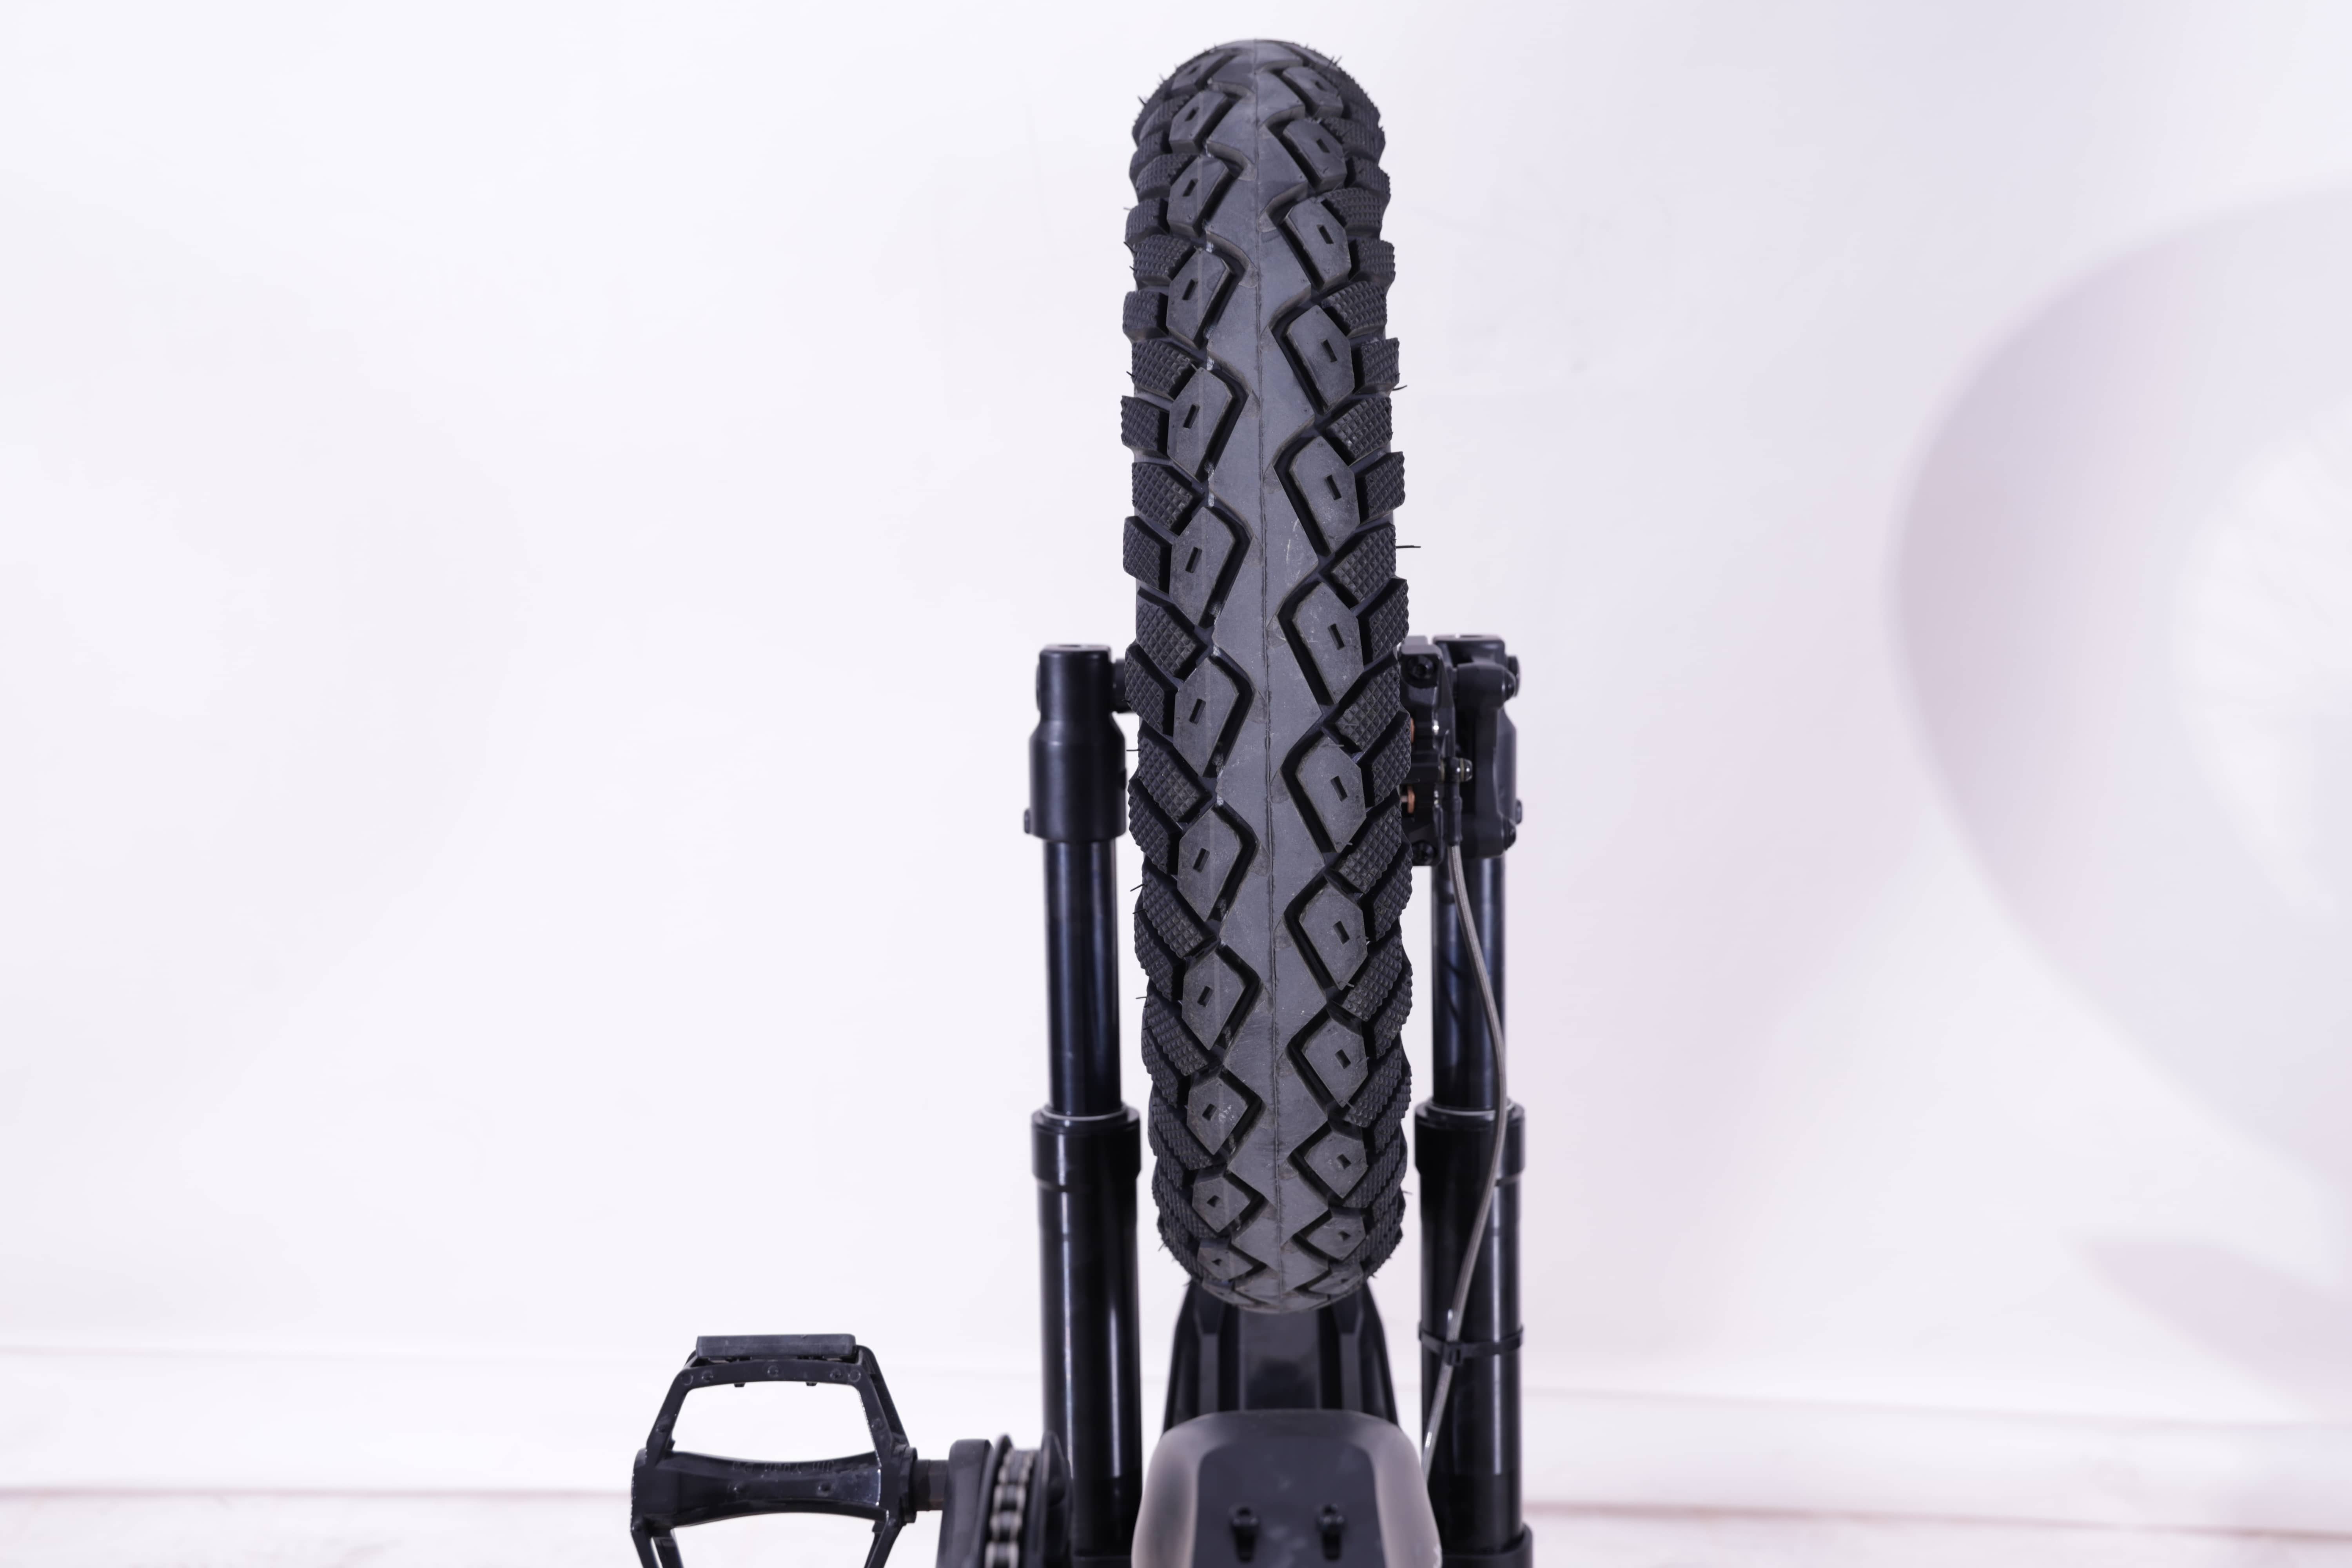
- The wheel is centered and fully seated between the fork ends.
- The original axle hardware is installed and tightened to the approved specification.
- There is no side-to-side wheel movement or wobble.
- The wheel spins straight and the rotor clears the caliper without severe rubbing.
- The brake hose is not pinched, twisted, or rubbing the tire or rotor.
- The front brake lever feels firm while the PPB is stationary.
Do not ride if any check fails.
When to contact Support
Contact Ariel Rider Support before riding if the axle will not seat or thread by hand, hardware is missing, the wheel has play or is not centered, the rotor contacts the caliper, the brake lever feels soft, or the approved fastening specification cannot be confirmed.
Please include your order number and clear photos of both axle sides, the wheel-to-fork mounting area, and the brake-caliper/rotor area.
Please contact us from here.