How do I remove/install the wheels on my X-Class?Updated 9 months ago
*Please note, this is for X-Class models prior to 2025
Wheel Install Instructions
- Time: 20 minutes
- Bikes covered: X-Class, X-Class Step Thru
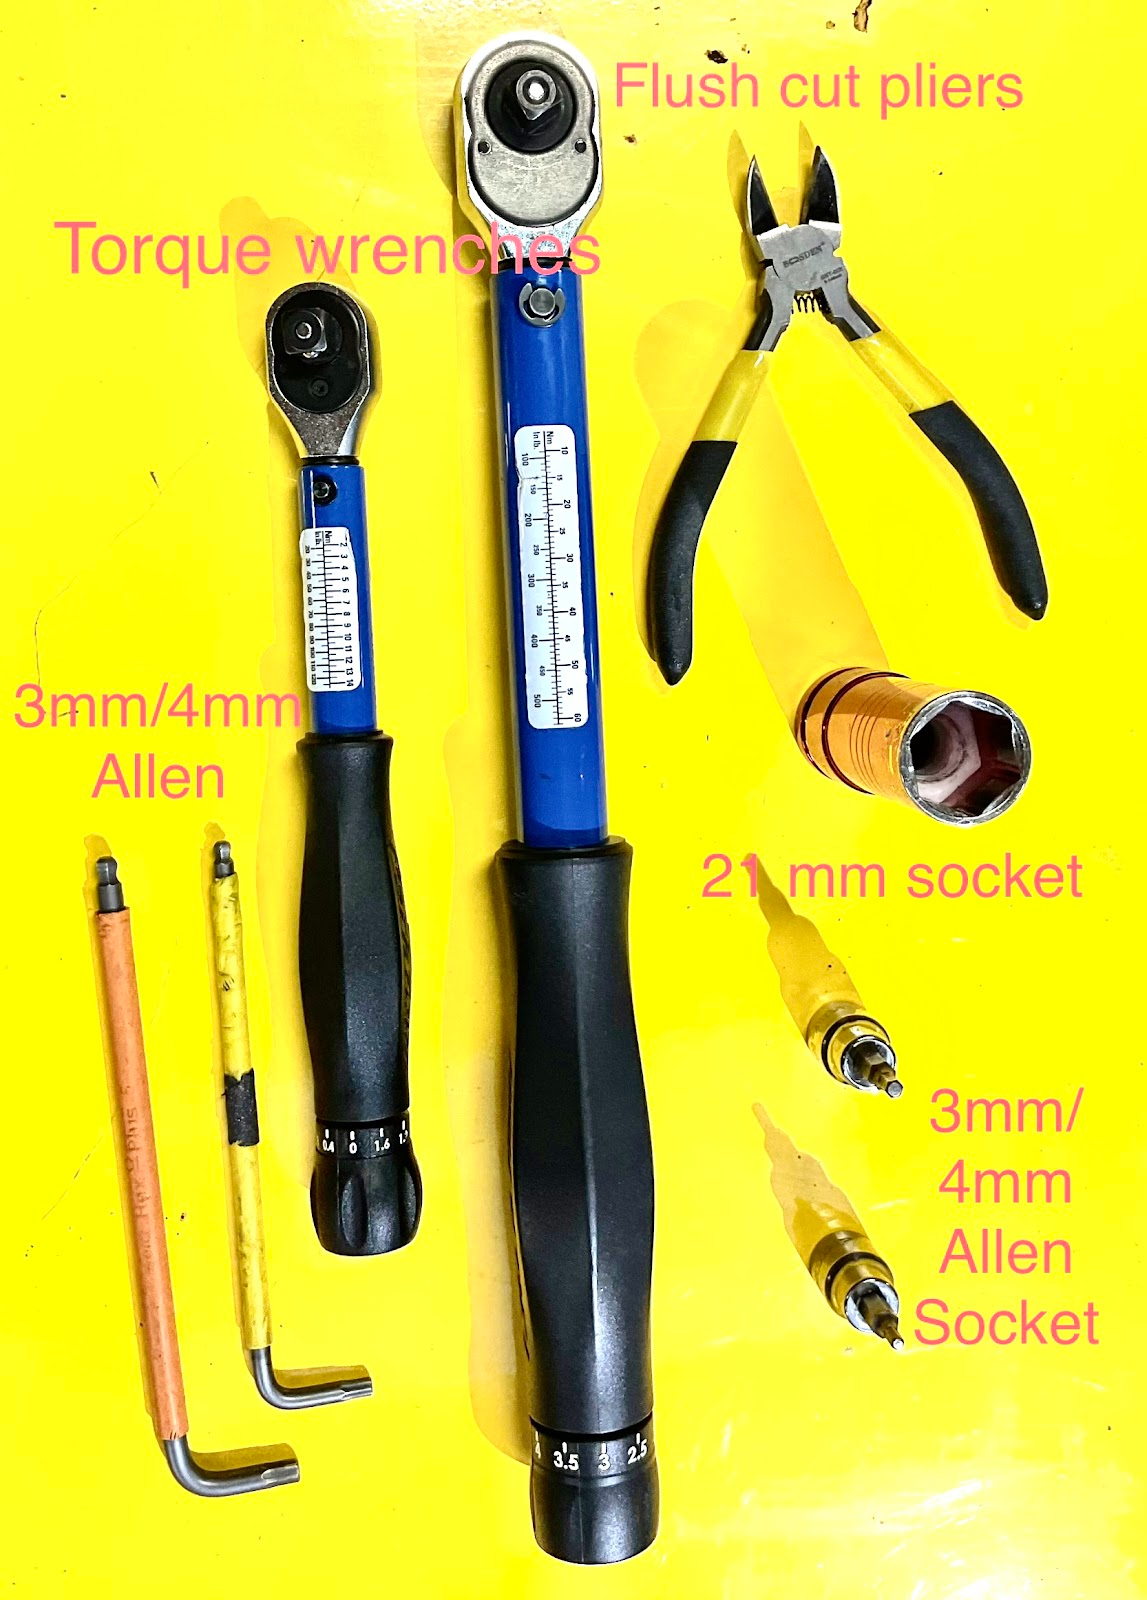
- Tools Needed:
- Flathead Screwdriver
- Flush Cut Pliers
- 4mm Allen Wrench
- 21mm Socket
- Socket Driver
- Torque Wrench (not pictured below)
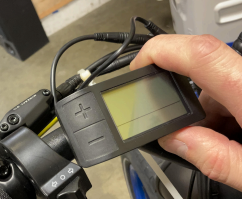
Step 1: Get the bike ready for installation. Turn off the bike, remove the battery, and press and hold the power button to discharge the remaining power.
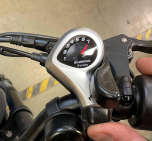
Step 2: Shift your bike into gear 7 with the button on the front of your shifter on the right side of your handlebar. When shifting, cycle the pedals to ensure the derailleur moves the chain to the 7th gear.
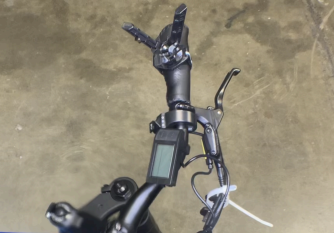
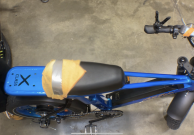
Step 3: Install your Handlebar Jacks on both grips of your handlebars and find something to protect your seat and the rear of your frame. Be very careful when you flip your bike over and ask a friend to help you because it can be awkward to do by yourself.
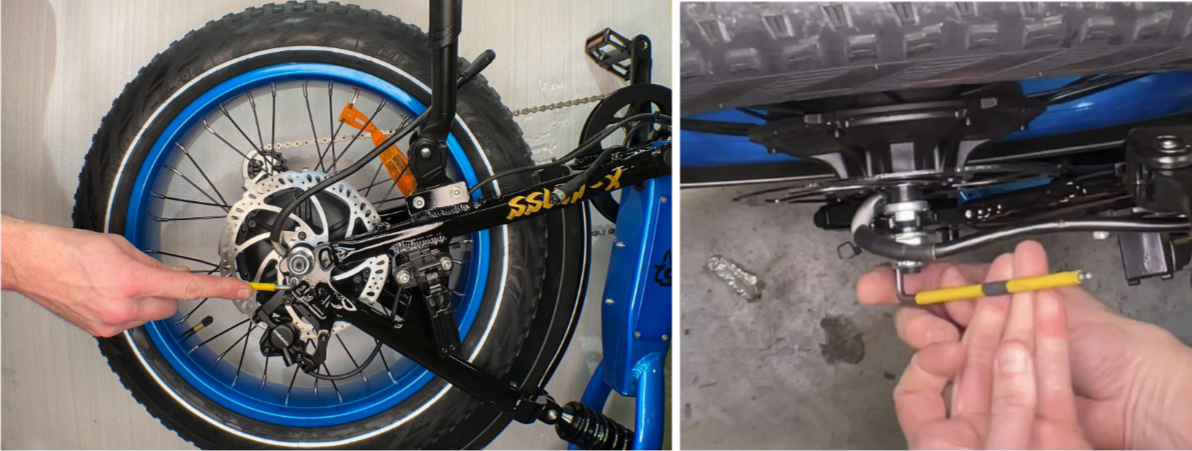
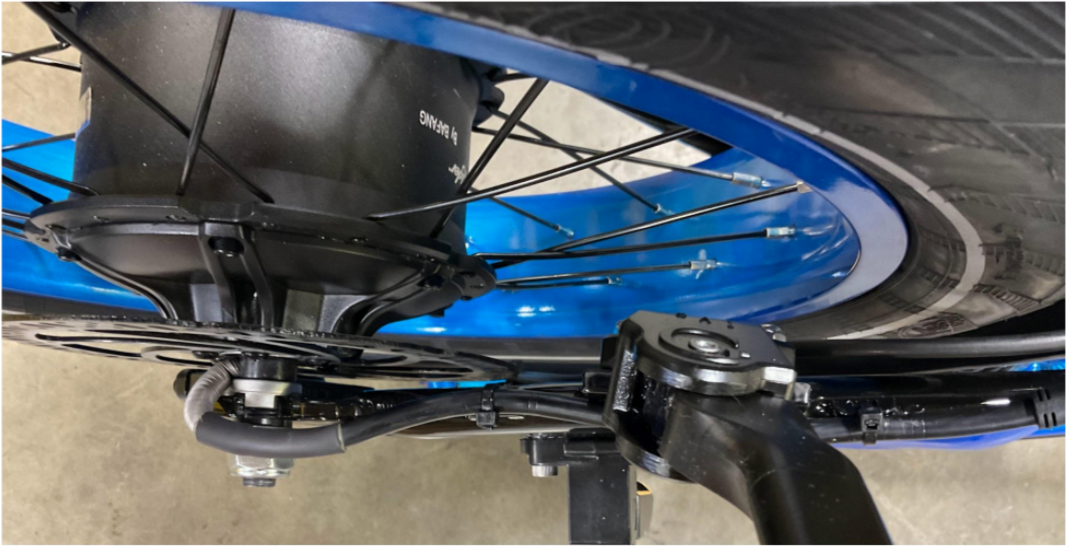
Step 4: Cut the zip ties off of the motor cable.
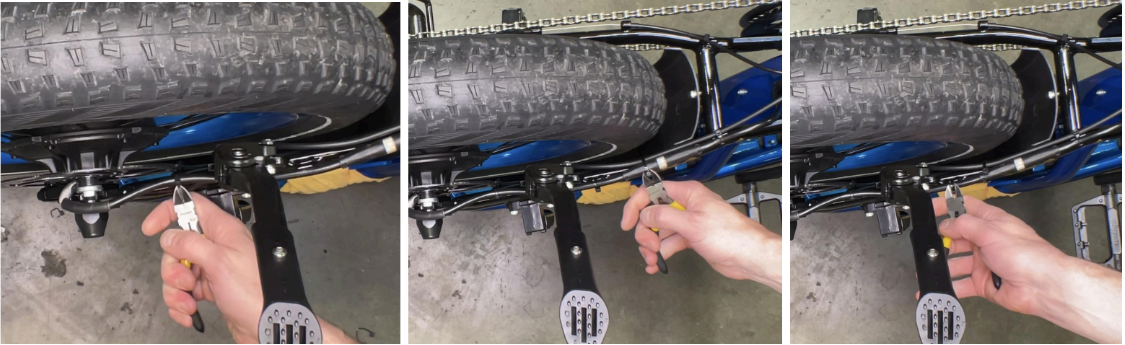
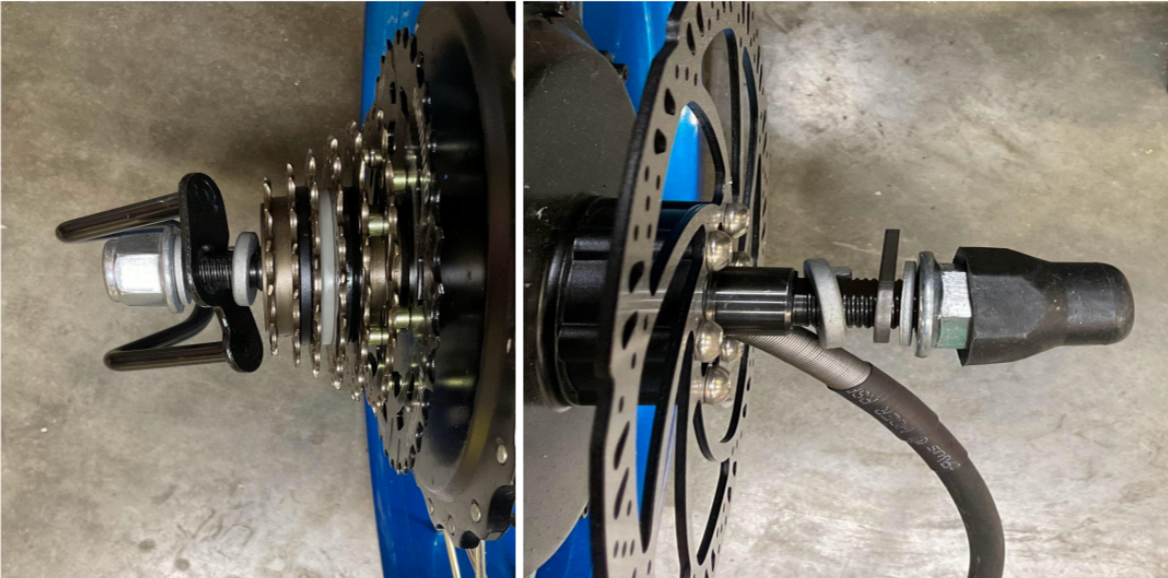
Step 5: Unscrew the metal ring on the motor cable and disconnect it.
Step 6: Use a 21mm Socket driver to remove both axle nuts completely.
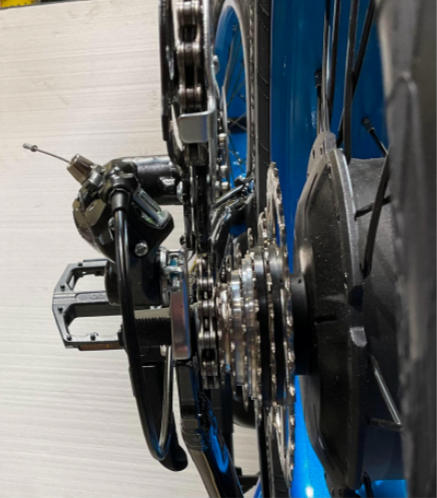
Step 7: Use a 4mm Allen wrench to remove the bolt from the Torque Guard and torque arm.
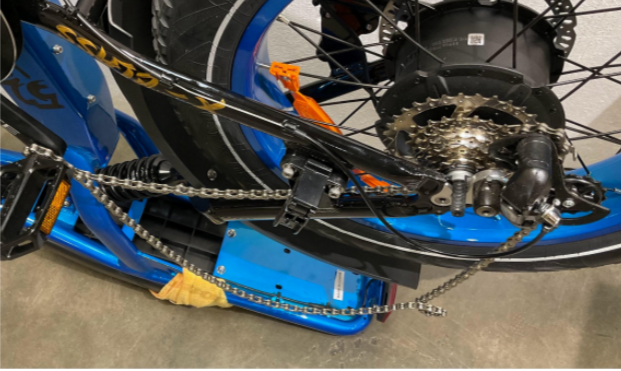
Step 8: Raise the derailleur and drop the chain from the chain ring.
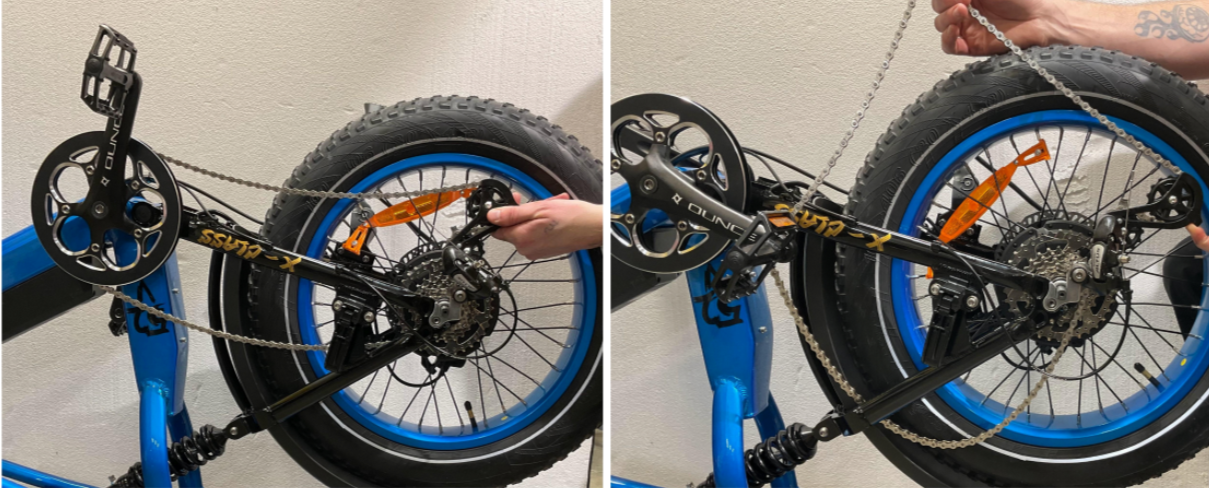
Let the chain hand on the pedal.
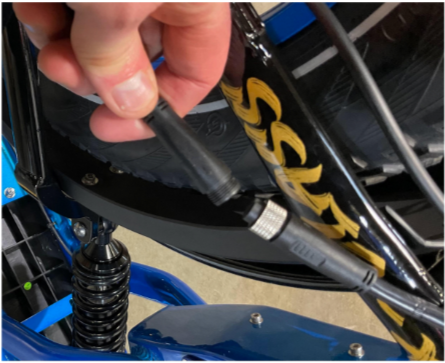
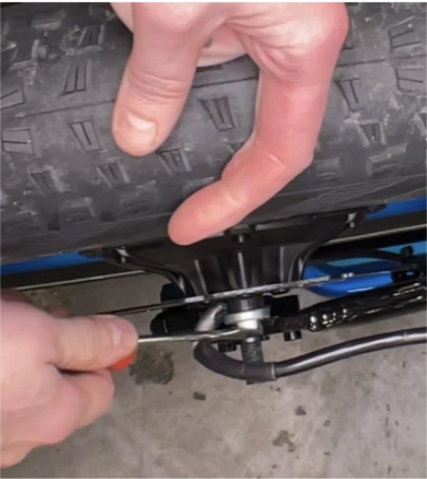
Step 9: If the torque arm is stuck, use a screwdriver to carefully pry it from the frame being sure not to scratch the paint.
Step 10: Lift the wheel straight up out of the dropout.

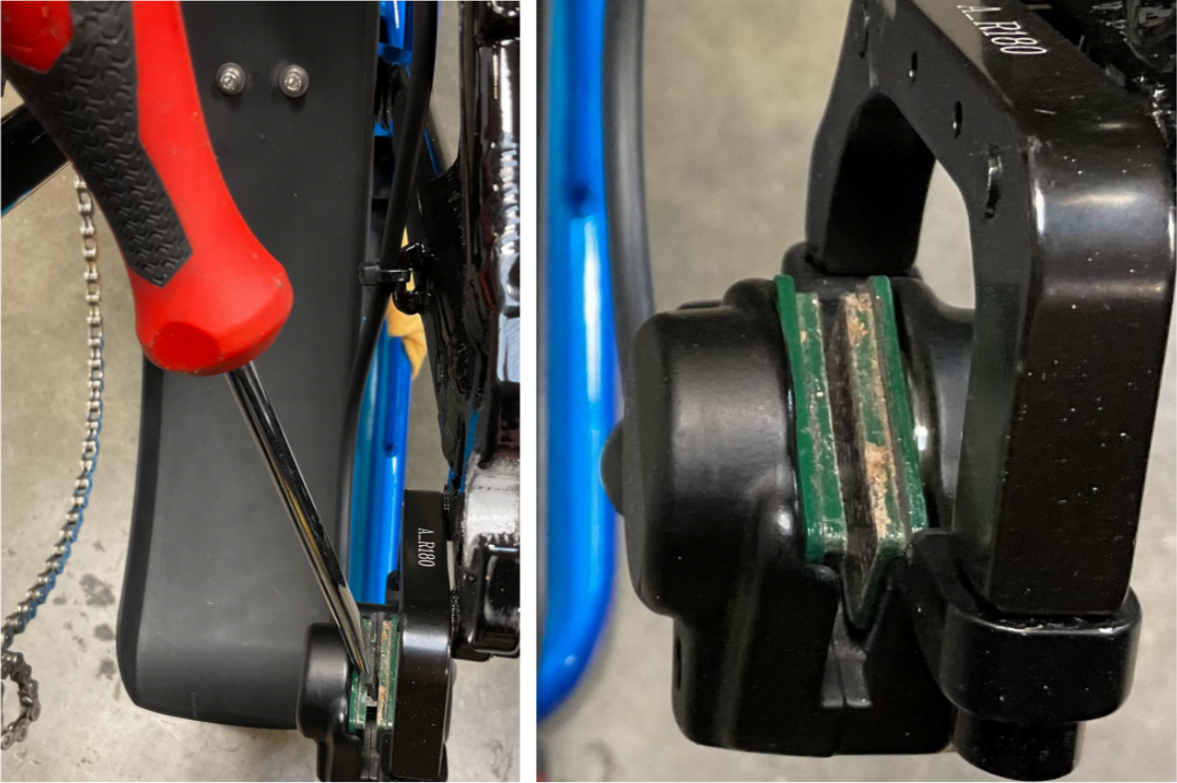
Step 11: Check that brake pads are spread apart well enough to easily slide the brake rotor into them.
DO NOT PULL BRAKE LEVERS DURING THIS PROCESS, IT WILL BE DIFFICULT TO SPREAD THEM IF YOU DO.
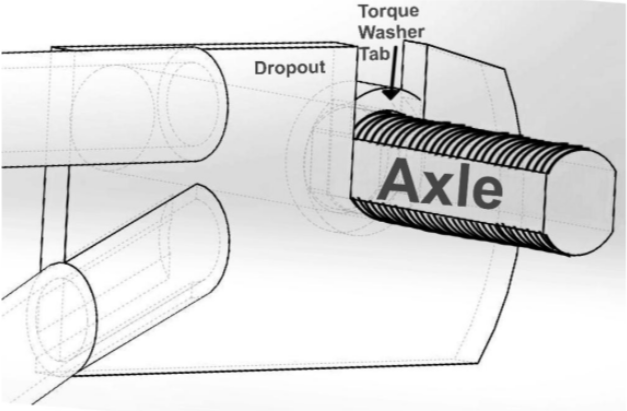
Step 12: Check that your hardware is set up so that both torque washers will be inside the frame with the anti-rotation tabs facing out.
Step 13: Install the wheel into the dropouts and check that your hardware is set up so that both torque washers will be on the inner surface of the frame with the anti-rotation tabs facing outward. Additionally, keep an eye on the rotor to fall between the brake pads.
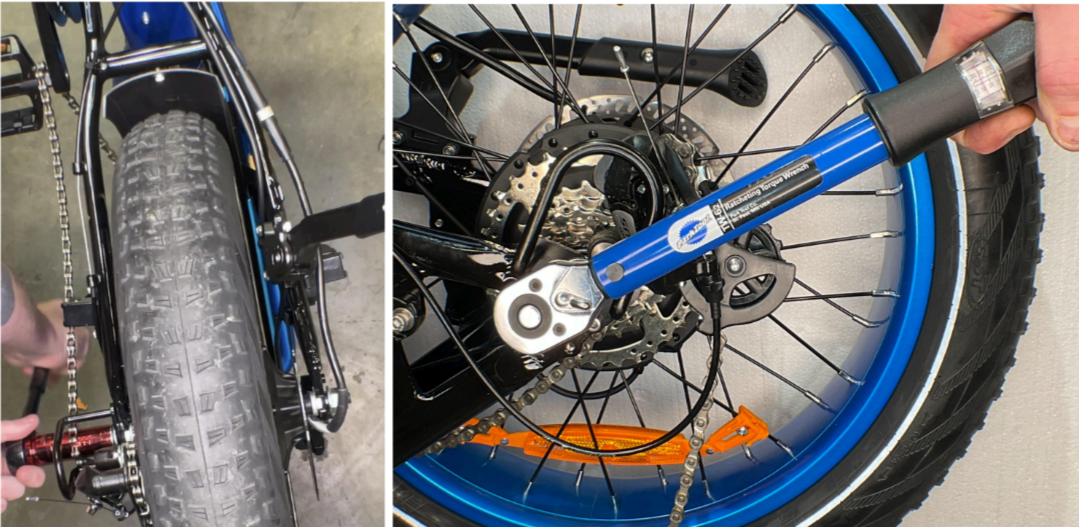
Step 14: Align the chain with the 7th gear
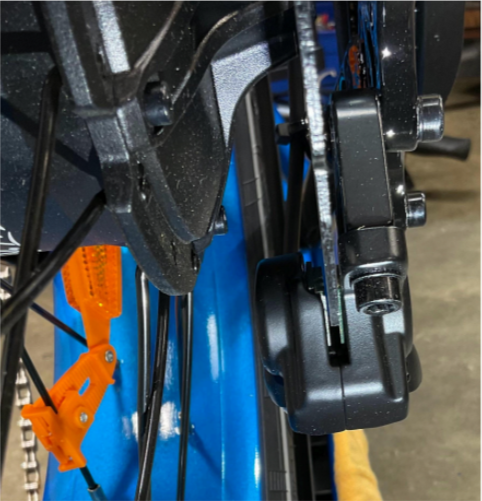
Step 15: With the wheel in place, install the torque arm with an M5 bolt using a 4mm Allen wrench.
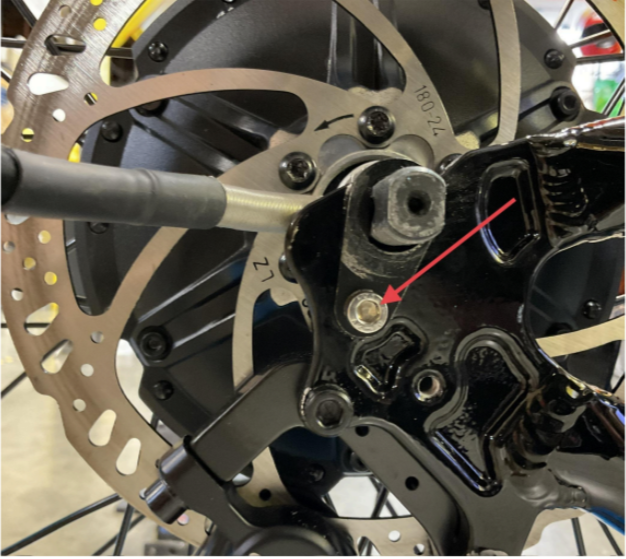
Step 16: Install torque arm derailleur guard with M5 bolt using 4mm Allen wrench.

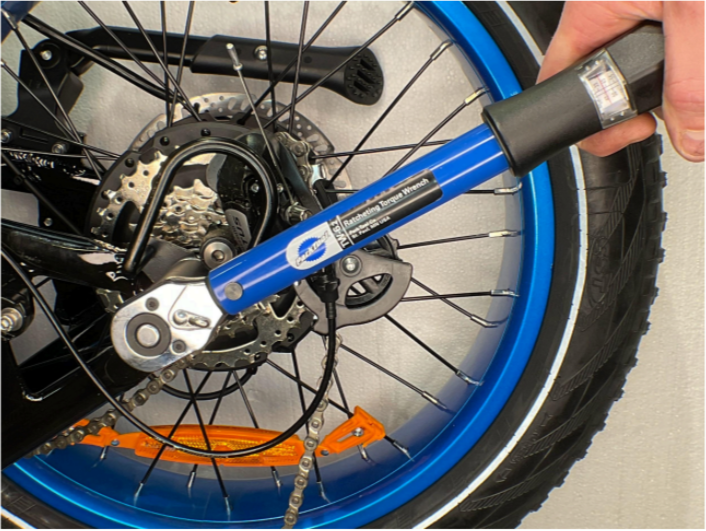
Step 17: Install axle nuts and torque to 40Nm.
Step 18: Replace zip ties after connecting the motor cable being sure that brake rotor bolts are clear of the motor cable and the brake line is not touching the wheel anywhere along the brake hose.
Step 19: Make sure your tires are fully inflated and your chain is in place before a test ride.