
How to assemble the Cargo Plus Rack with the Extension Saddle (instructions/video)Updated 2 months ago
Cargo Plus Rack & Extension Saddle Installation Guide
Follow the instructions below to assemble and install the Cargo Plus Rear Rack, Extension Saddle (Passenger Seat), and Cargo Basket on your Ariel Rider e-bike.
*Note: This guide applies to pre-2025 X-Class 52V and Grizzly models.
Required Tools
- 3mm Allen wrench
- 5mm Allen wrench
- 8mm wrench
- 10mm wrench
- Wire snips / flush cutters
Step-by-Step Installation Instructions
Part 1: Installing the Rear Rack
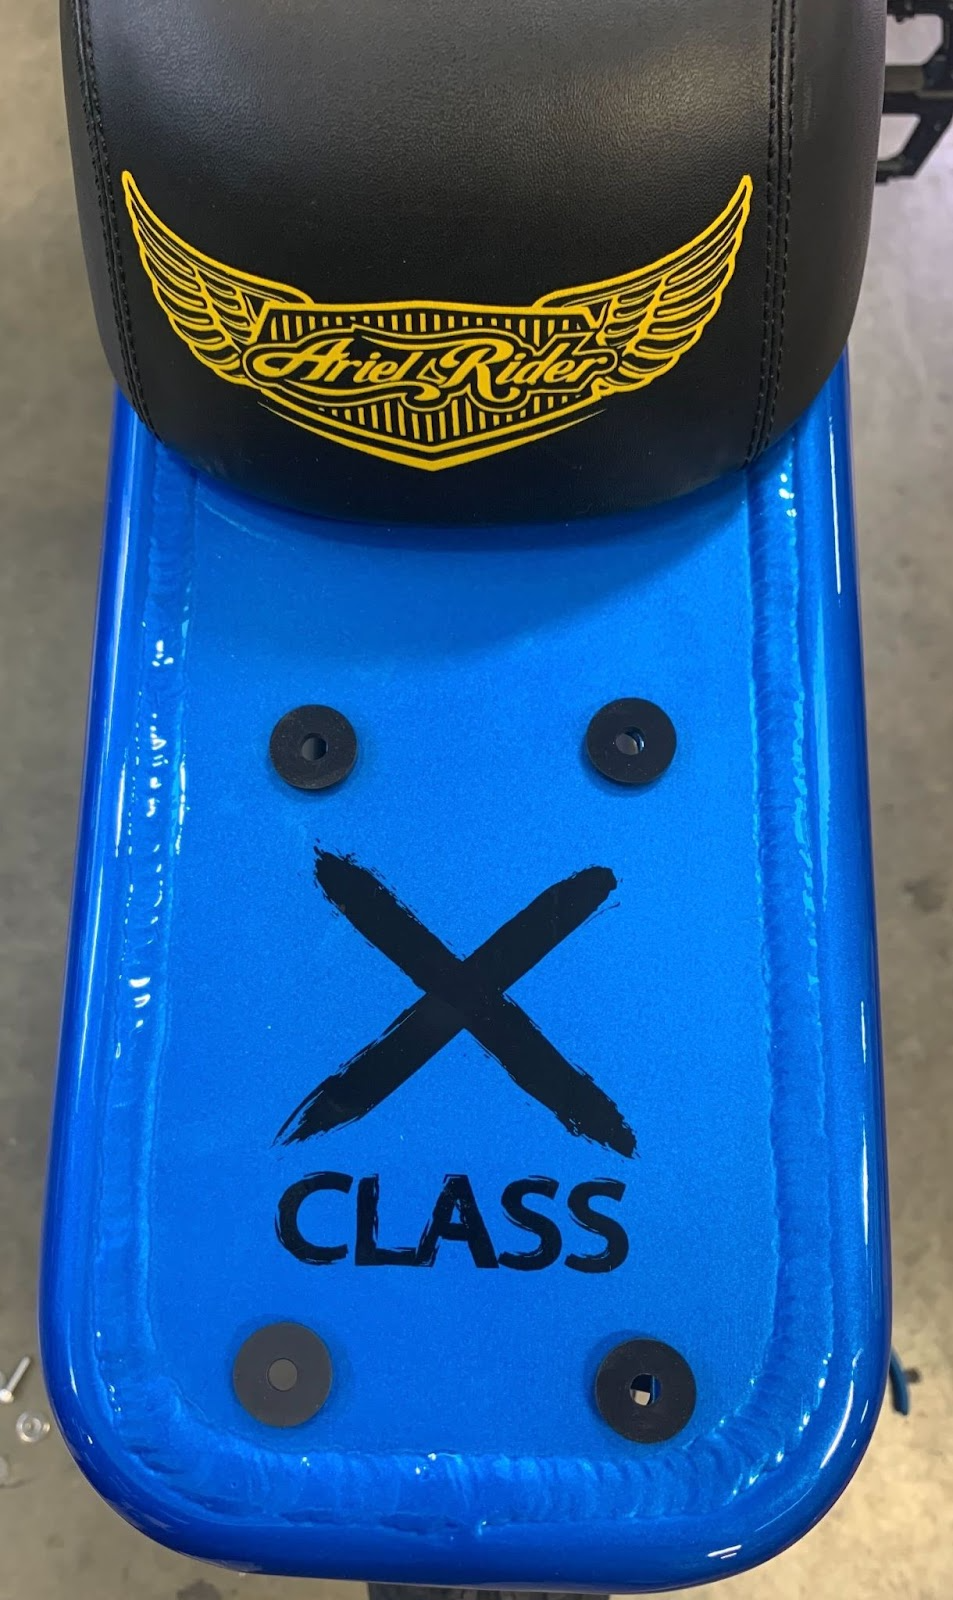
- Position rubber washers: Place the black rubber washers over the mounting holes on the bike frame to protect the paint and prevent noise.
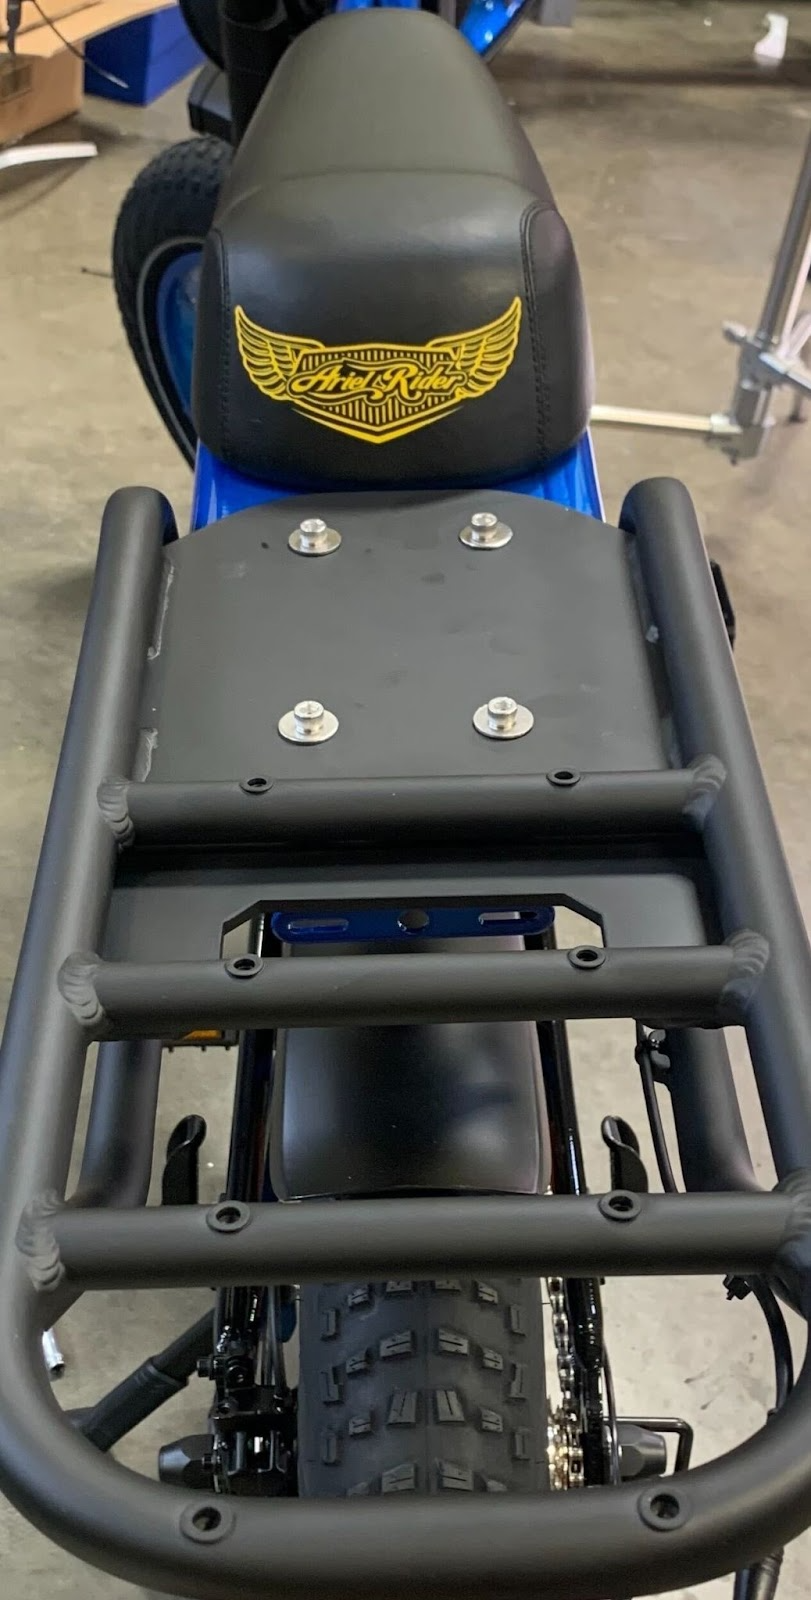
- Align the rack: Place the rear rack onto the frame so its mounting holes align directly with the rubber washers and frame mounts.
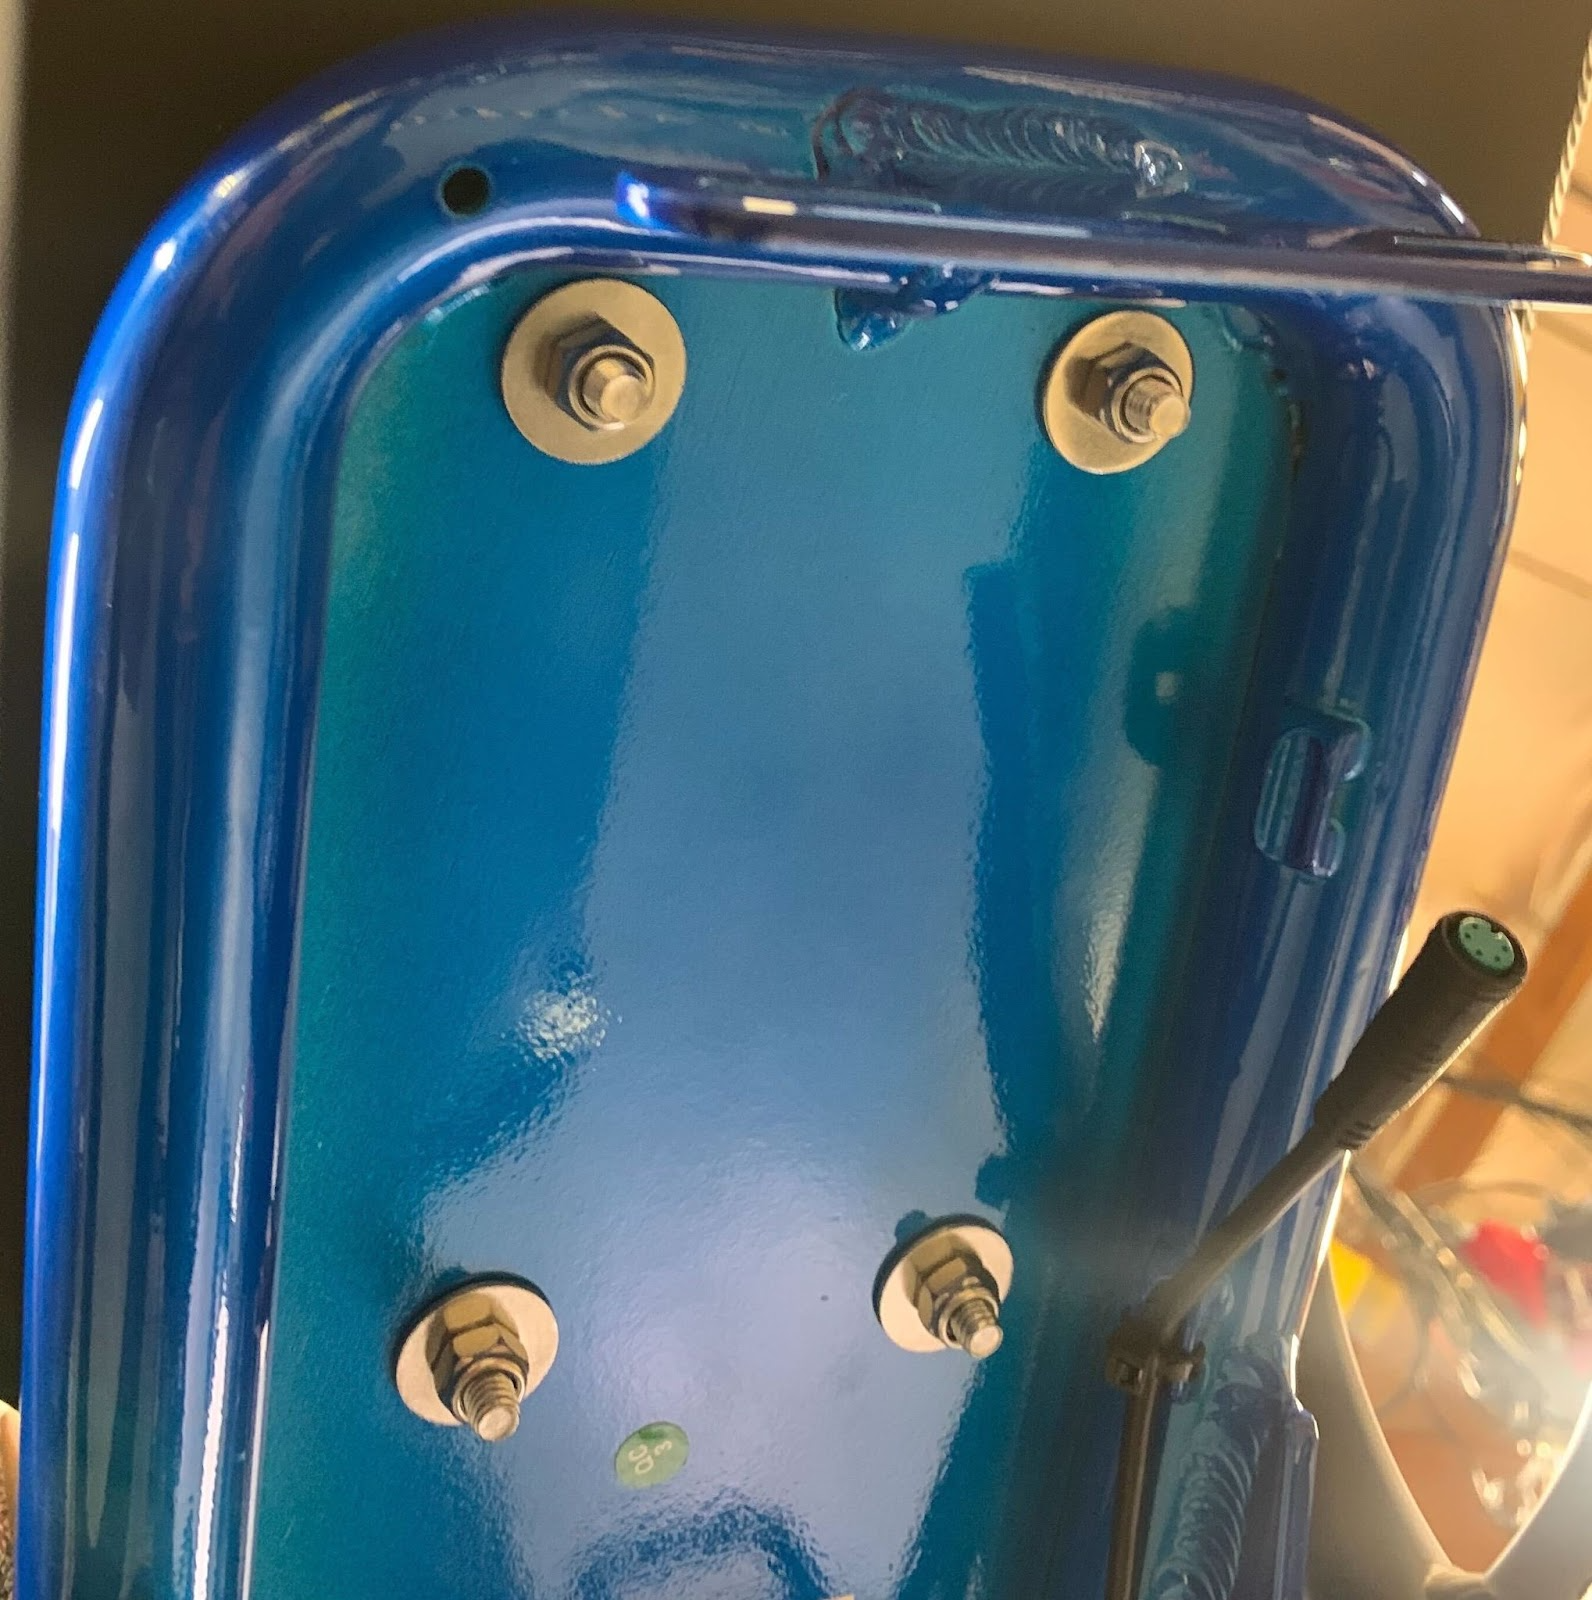
- Secure the rack:Fasten the rack using the supplied nuts, bolts, and silver washers. Tighten down using a 5mm Allen wrench and a 10mm wrench.
Part 2: Relocating the Tail Light
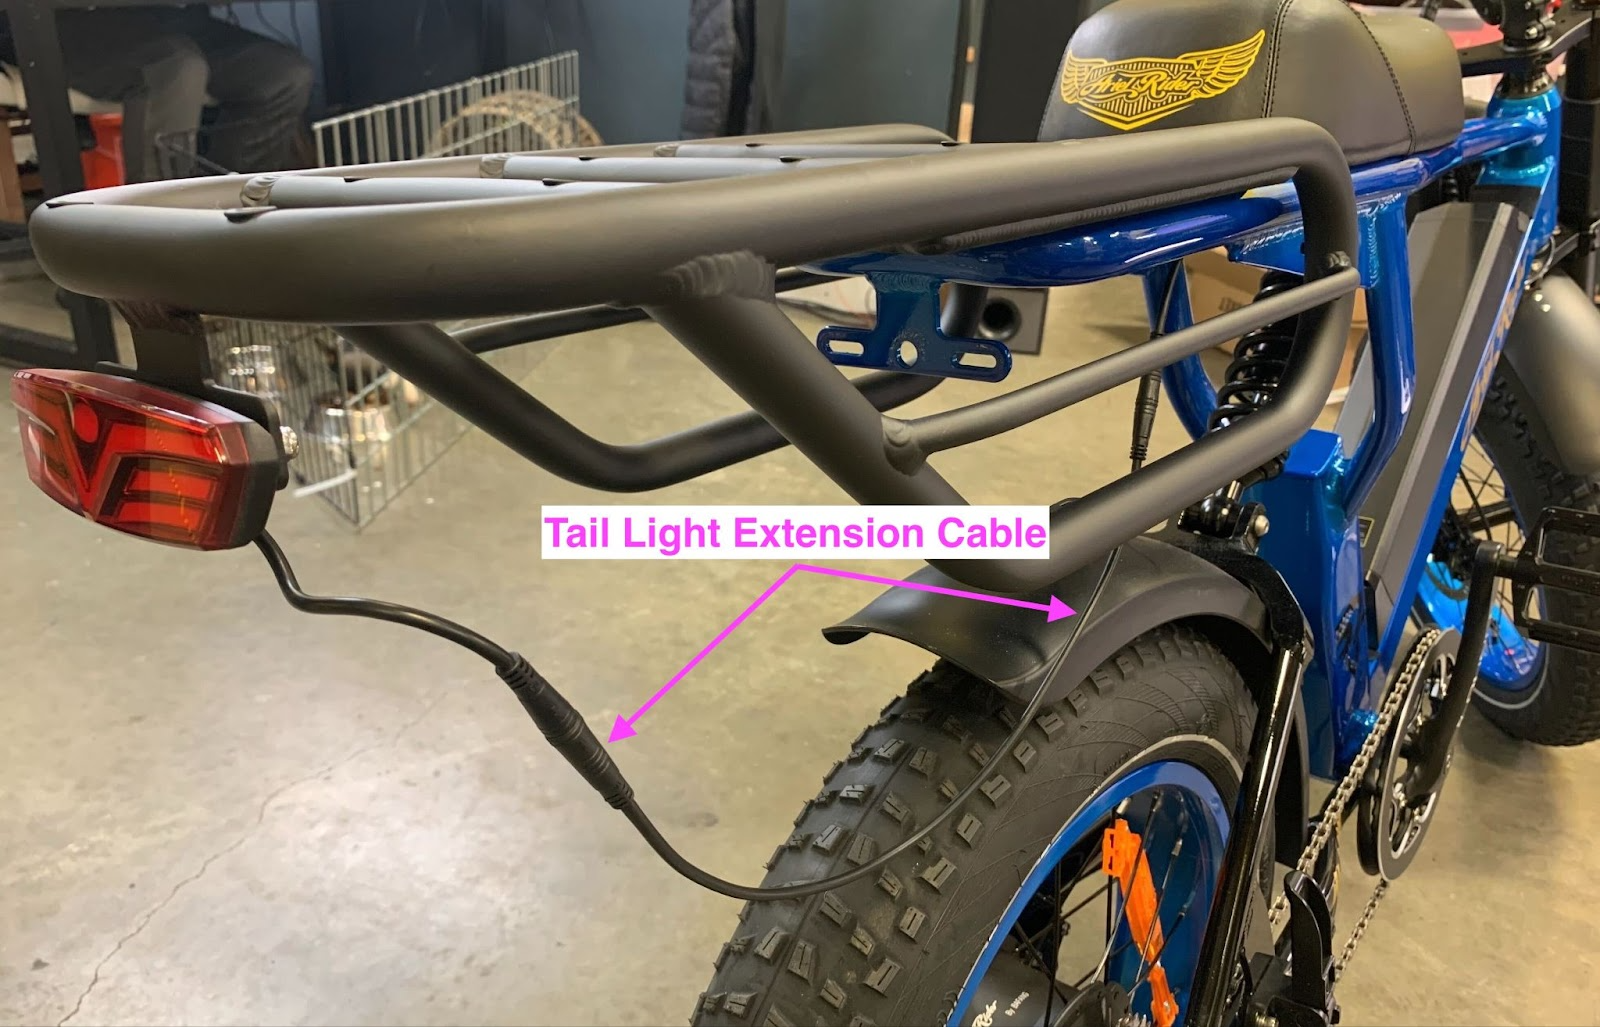
- Remove the tail light: Snip securing zip ties, then remove the two tail light bolts using an 8mm wrench. Unplug the connection cables by pulling the quick-connect plugs straight apart.
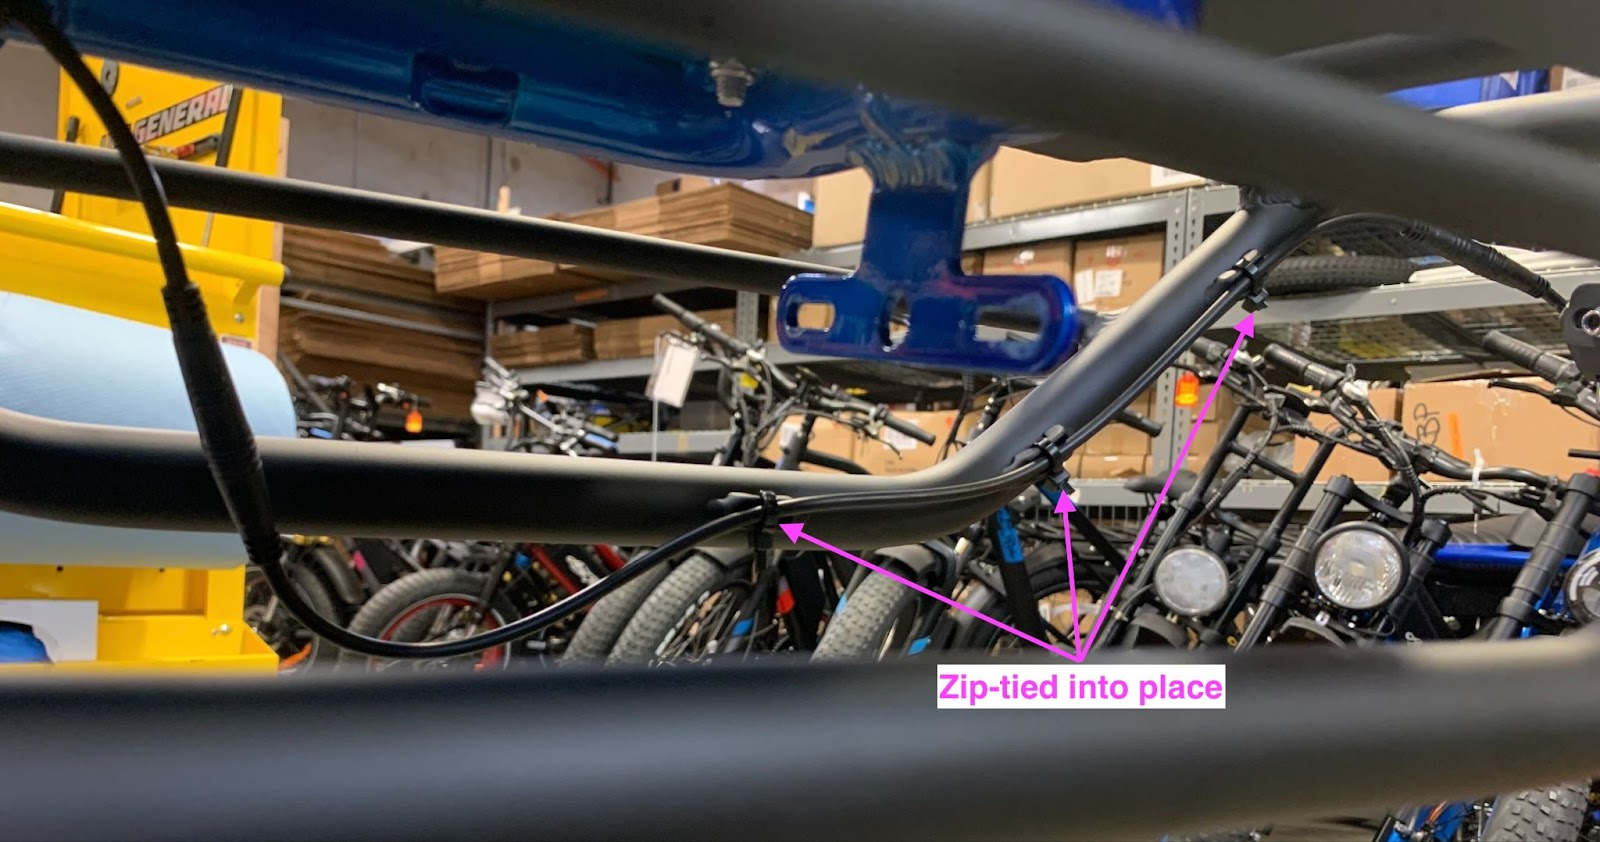
- Mount to rear rack:Connect the tail light extension cable and relocate the tail light to the mounting bracket on the rear of the rack. Secure the cable along the rack tubing using 3 zip ties and snip excess zip-tie tails.
Part 3: Installing the Extension Saddle / Passenger Seat
- Swap hardware:If the rear rack is already installed, remove the nuts and bolts used to secure the top of the rack. Use the longer passenger seat nuts and bolts instead.
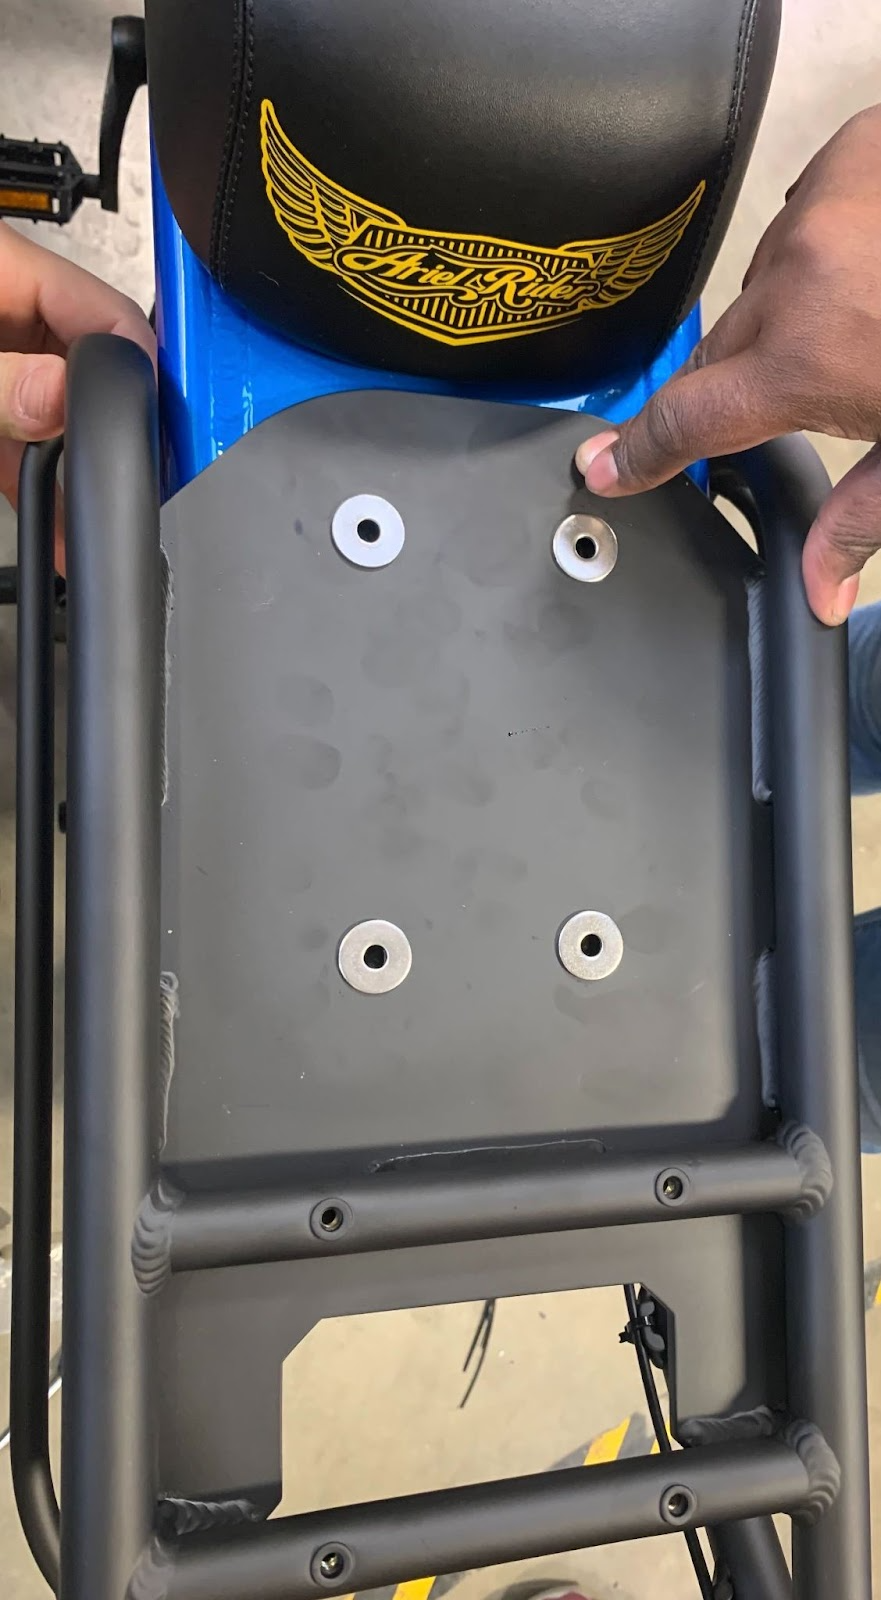
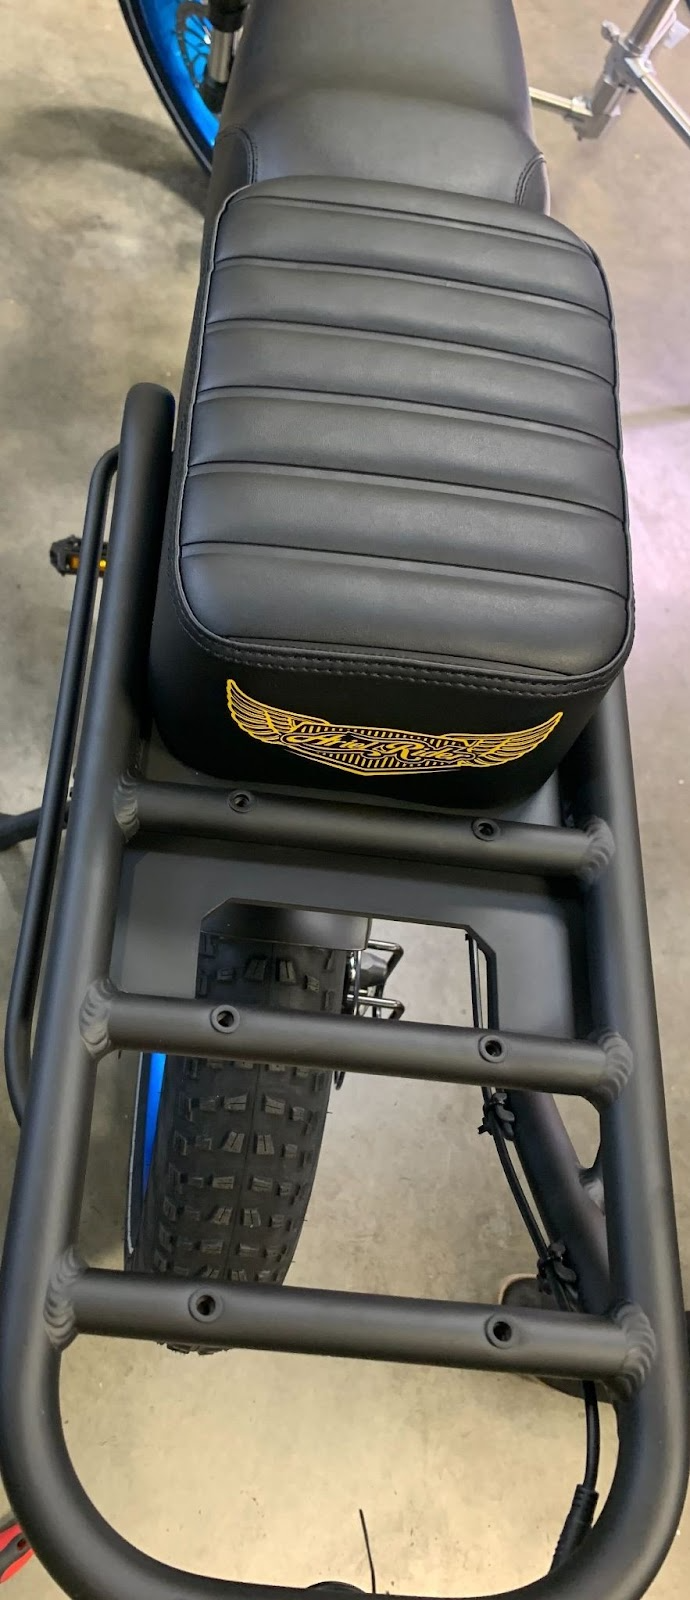
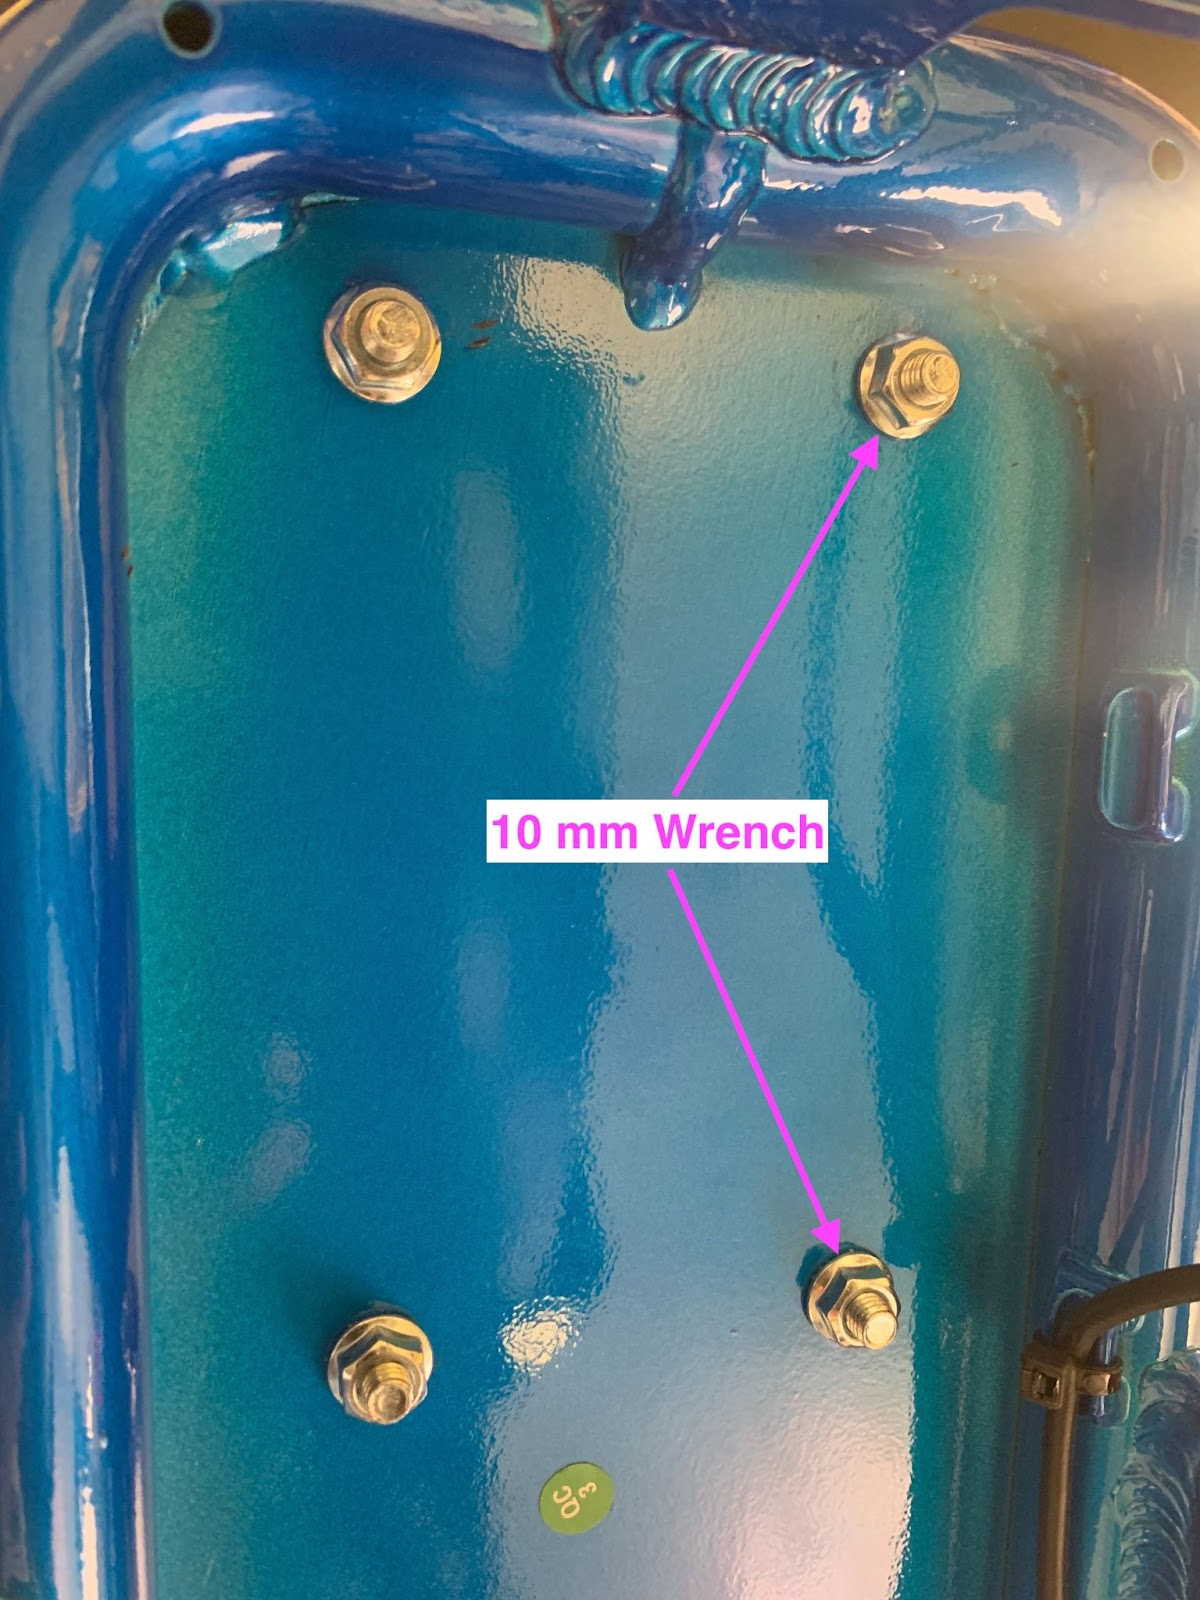
- Tighten seat bolts: Secure the passenger seat bolts to the rear rack using a 10mm wrench.
Part 4: Installing the Cargo Basket
- Place rubber washers:Set rubber washers over the top mounting holes of the rear rack.
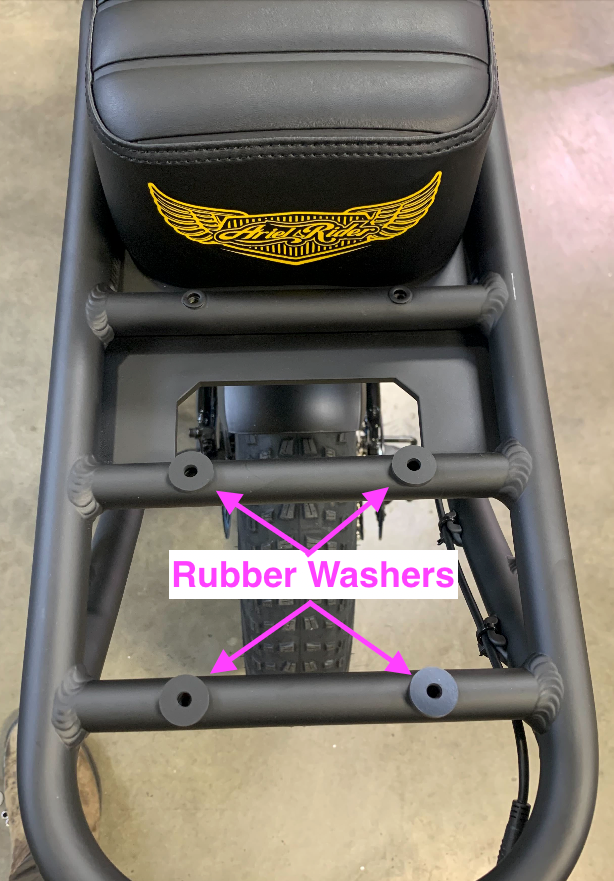
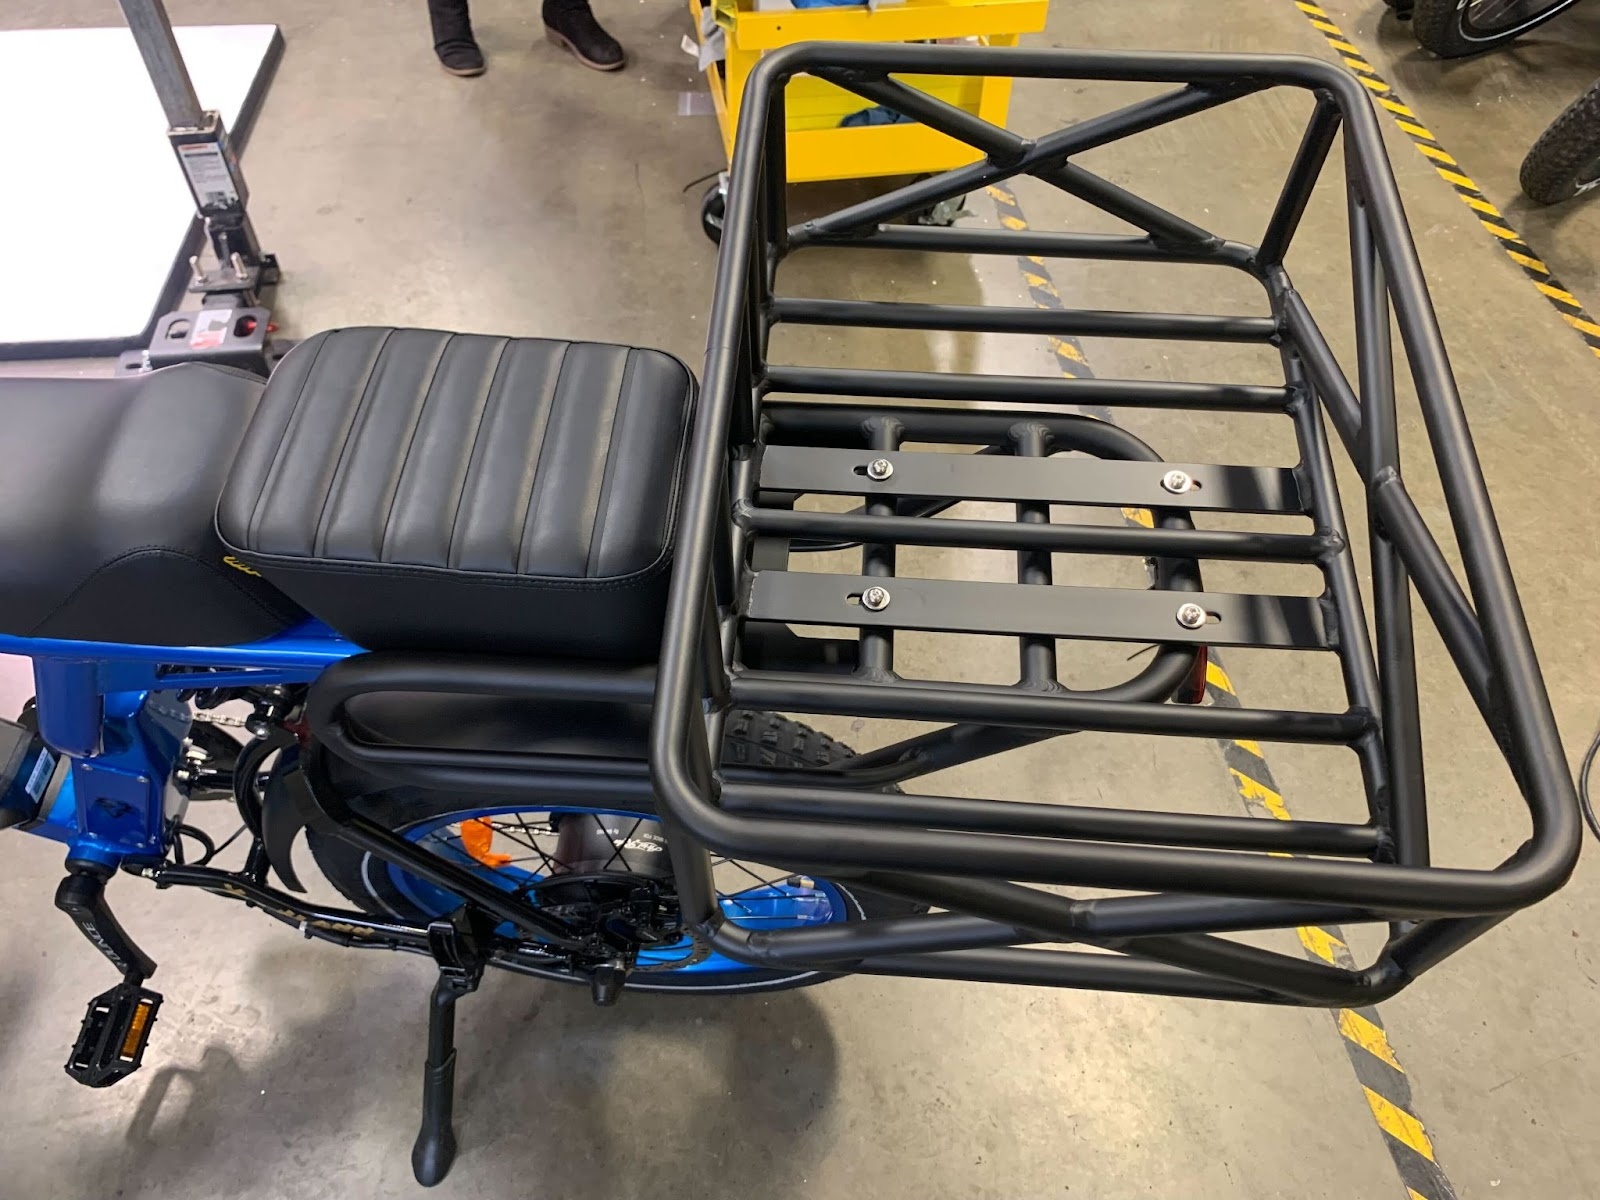
- Fasten basket hardware:Position the basket over the washers and secure the 4 bolts with a 3mm Allen wrench. Ensure the split lock washer is positioned on top of the flat washer before tightening.
If you have any questions, please reach out to us through our contact form.