How To Install Kepler Front RackUpdated 8 months ago
If you need to install the front rack on your Kepler this Video will show you the process.
Kepler Front Rack Install
Tools Needed:
4mm Allen wrench
10/8mm crescent wrench
5mm Tri wrench
Philips screwdriver
Snips

Step 1: Remove your battery from your bike using the key.

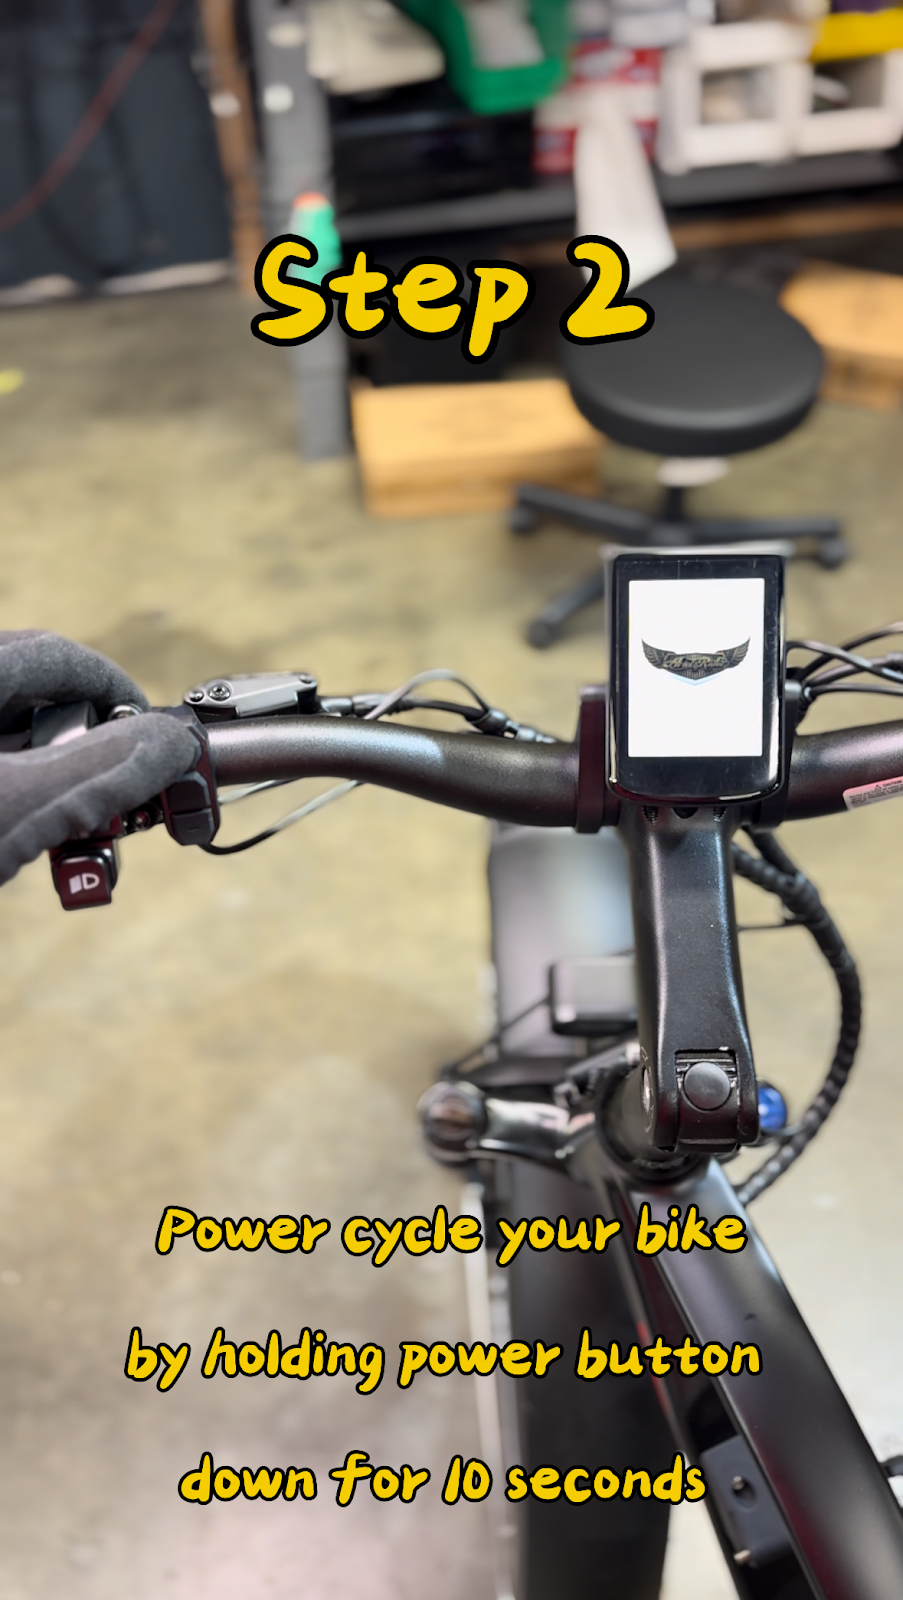
Step 2: Power cycle your bike by holding down the power button for 10 seconds. You should see the Ariel Rider logo flash on for a second then go dark. This eliminates any leftover power from your bike.
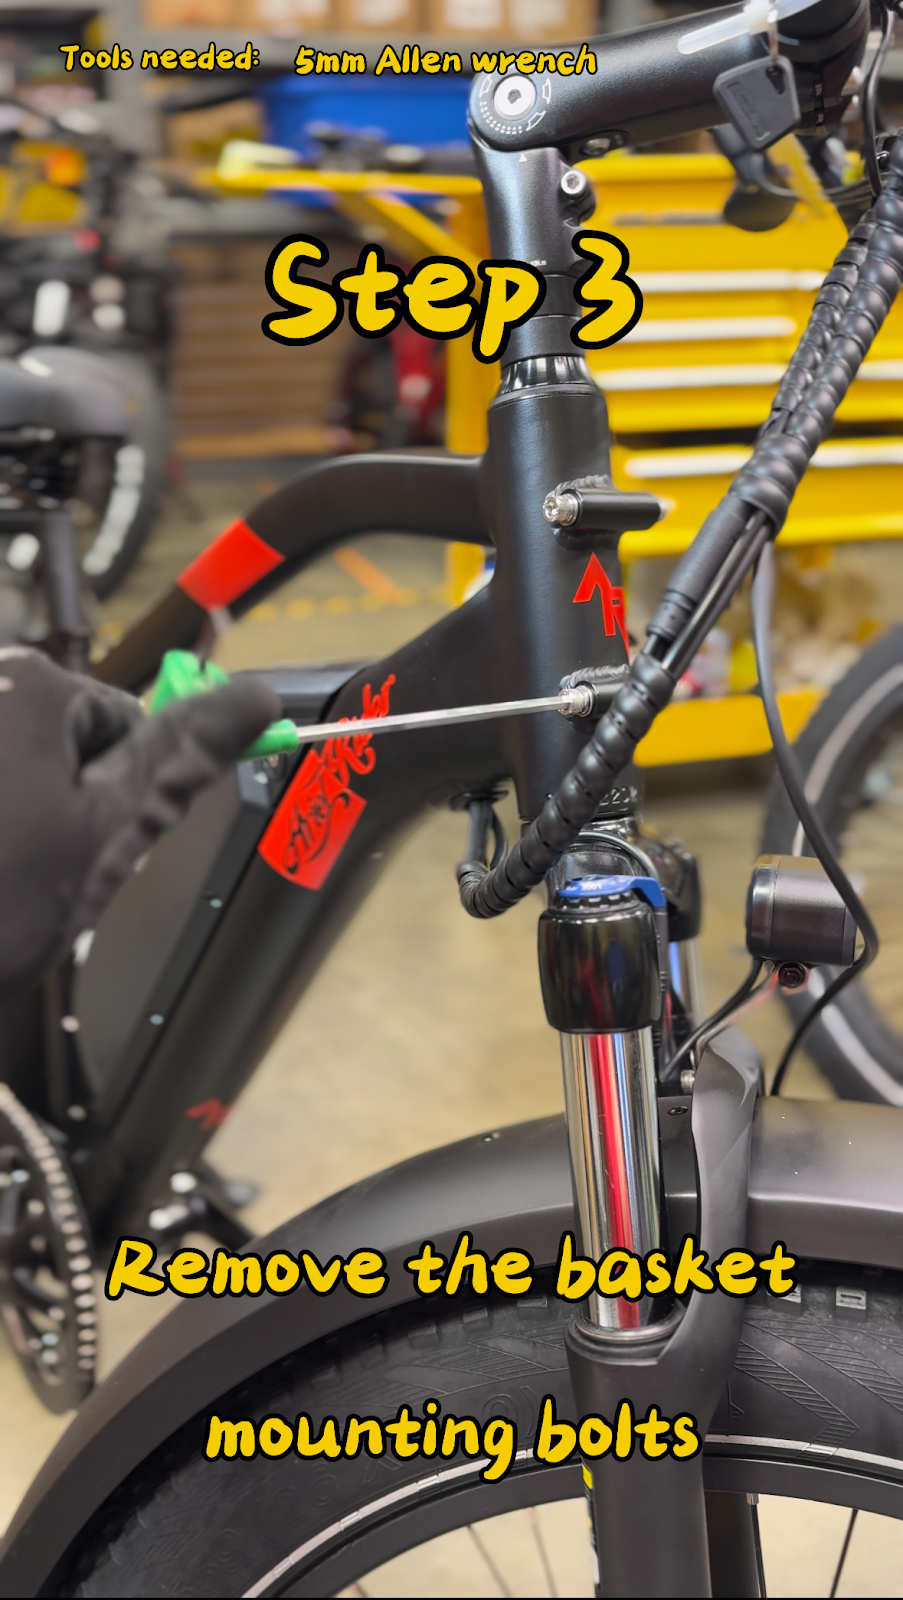
Step 3: Remove bolts where the basket will be mounted
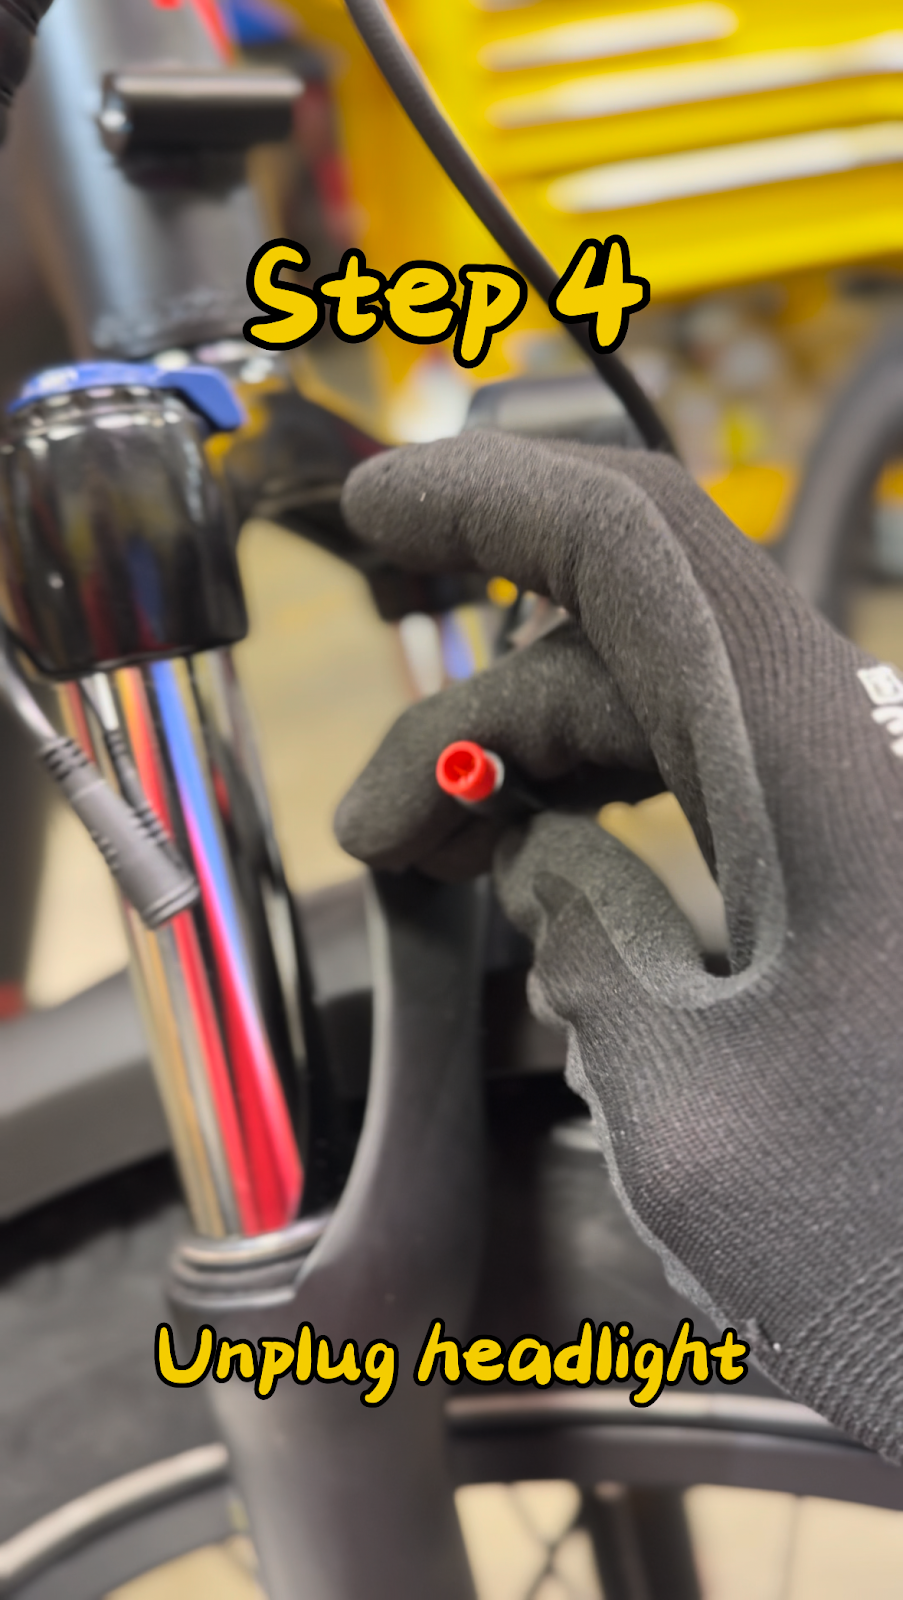
- Step 4: Unplug your headlight from the main wire harness
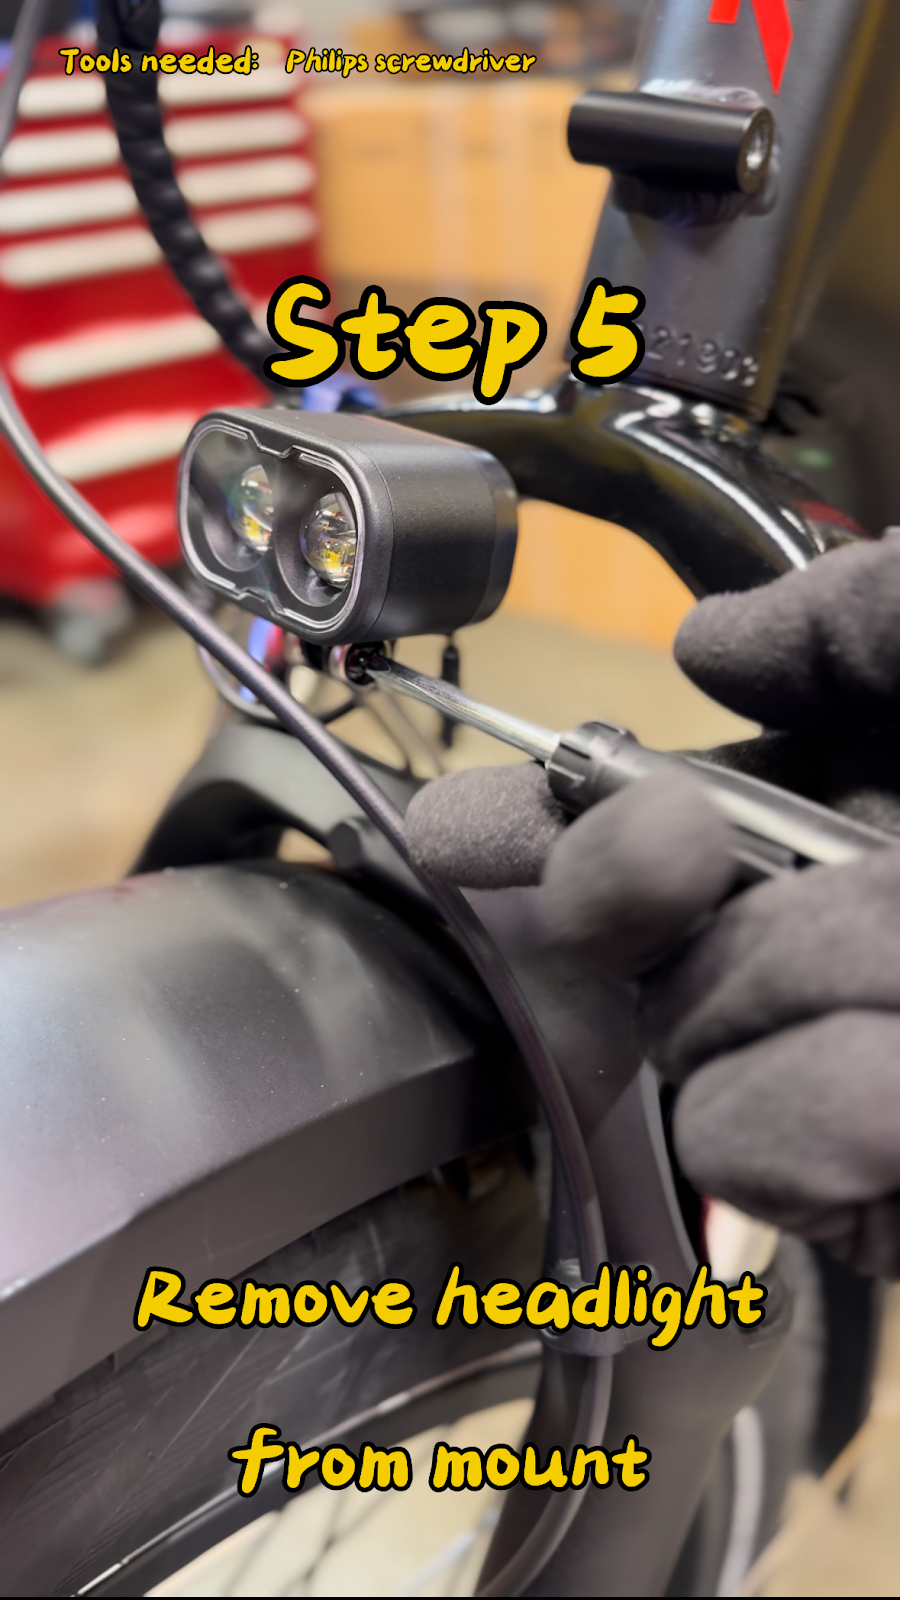
- Step 5: Remove the headlight from the headlight bracket.
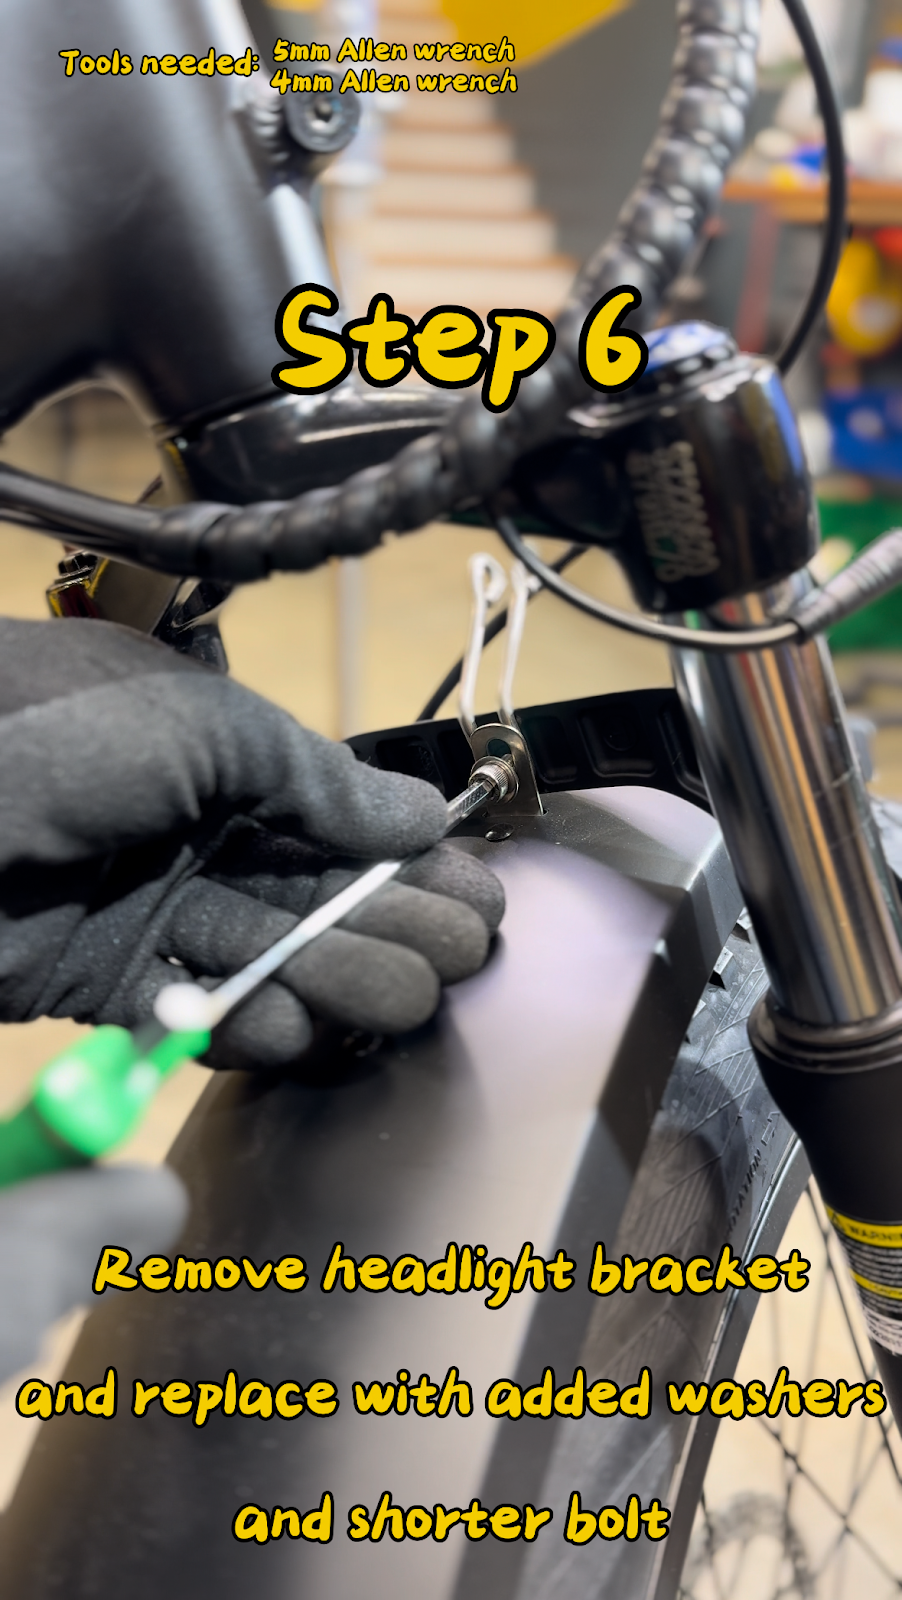
- Step 6: Remove the headlight bracket from the front forks. Then use the short screw provided with 2 washers in order to re-secure the front fender.
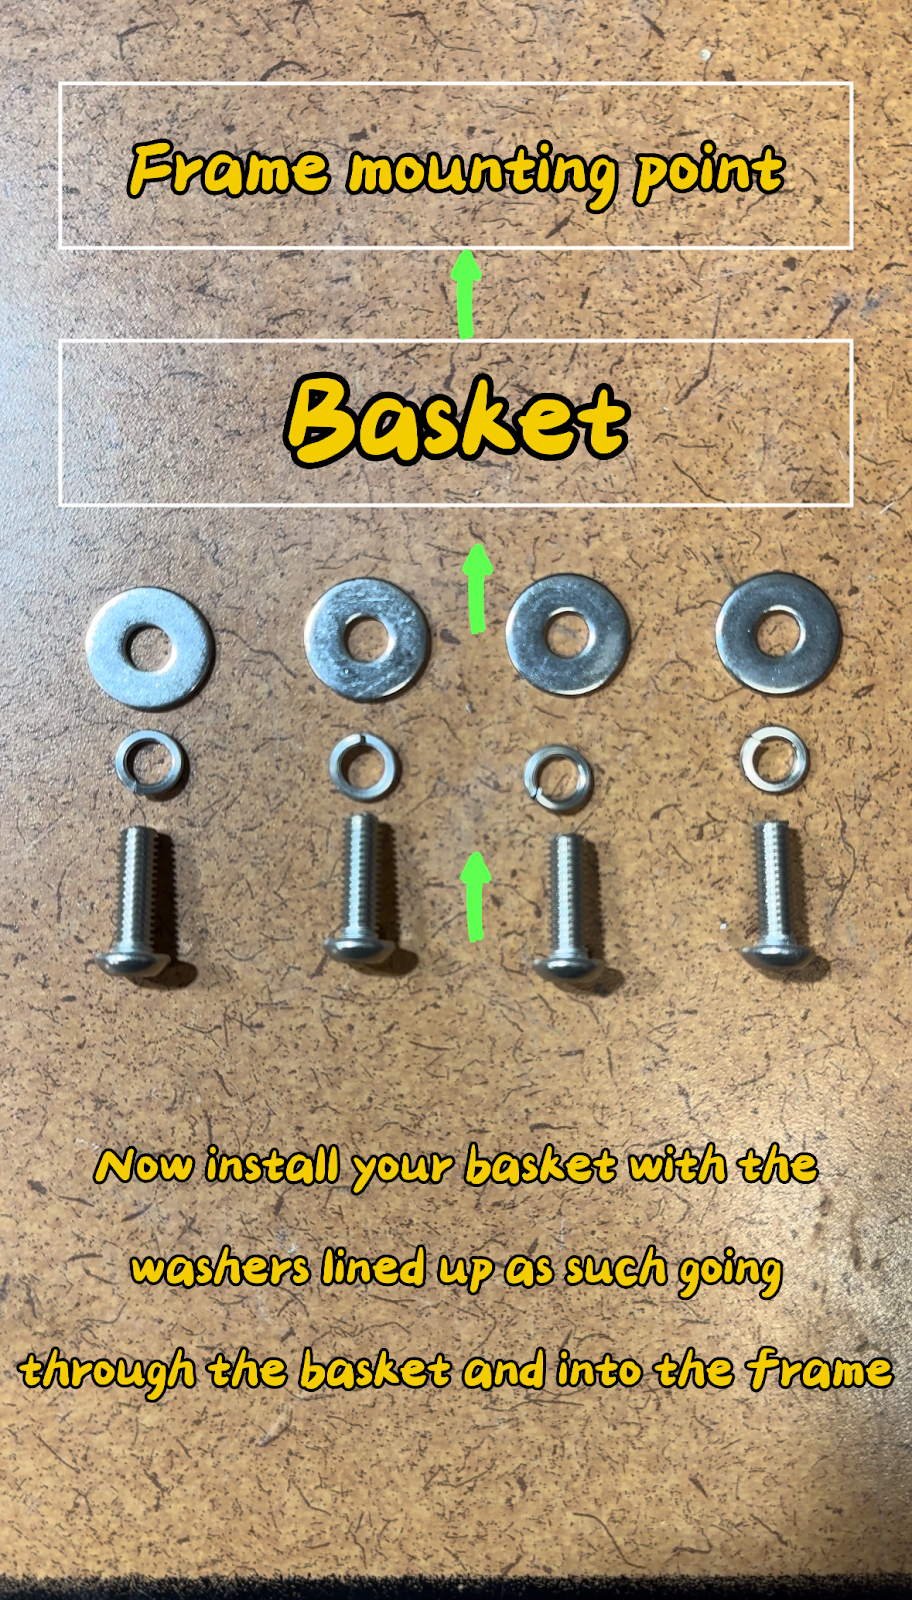
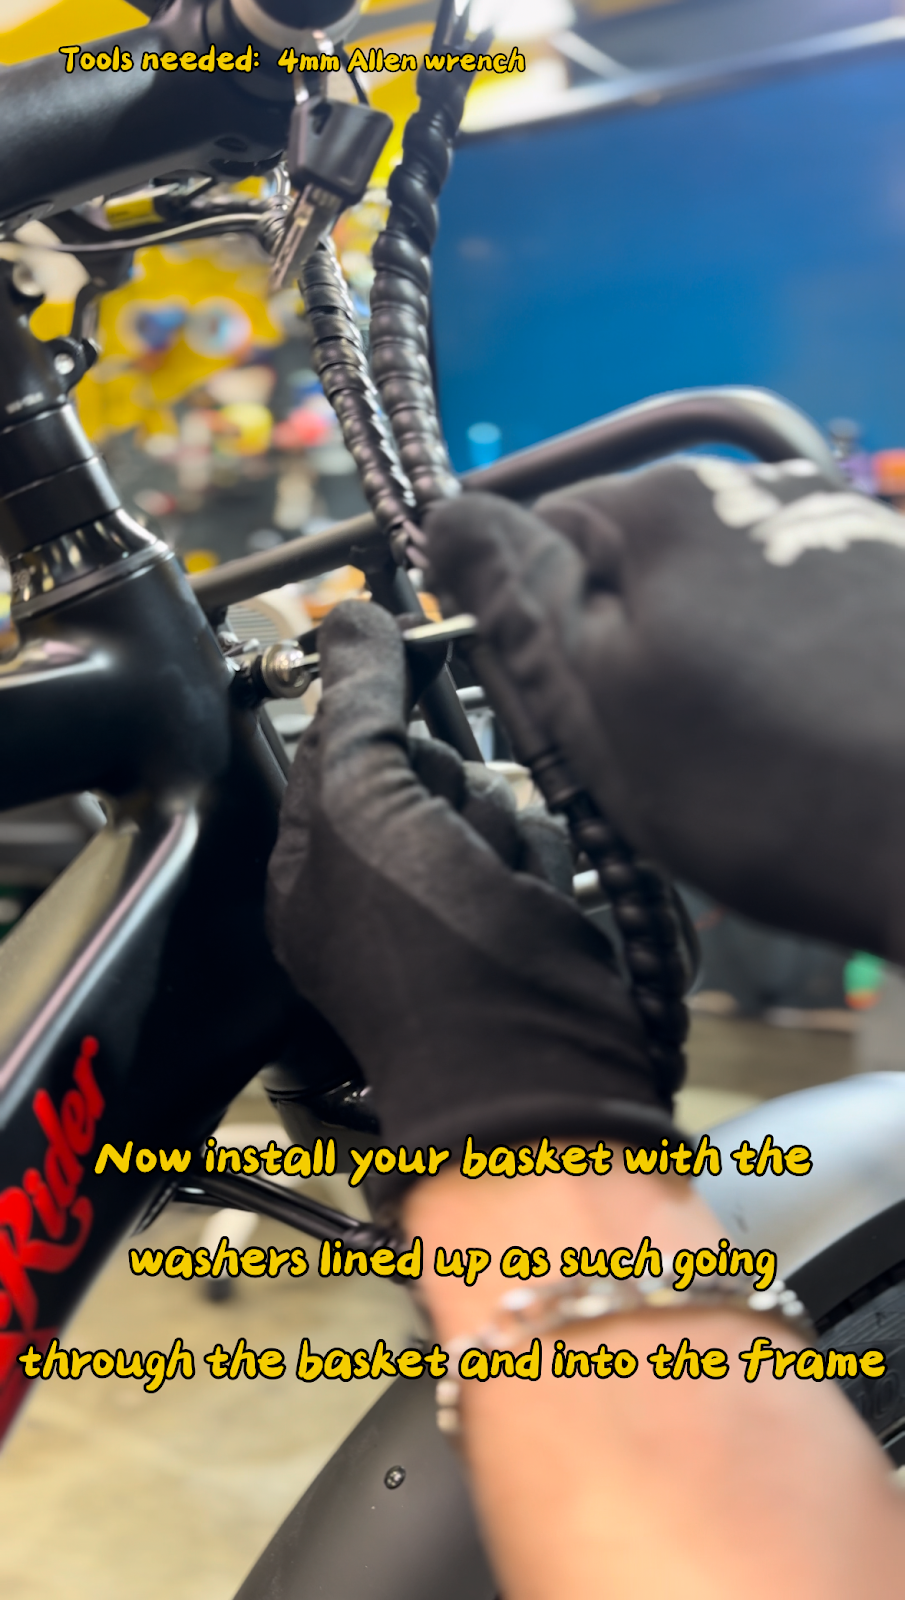
- Step 7: Use the bolts and washers in the correct order as referenced in the image below to secure the basket to the frame of the bike.
Install the basket with the cables running to the right side of the bike frame (from the rider's perspective).
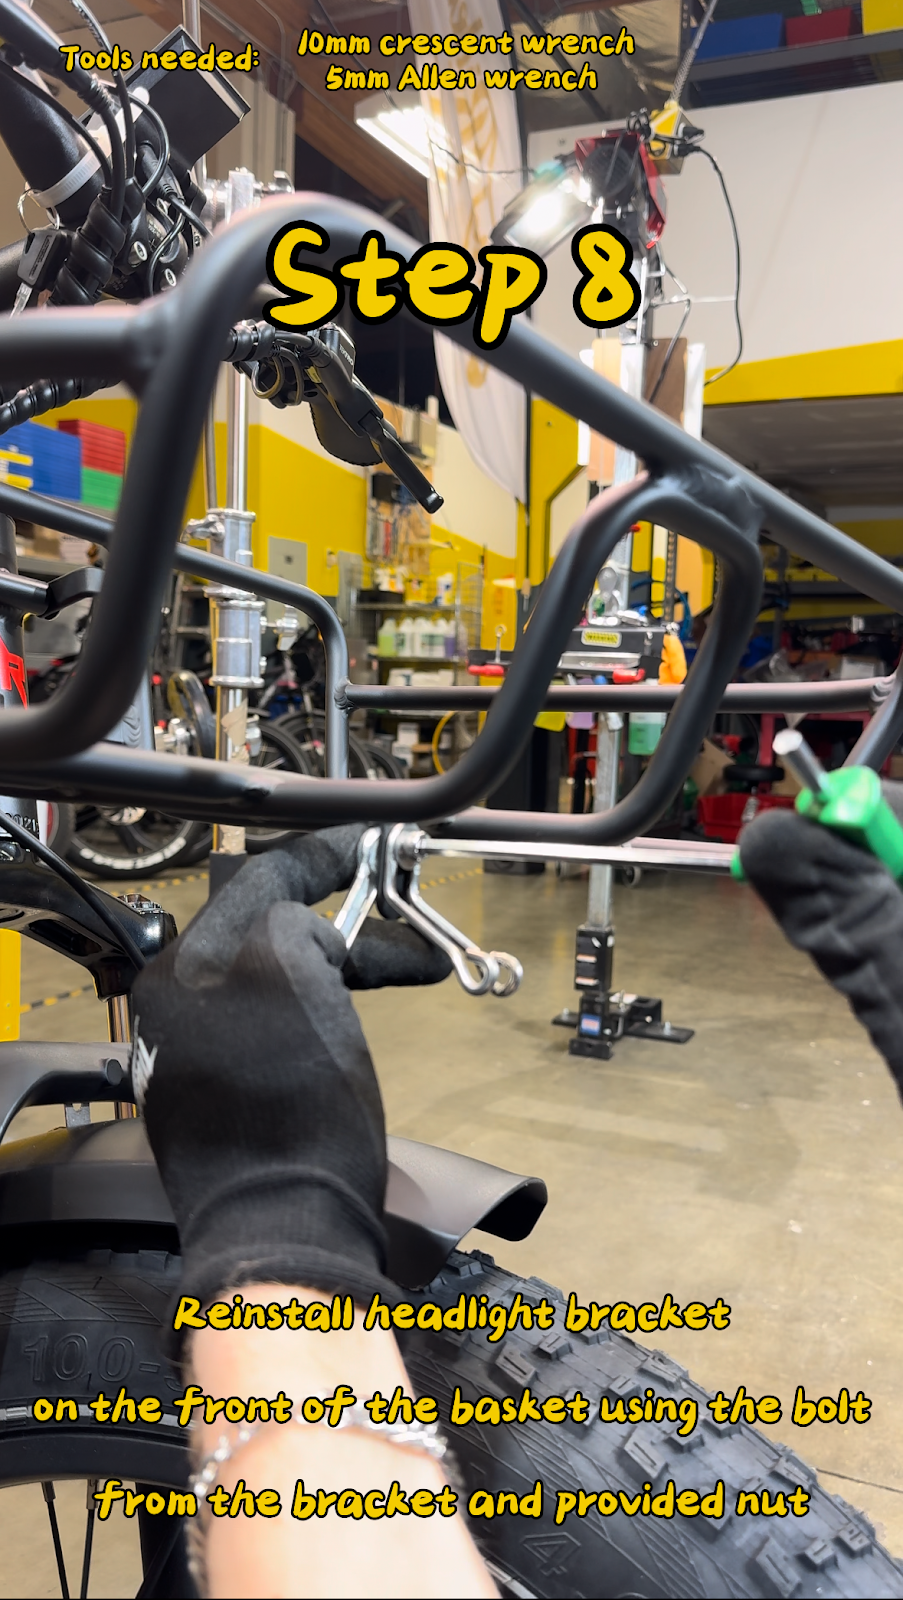
- Step 8: Install the headlight bracket with the original bolt and nut provided
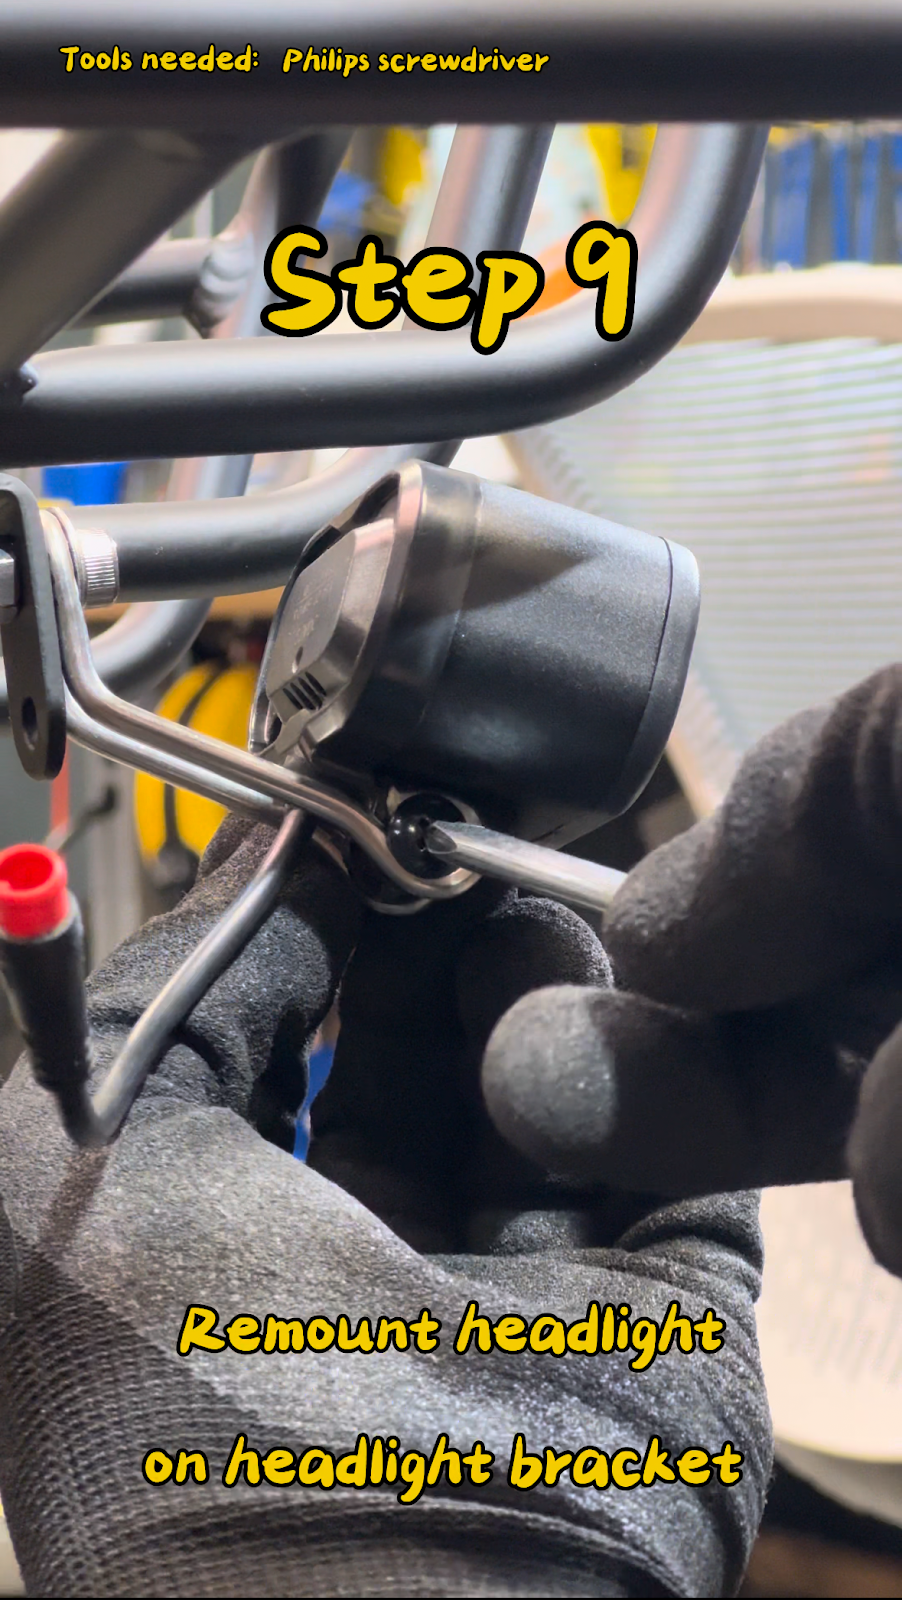
- Step 9: Mount the headlight on the headlight bracket.
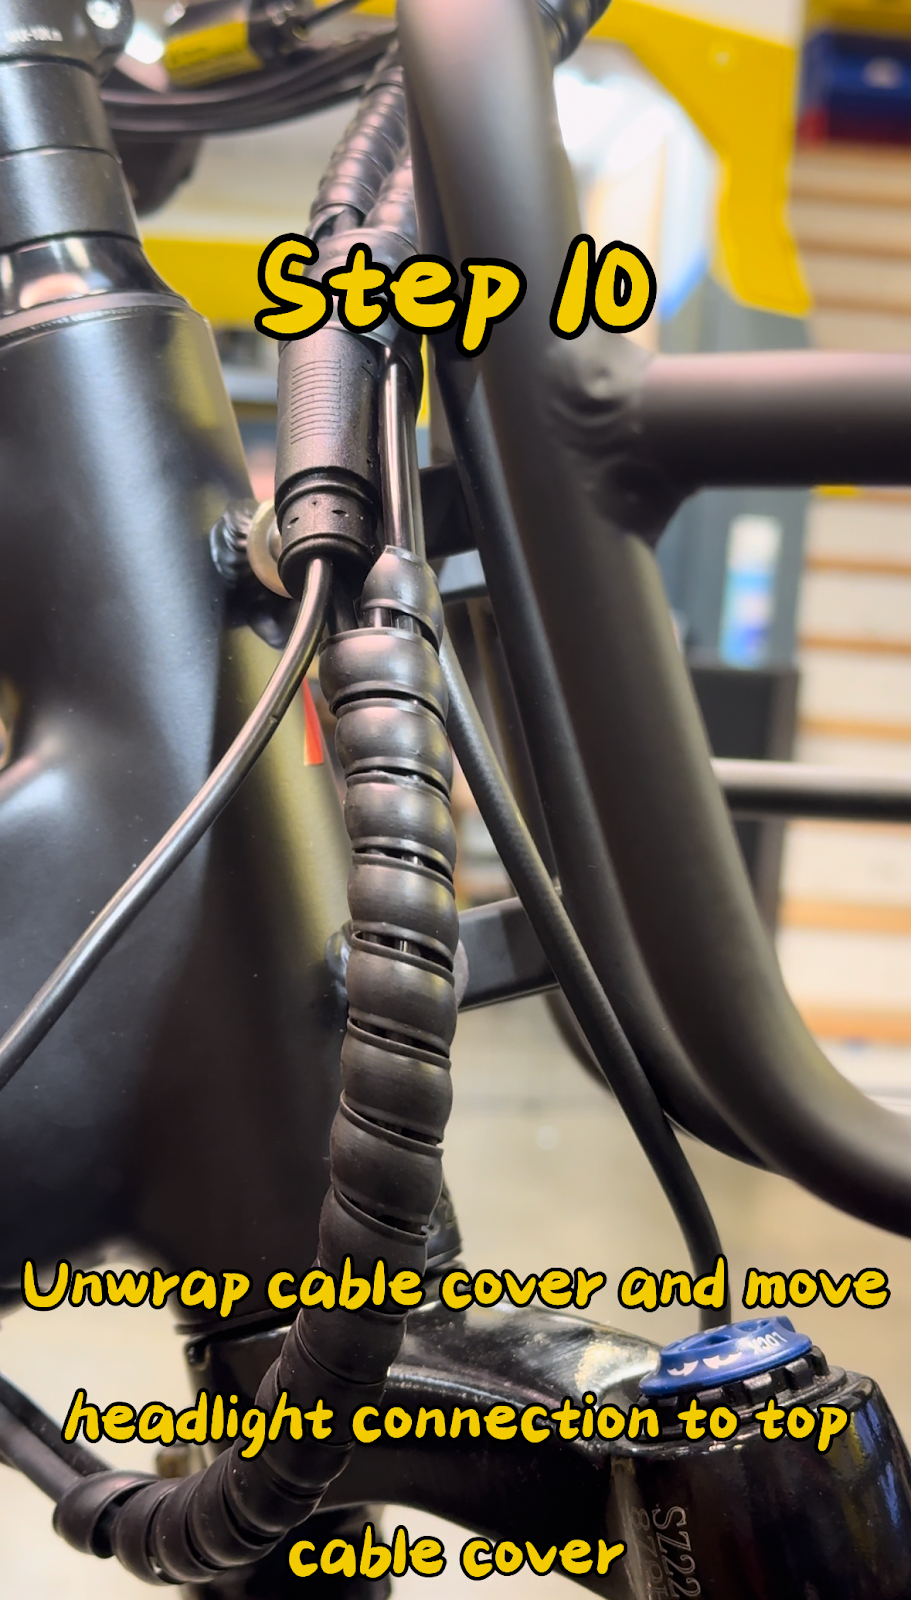
- Step 10: Unwrap the cable management cover. Remove the headlight cable from the management cover and re-wrap the existing cables.
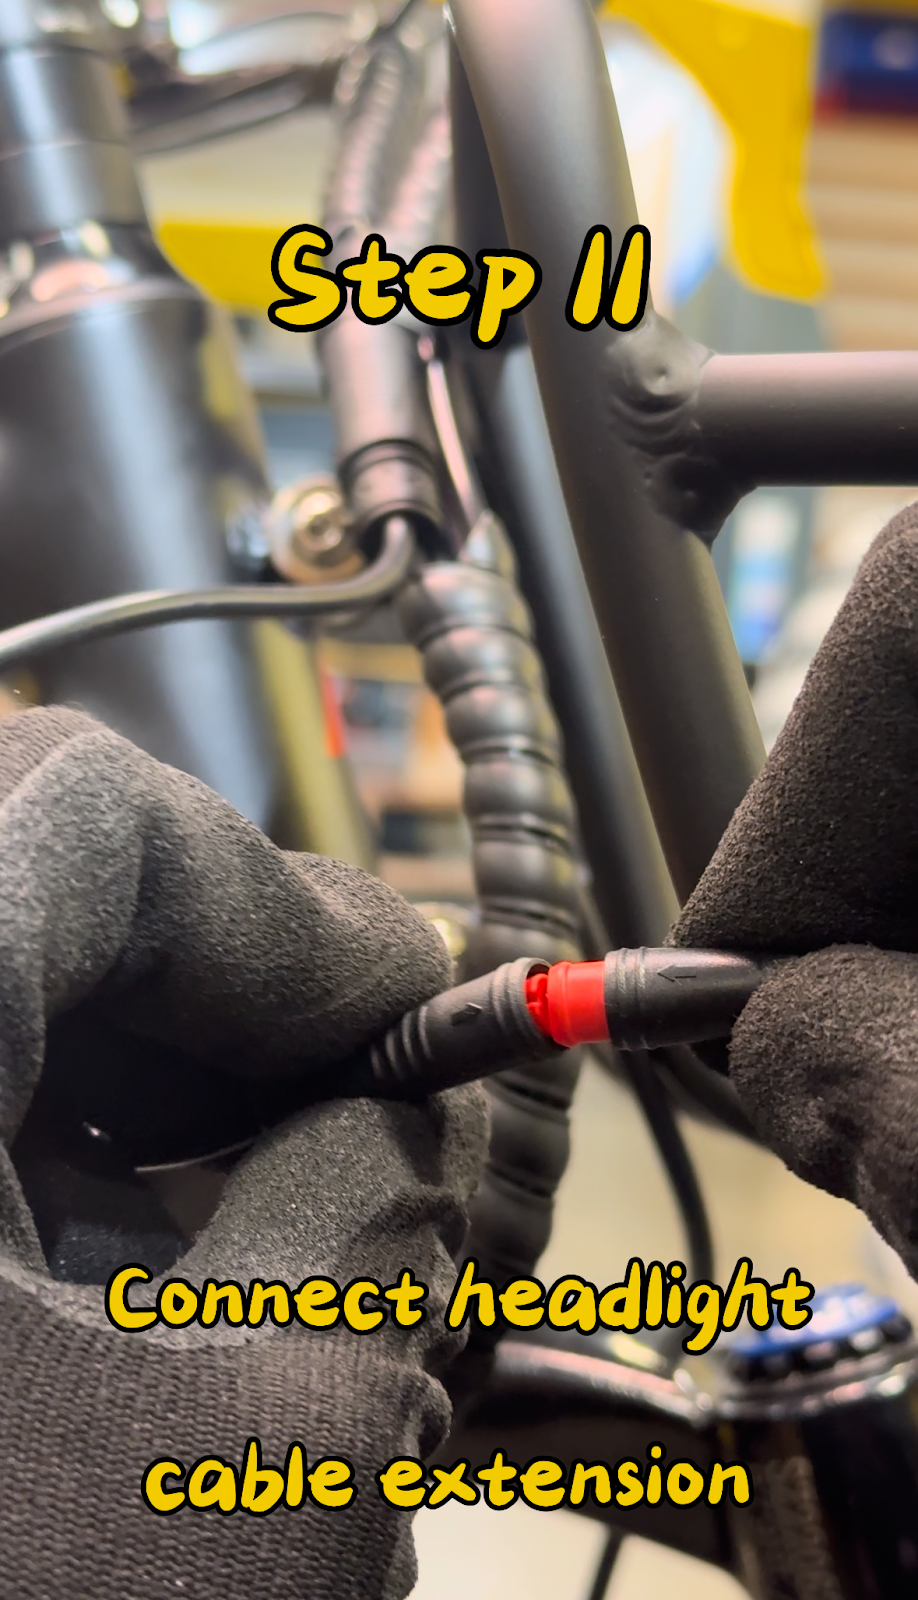
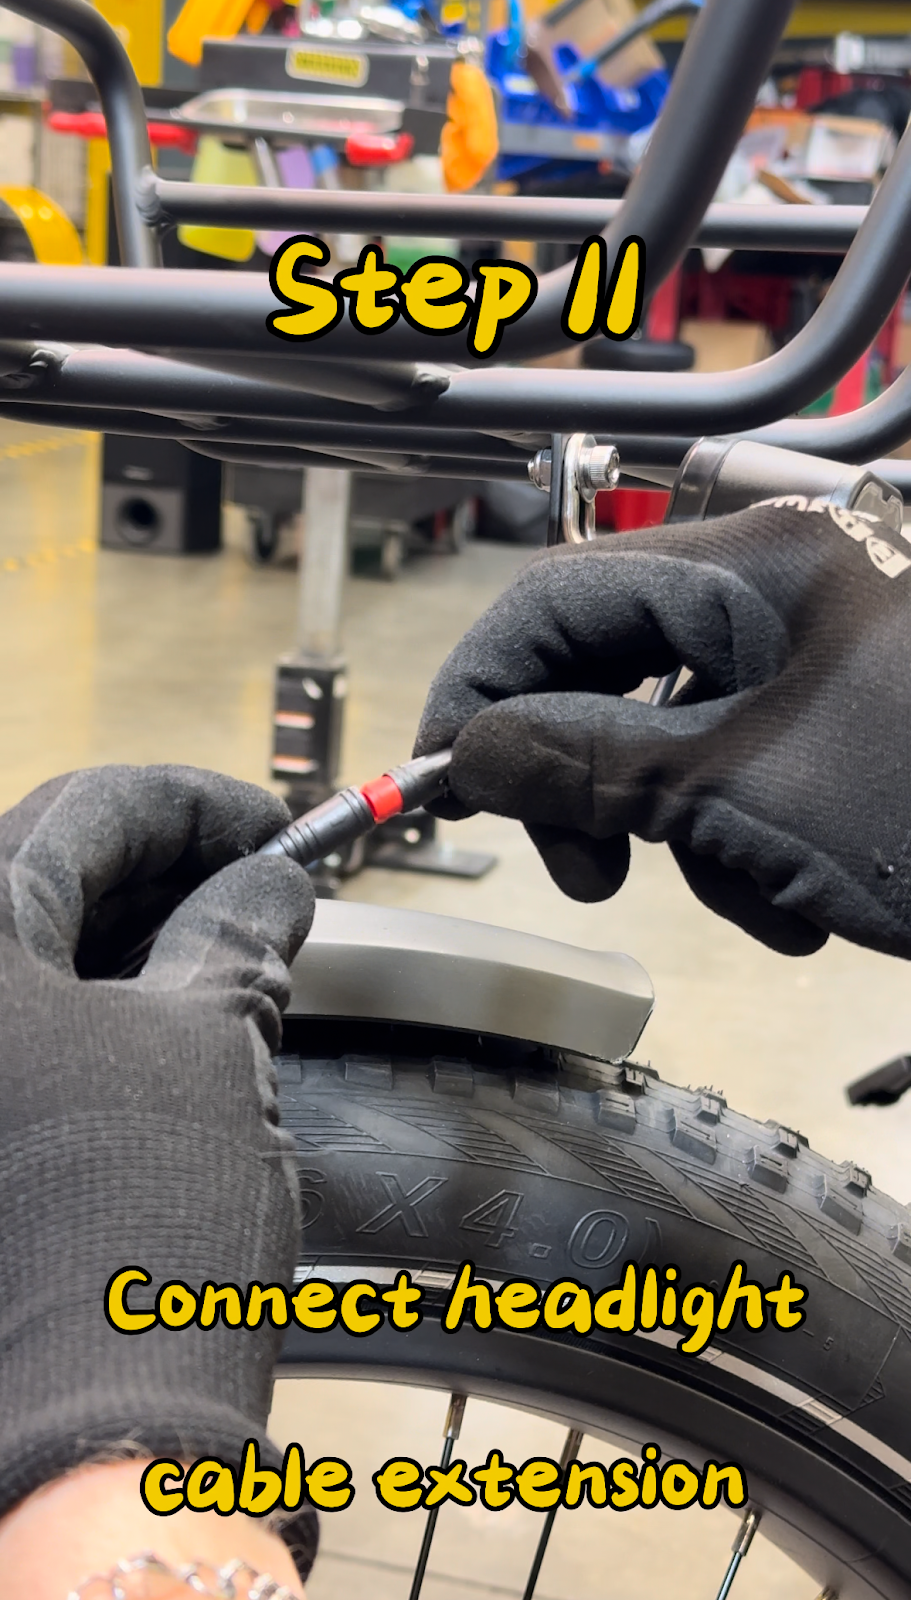
- Step 11: Connect the headlight cable extension from the headlight to the main wire harness.
- Step 12: Secure the cable extension and main wire harness to the basket with zip ties. Make sure there is enough slack in the cables when turning the handlebars.

- Step 13: Clip excess zip tie and reinstall the battery. Complete!
