
Splash Guard installation || Ariel Rider X-Class 60VUpdated 2 days ago
This article will show you how to install your new Splash Guard.
Tools and Hardware
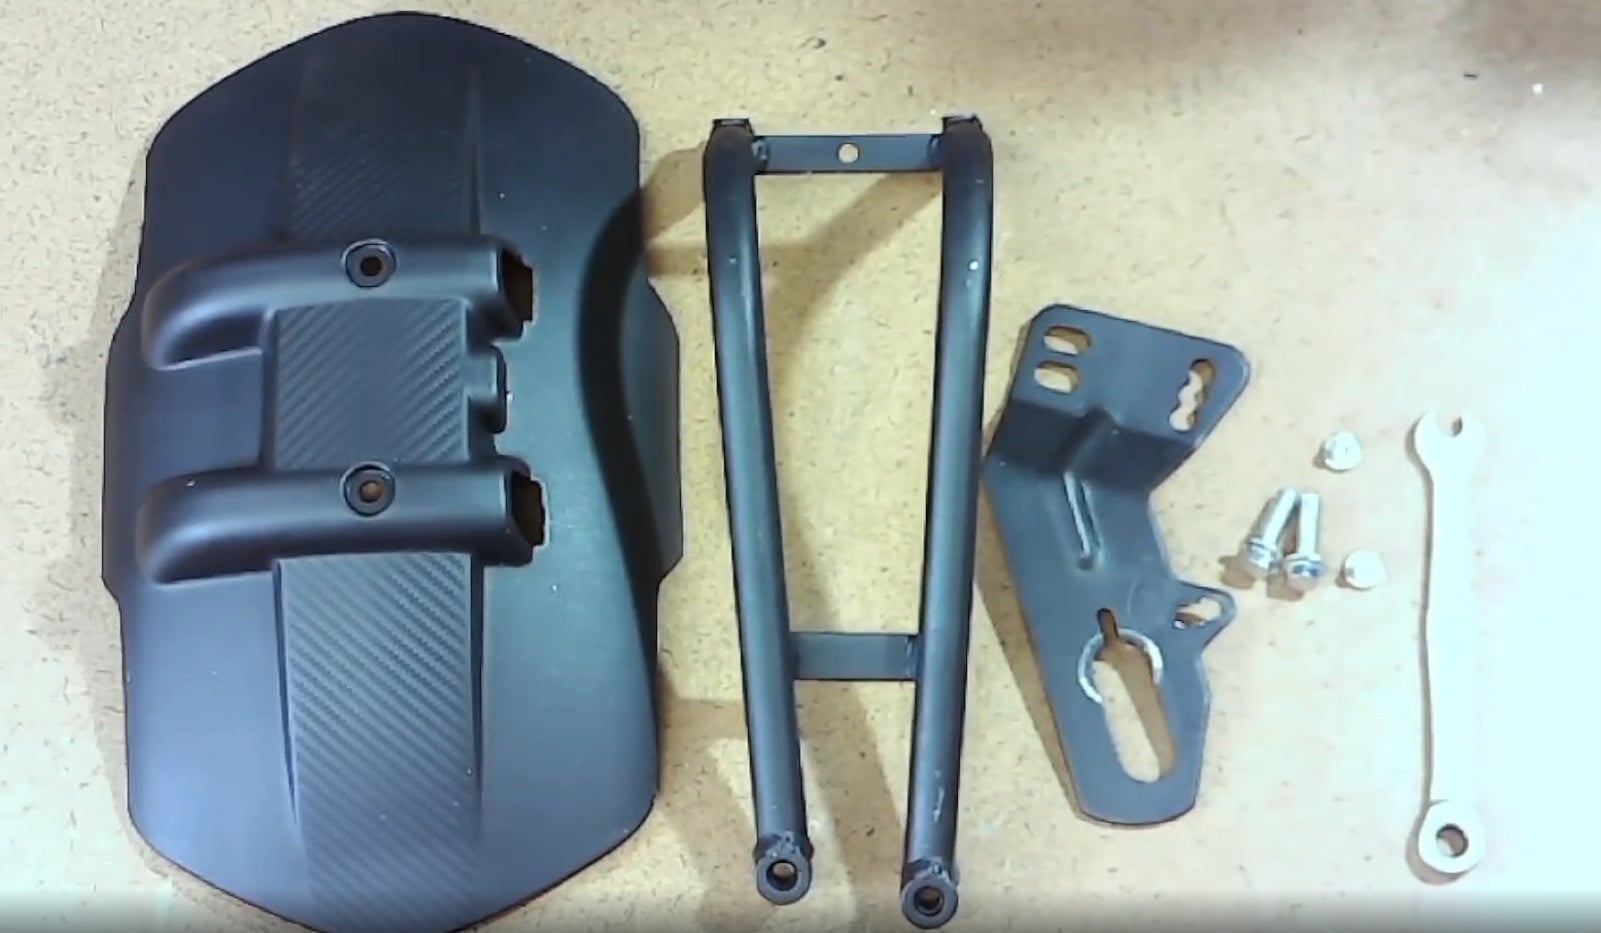
- Fender
- Fender stay
- Adapter
- 2 M8x1x10mm bolts
- 2 M8 nuts
- 3 M6 bolts
- 2 m6x1x10mm
- 1 m6x1x16mm
- 3 M6 nuts
- 2 fender washers
- 1 rubber washer
- 5mm hex wrench
- 6mm hex wrench
- 22mm socket or open-ended wrench
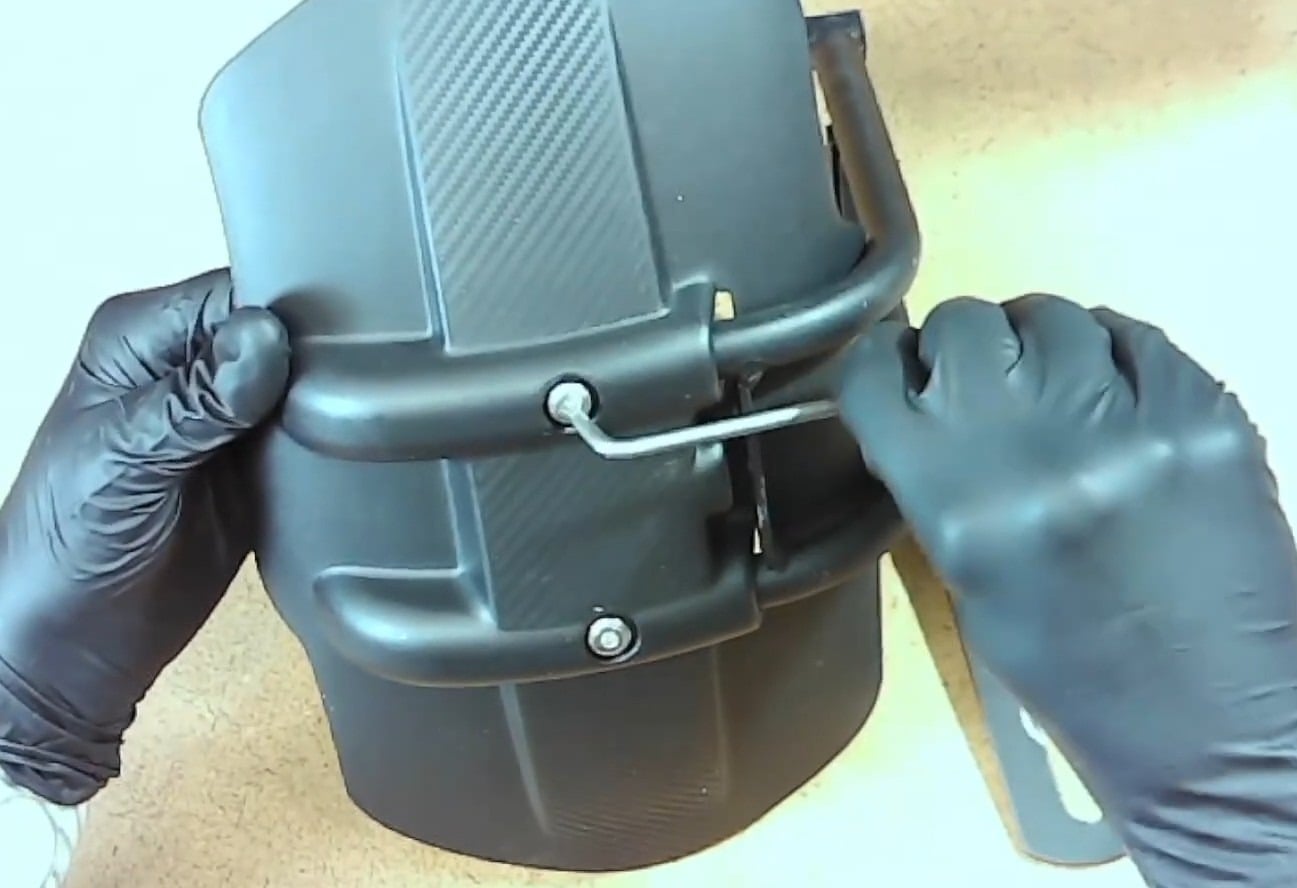
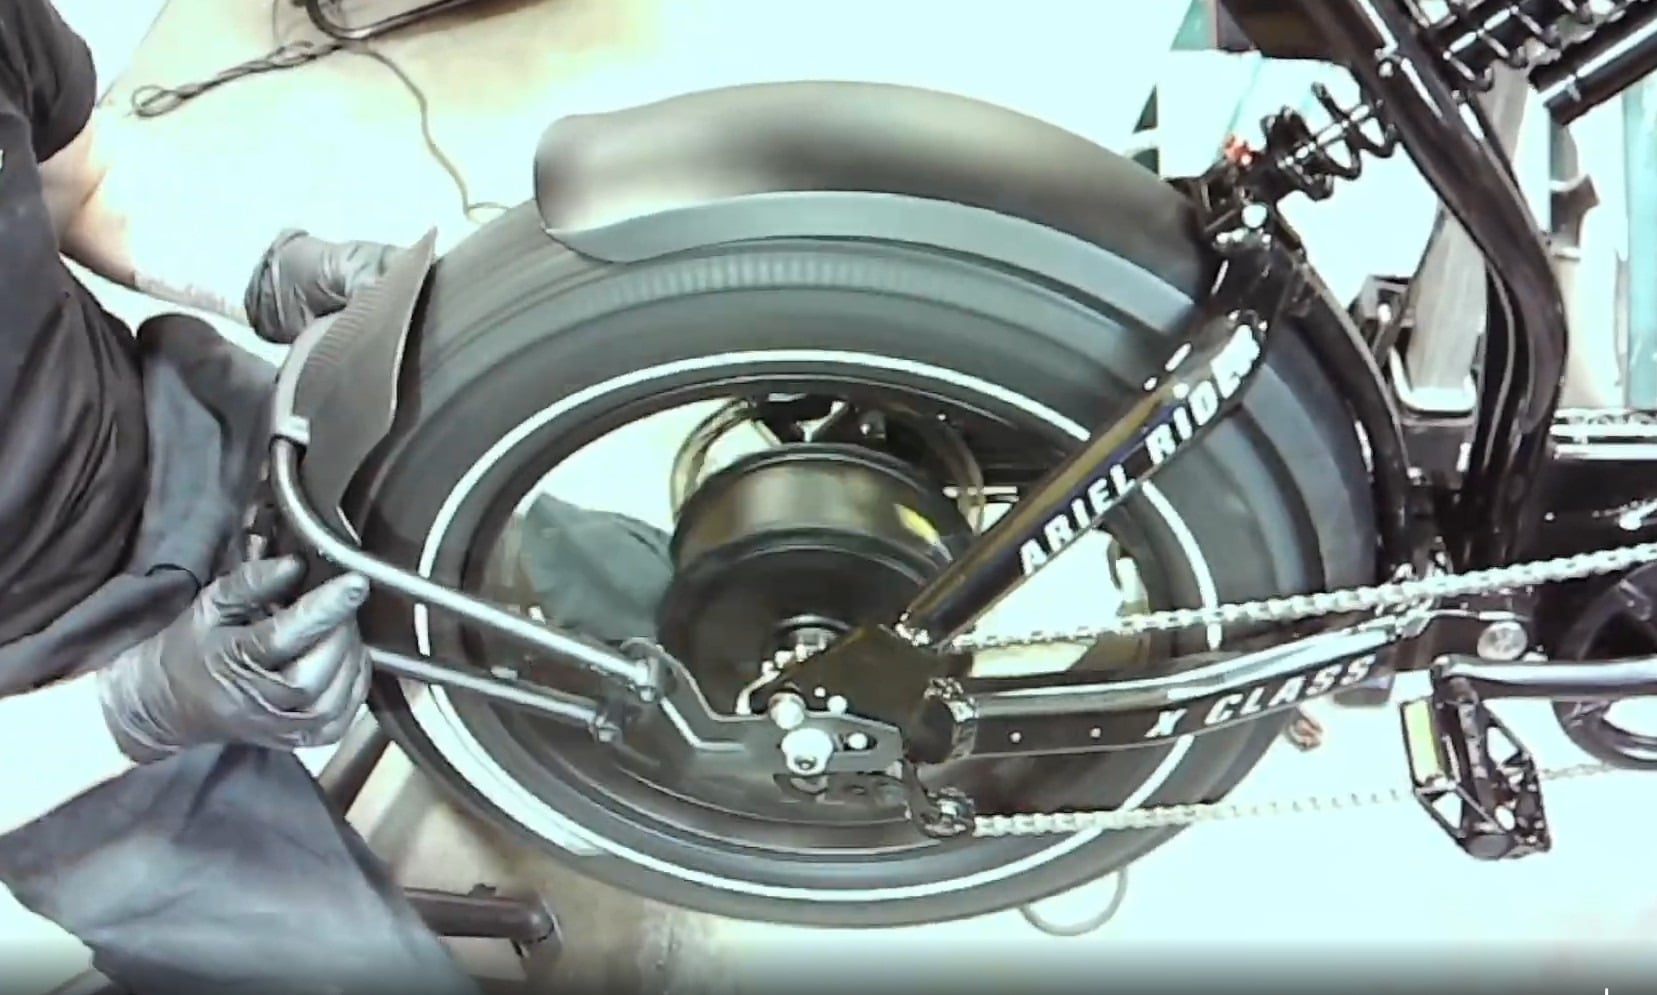
- Begin by installing the fender on the fender stay with the two M6 bolts and nuts.
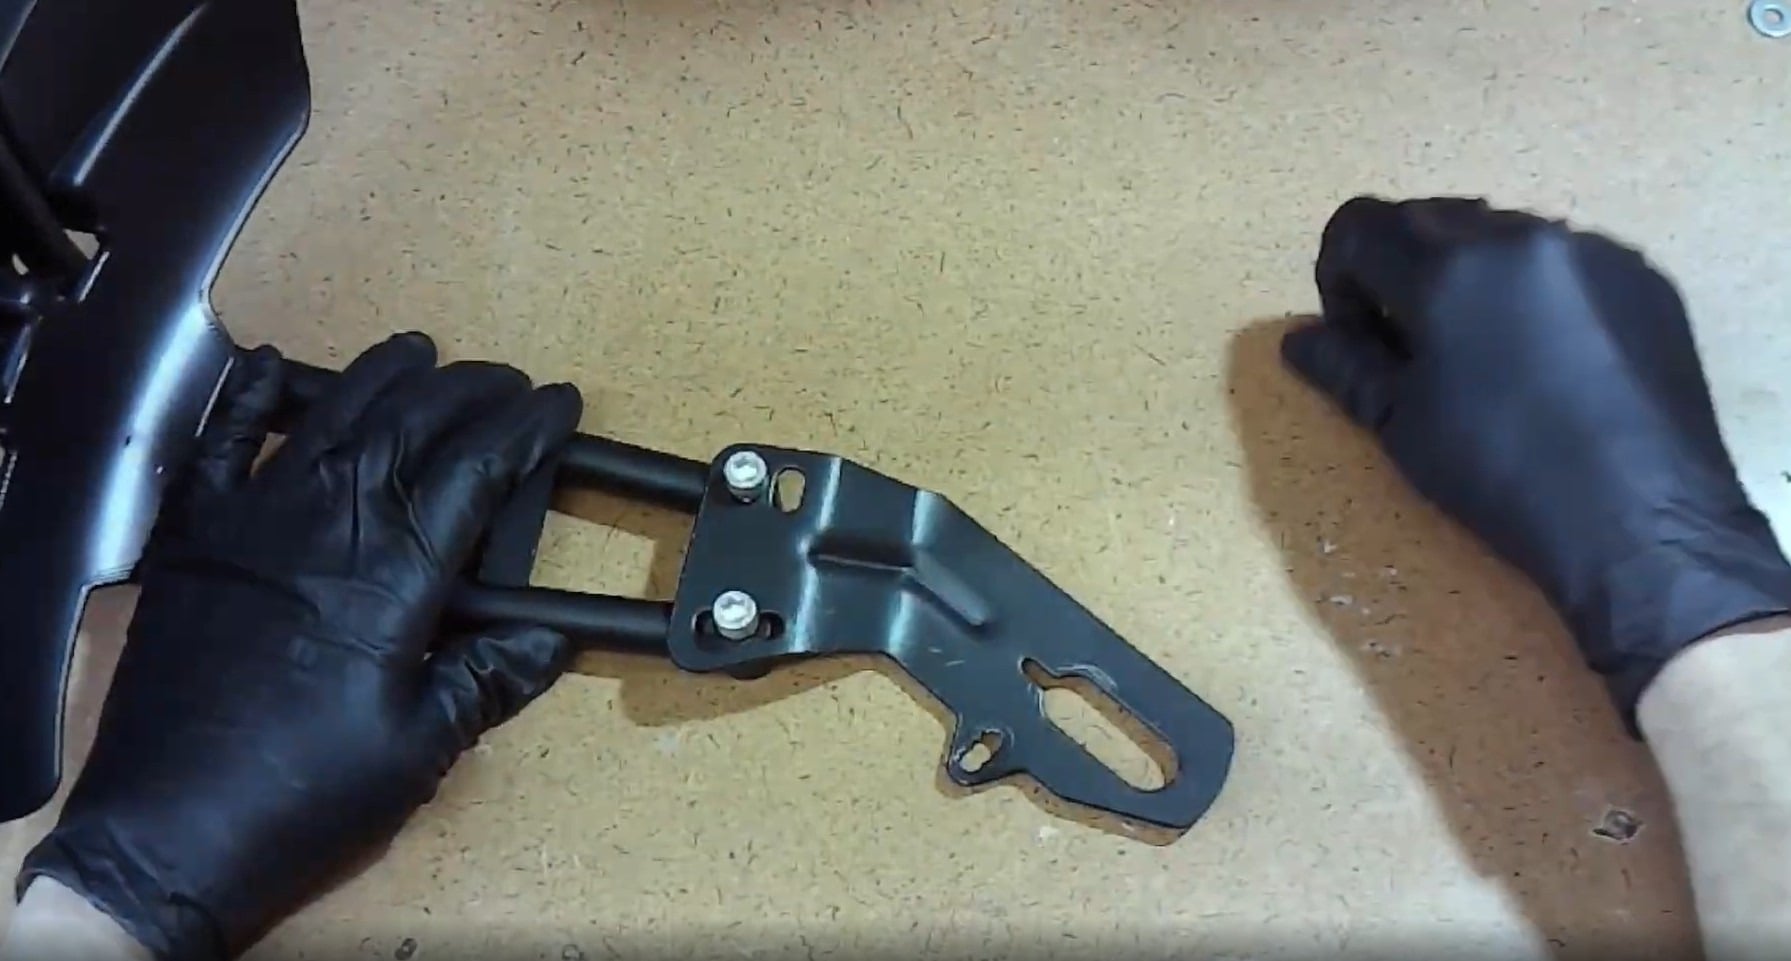
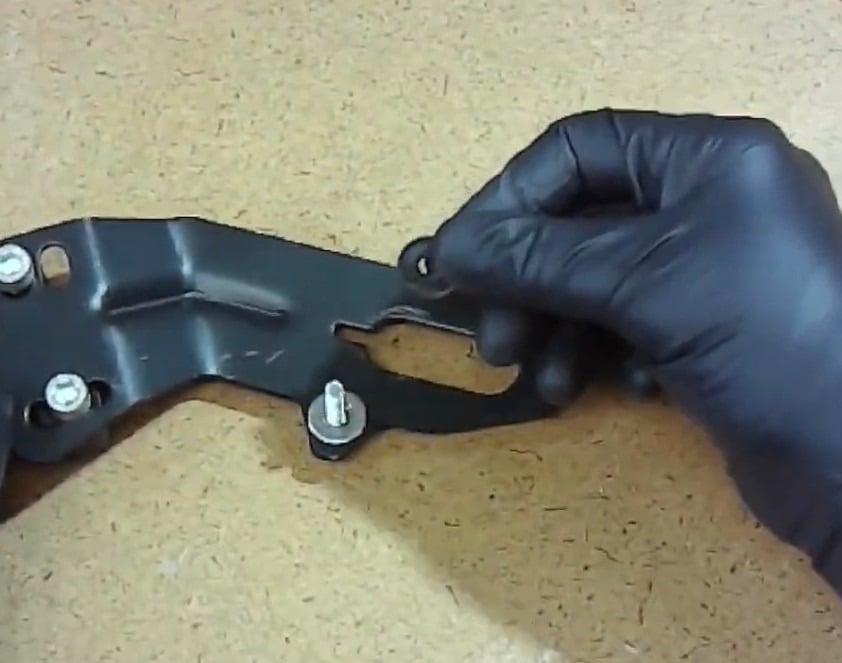
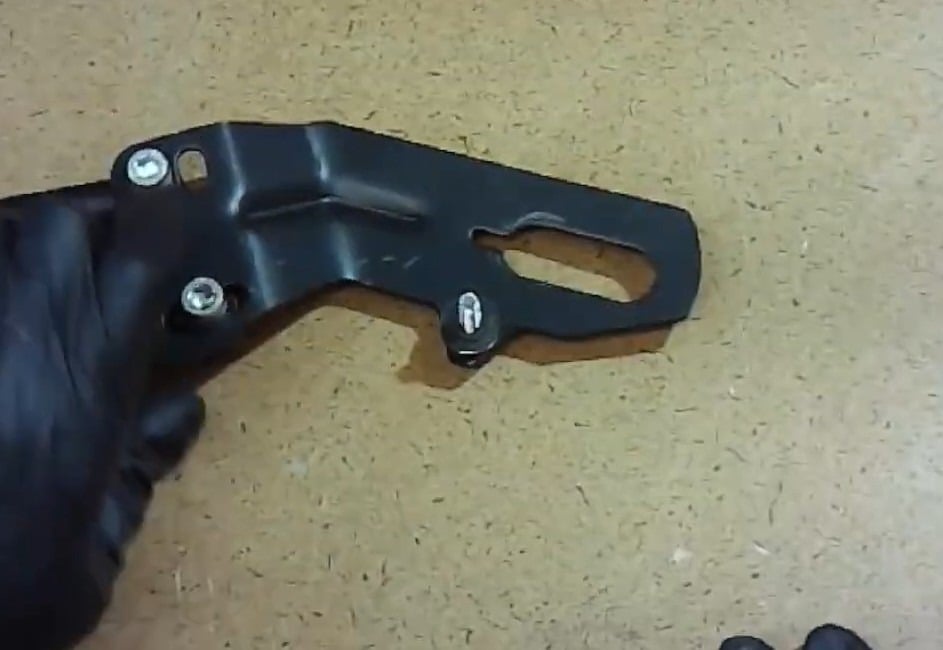
- Attach the adapter to the fender stay using a 6mm hex wrench and a 12mm socket or open-end wrench.
- Put the M6 bolt through the metal washer.
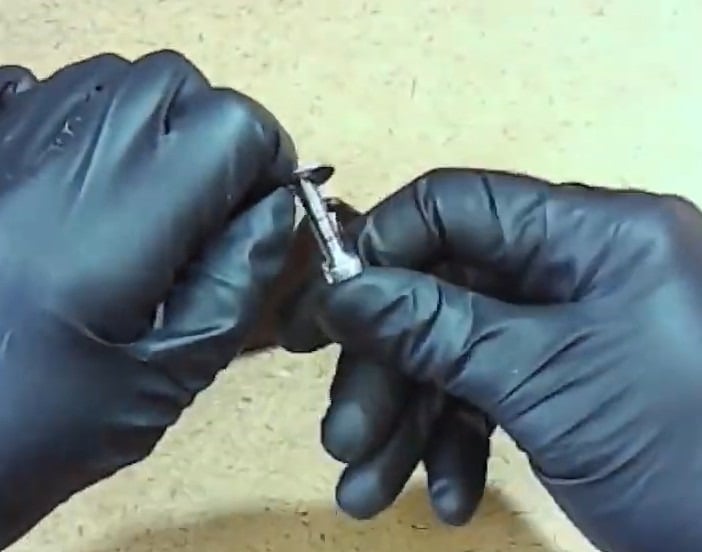
- Put the bolt through the hole in the adapter.
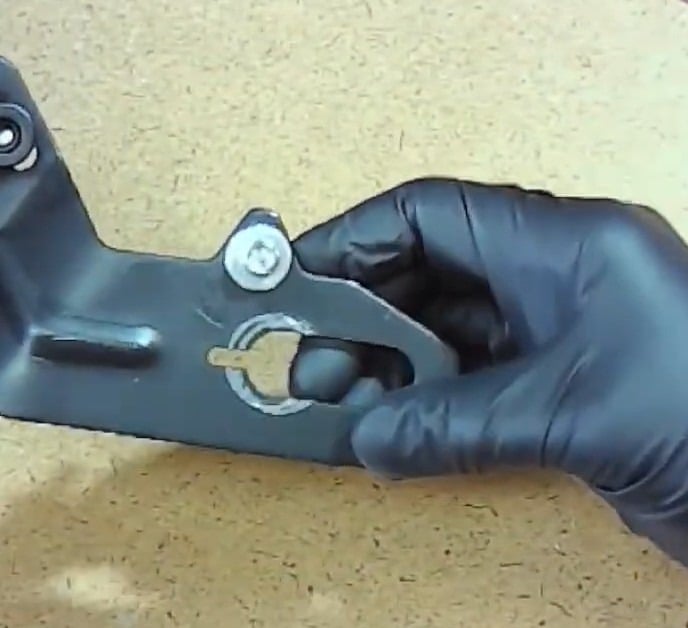
- Add another metal washer, then a rubber one.
- Remove the axle nut from the drive side and the upper rear M6 bolt from the dropout.
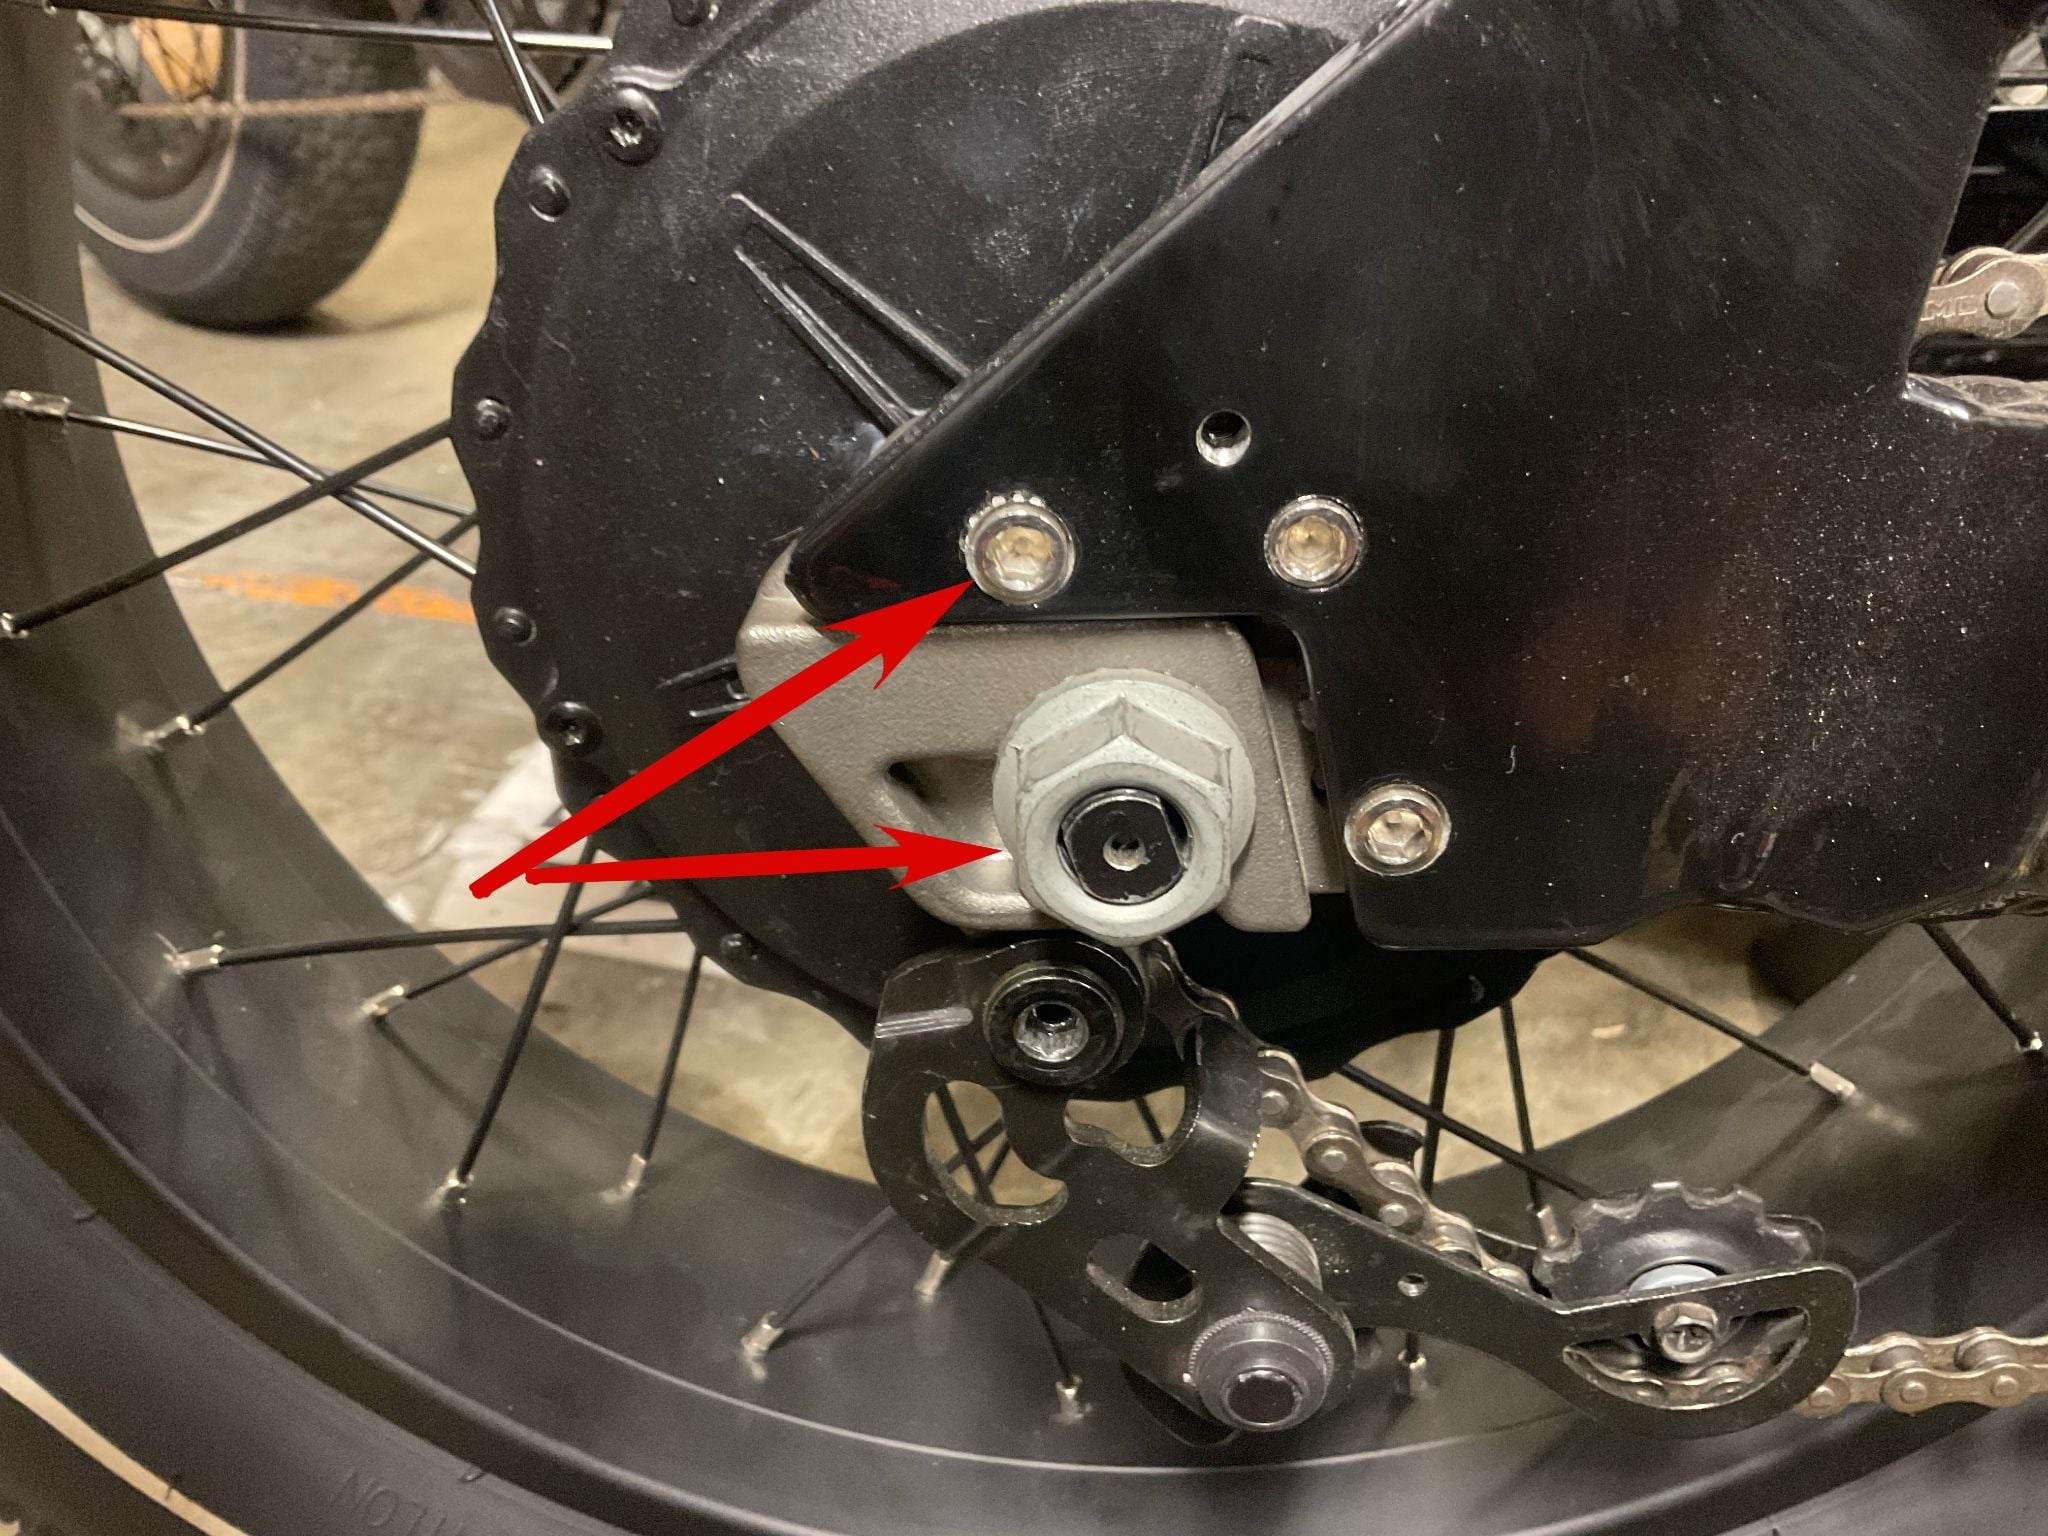
- Screw in the bolt using the M6 nut from the inside of the dropout, and use a 5mm hex wrench to tighten it down.
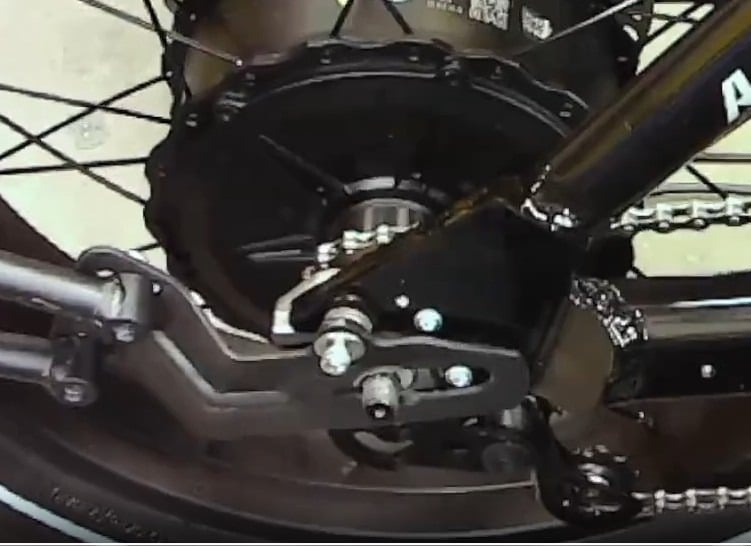
- Torque the axle nut to 60 Nm.
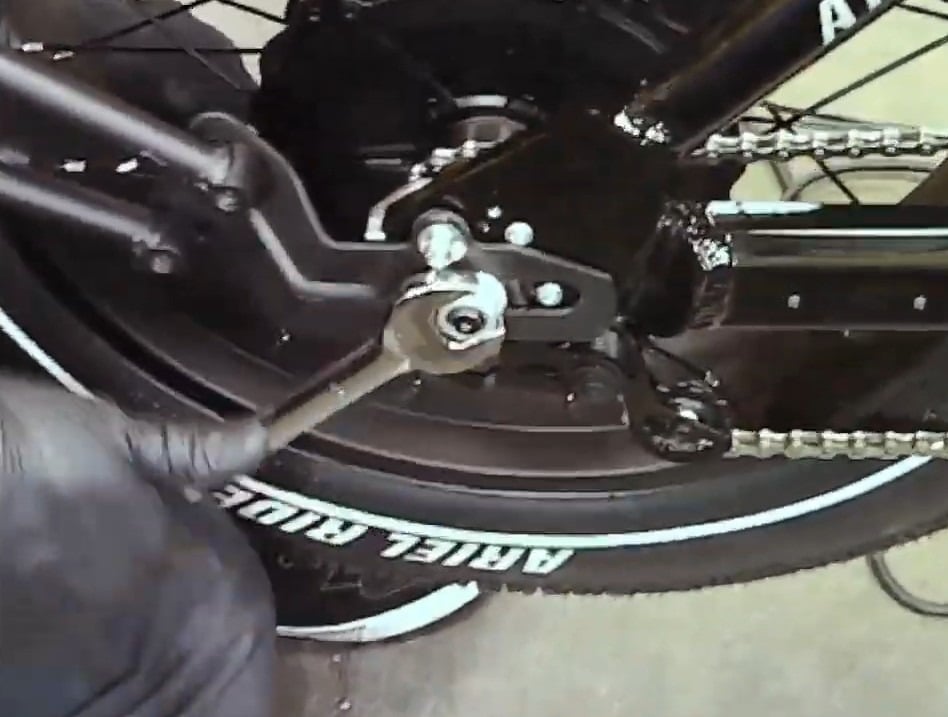
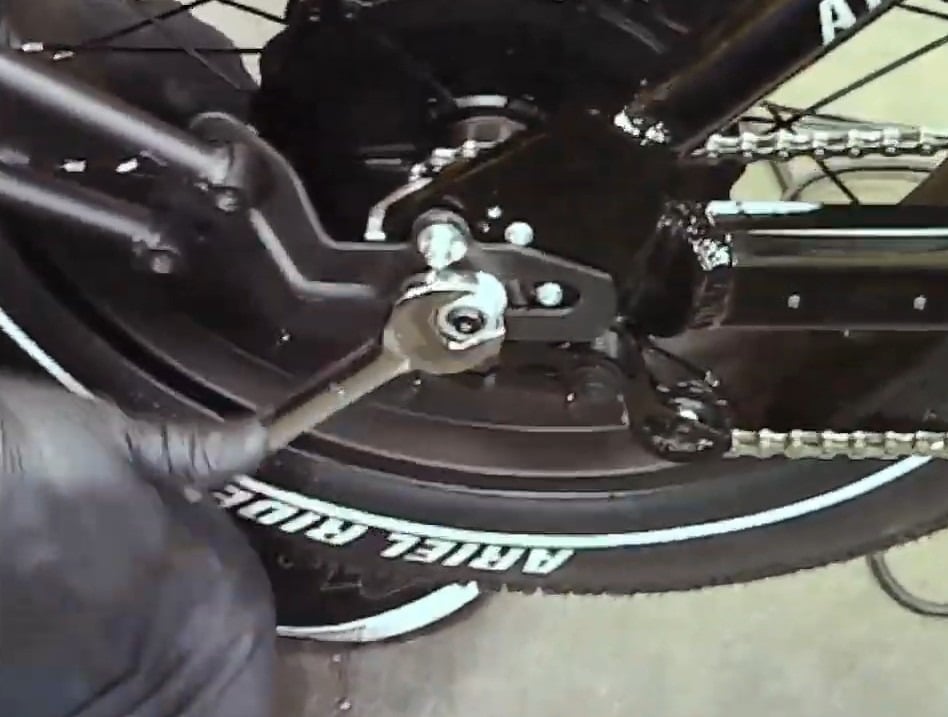
- Spin the wheel to be sure nothing is rubbing or impacting it while in motion.
If you need any further assistance please don't hesitate to reach out to us through our contact form, here.