Trailer Assembly and Configuration ManualUpdated 5 months ago
Trailer Assembly -
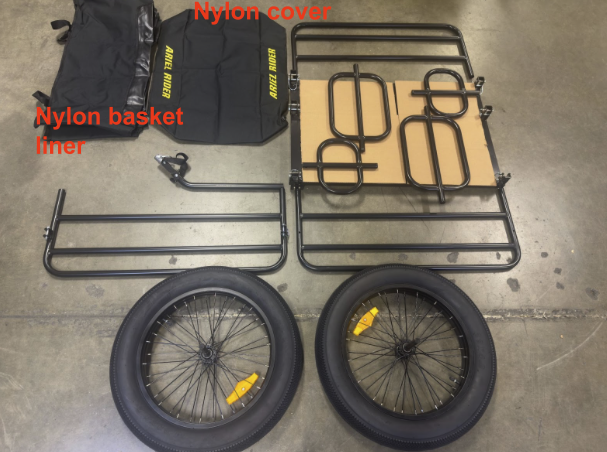
- Preparation & Unboxing
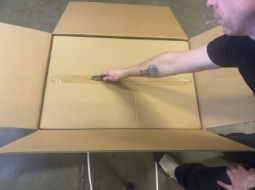
- Pro Tip: The box is a great workbench for building your trailer on.
- Remove the nylon bands from the box.

- Carefully cut the tape along the edge.

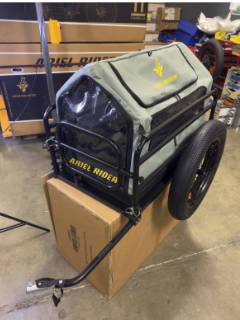
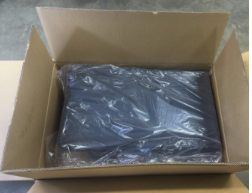
- Remove the trailer tent from the box and set it aside.
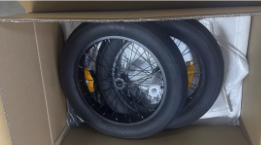
- Take the rest of the parts out of the box, including the tools bag.
- Pro Tip: The box is a great workbench for building your trailer on.
- Tools Required
- 5mm hex wrench
- 10mm open end wrench
- Main Trailer Assembly
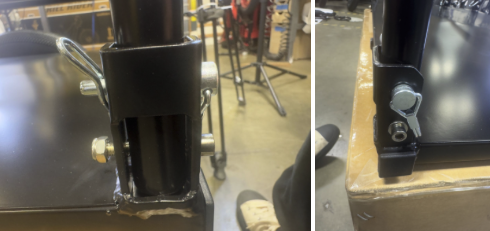
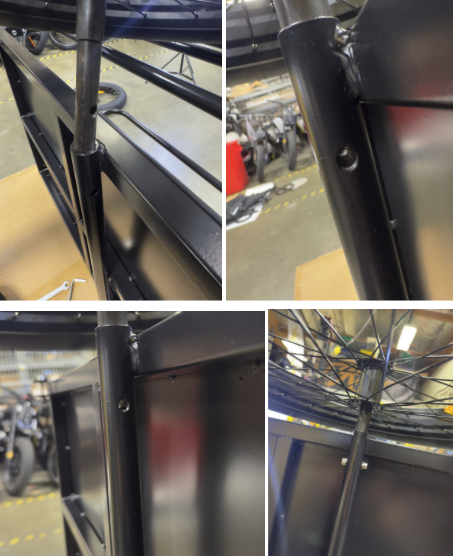
- Prepare Railing Standoffs: Use the 5mm wrench and the 10mm open-end wrench to take apart the bolts and washers in the standoffs where the rails will be installed.

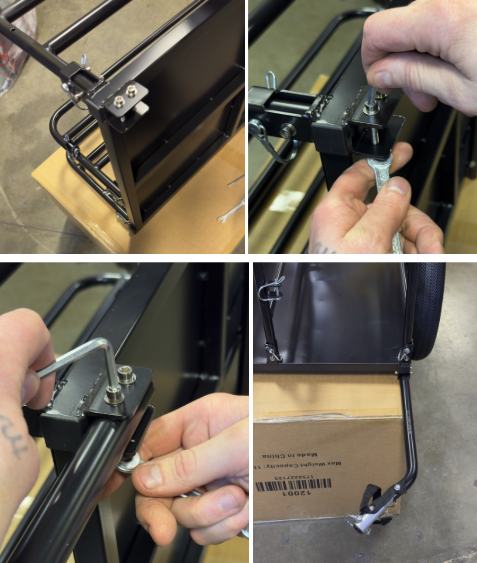
- Install Railing Hardware:
- Unclip the cotter pins and pull them out.
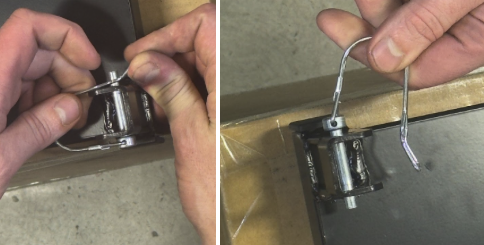
- Install a cotter pin in the lower hole of the railing standoff.

- Install the M6 bolt and nut in the top hole of the railing standoff and tighten it up with the 5mm hex wrench and 10mm open end wrench.
- Unclip the cotter pins and pull them out.
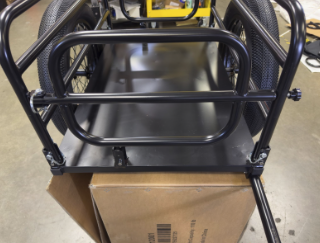
- Install Rails: Install all the Rails.
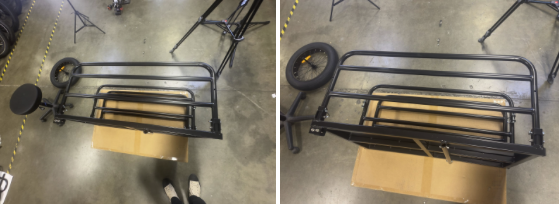
- Install Wheel Axle:
- Remove the bolt and nut from the axle shaft on the underside of the trailer deck
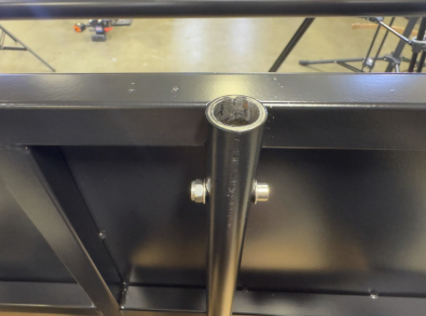
- Drop the wheel axle into the axle shaft and return the bolt to the hole
- Remove the bolt and nut from the axle shaft on the underside of the trailer deck
- Install Trailer Hitch: Use the bolts in the trailer to install the trailer hitch extension arm.
- Prepare Railing Standoffs: Use the 5mm wrench and the 10mm open-end wrench to take apart the bolts and washers in the standoffs where the rails will be installed.
- Optional Components
- Short Cross Members: Install the short cross members if you want to use the slim nylon basket and cover.

- Gate: Secure one side of the gate with the thumb screw.
 Secure the other side of the gate with a cotter pin.
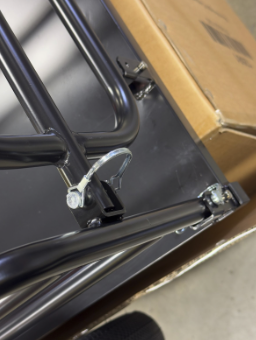
- Trailer Tent:
- First, remove the center rail.
- Install the large gates at both ends
- Relocate the center rail to the outside to get the tent inside the trailer.
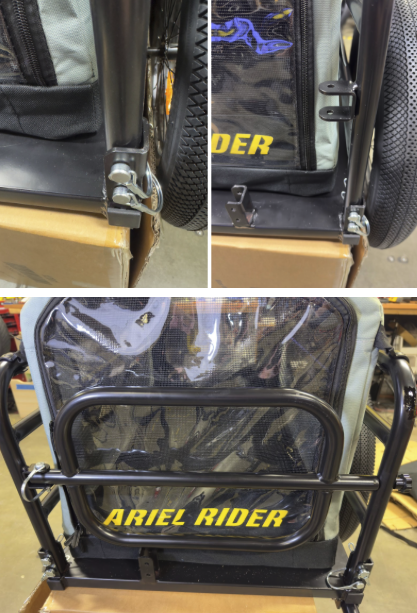
Finally, secure the tent with the plastic clips on each corner.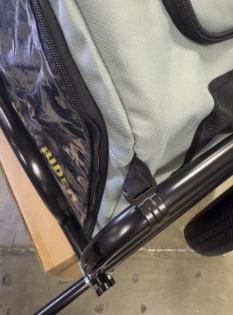
- First, remove the center rail.
- Short Cross Members: Install the short cross members if you want to use the slim nylon basket and cover.