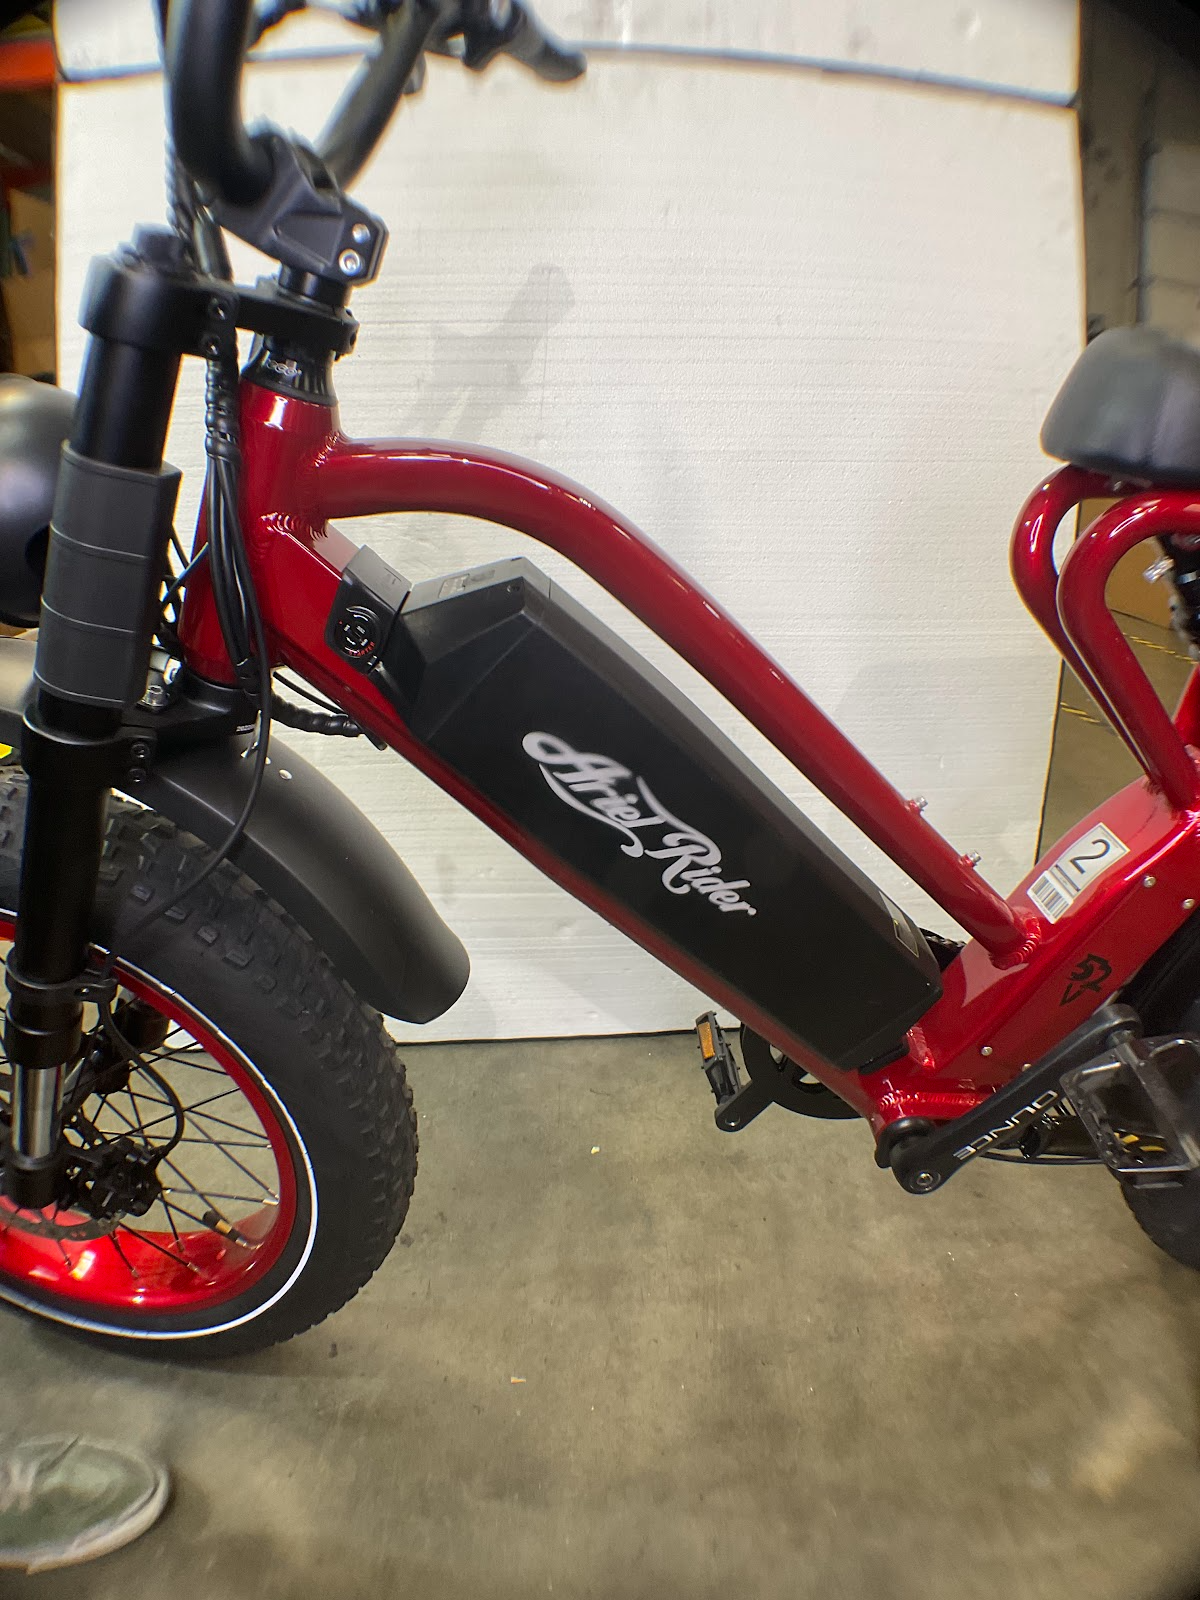
How to Install/Replace the Controller on your X-ClassUpdated 5 months ago
Controller Installation/Replacement Instructions
Please note that this guide is for Pre-2025 X-Class 52V bikes.
Time: Total install time 60 min
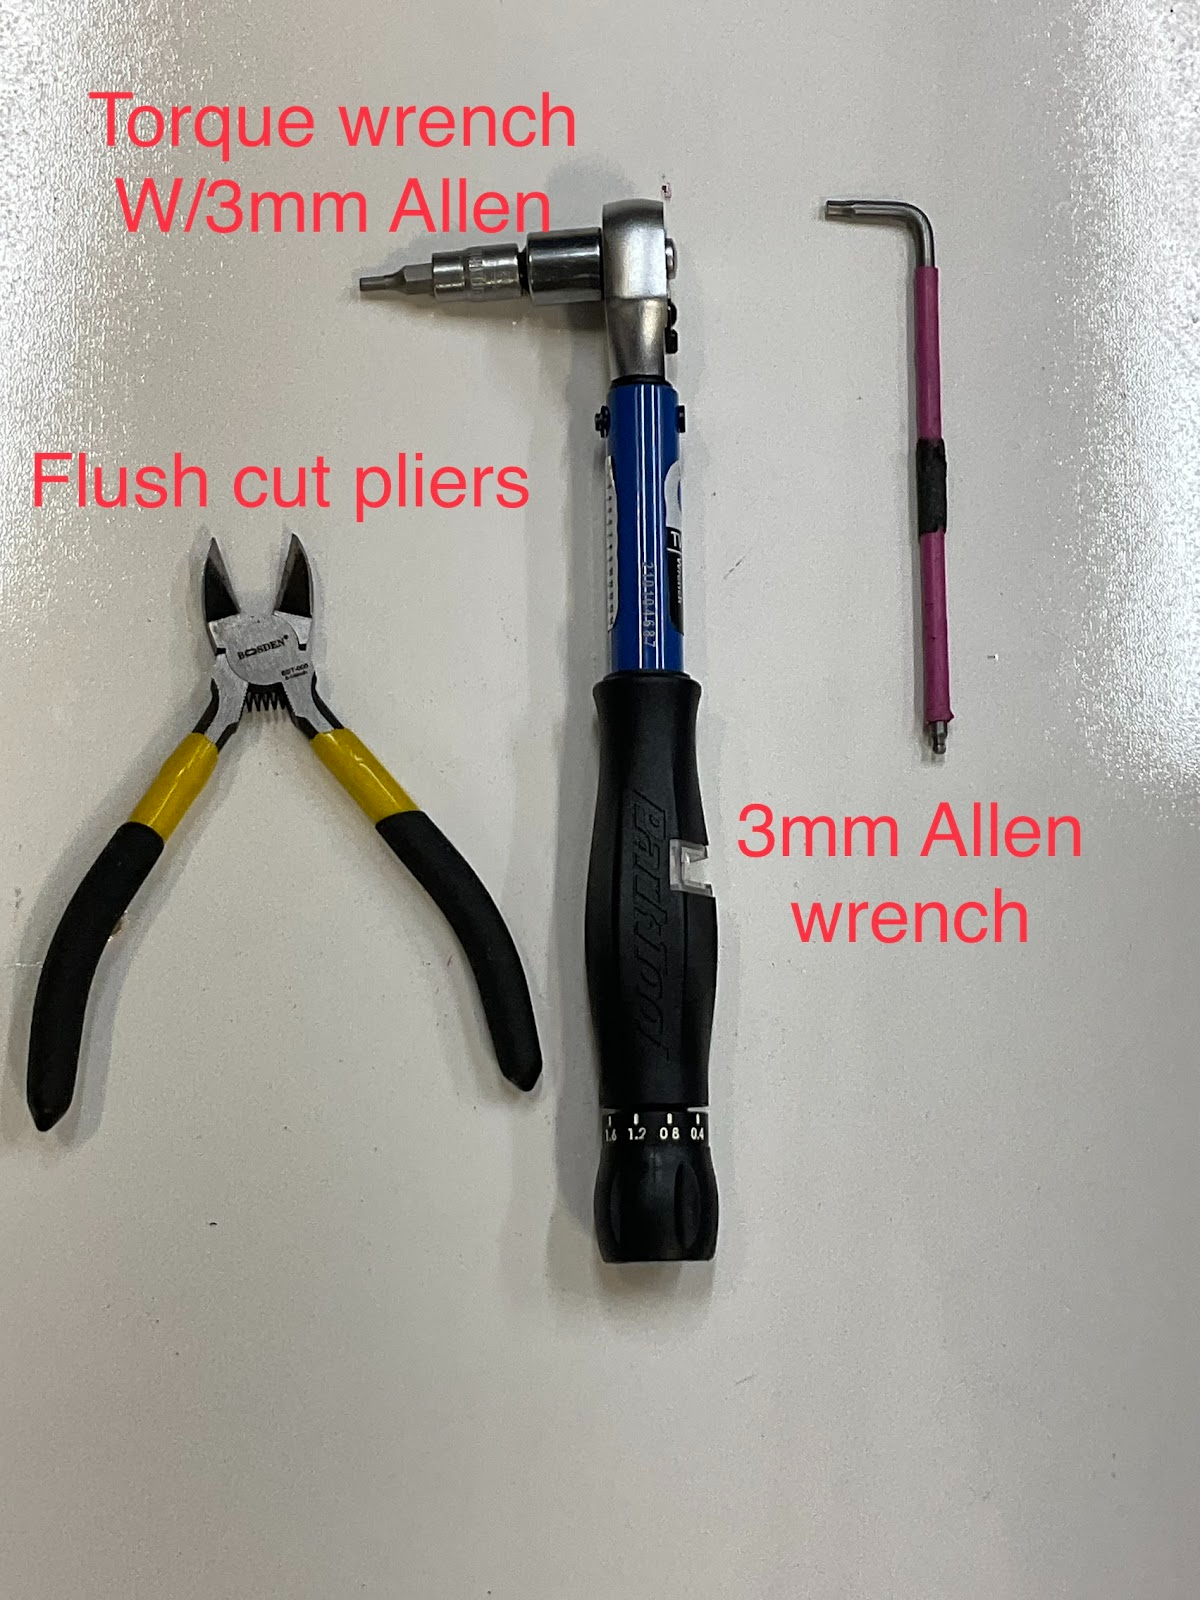
Tools Needed:
Cutters,
3mm Allen wrench
Torque Wrench with 3mm Allen tip
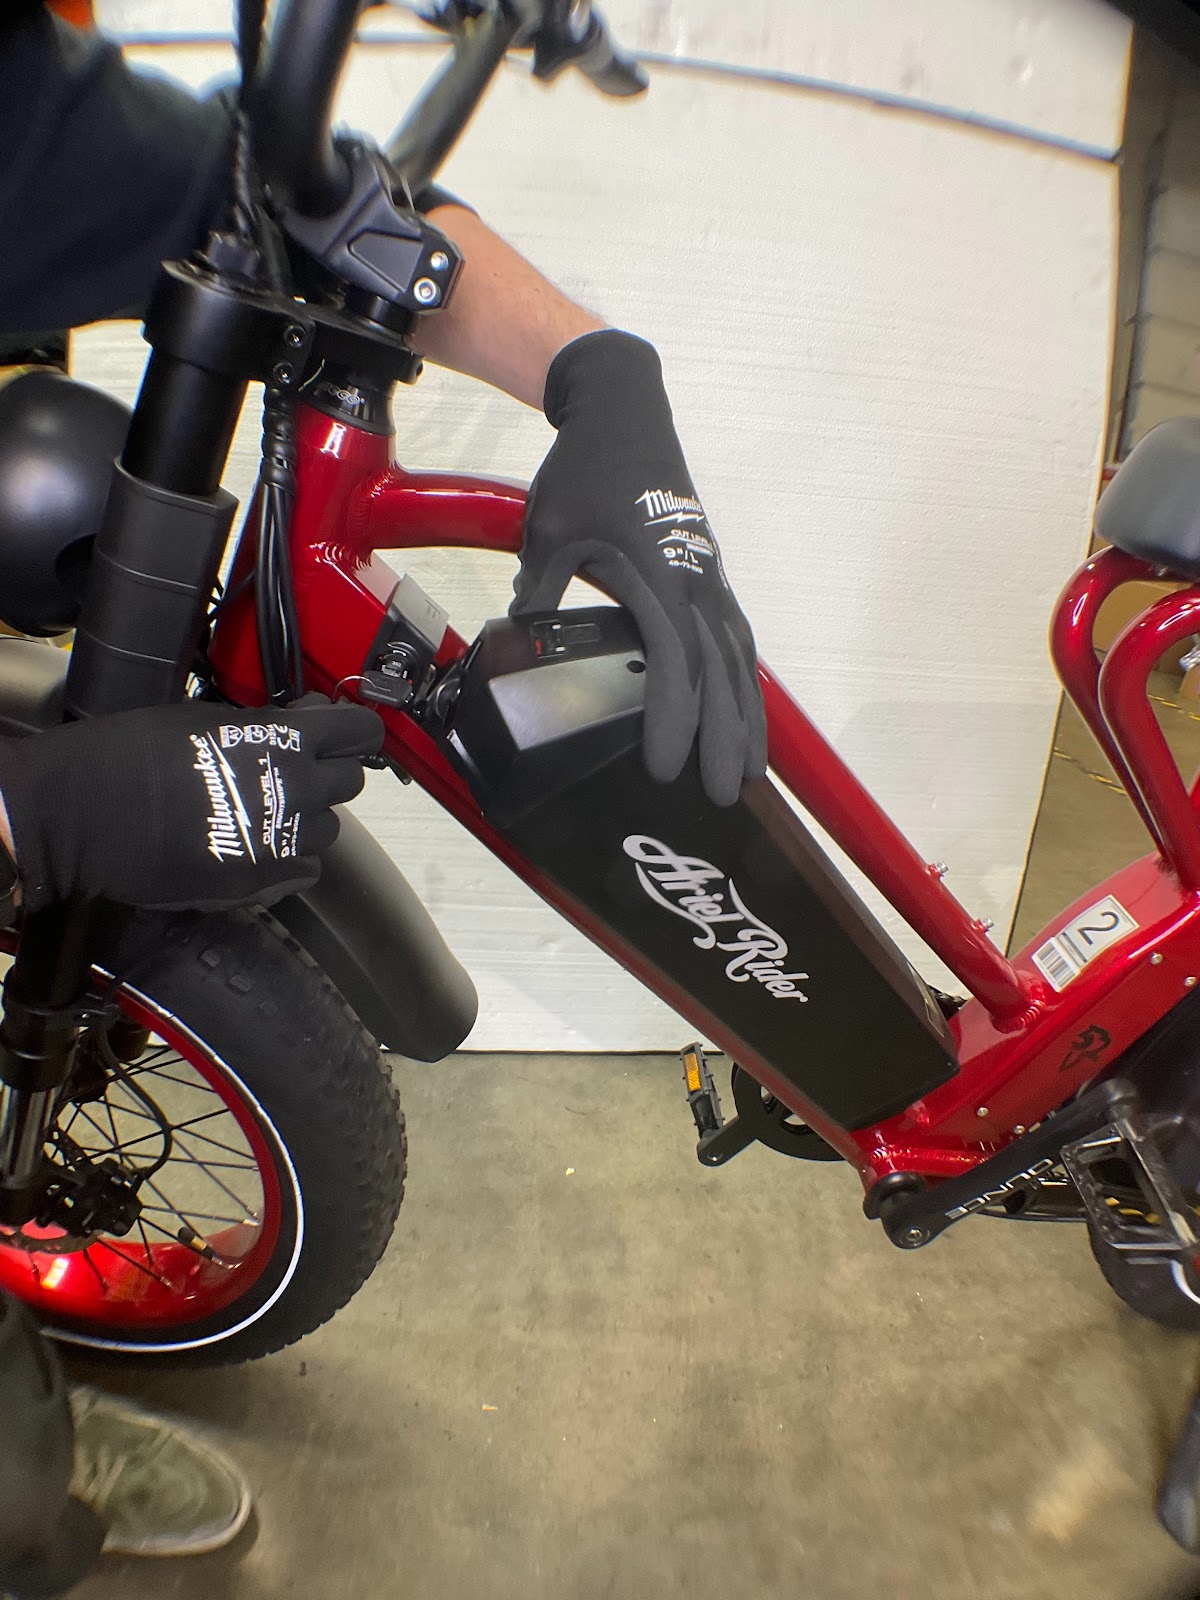
- Step 1: Remove the battery, and hold the power button down to remove all current from the controller (Power Cycle).
- Step 2: Remove the cover bolts on the controller box on the left side of the frame
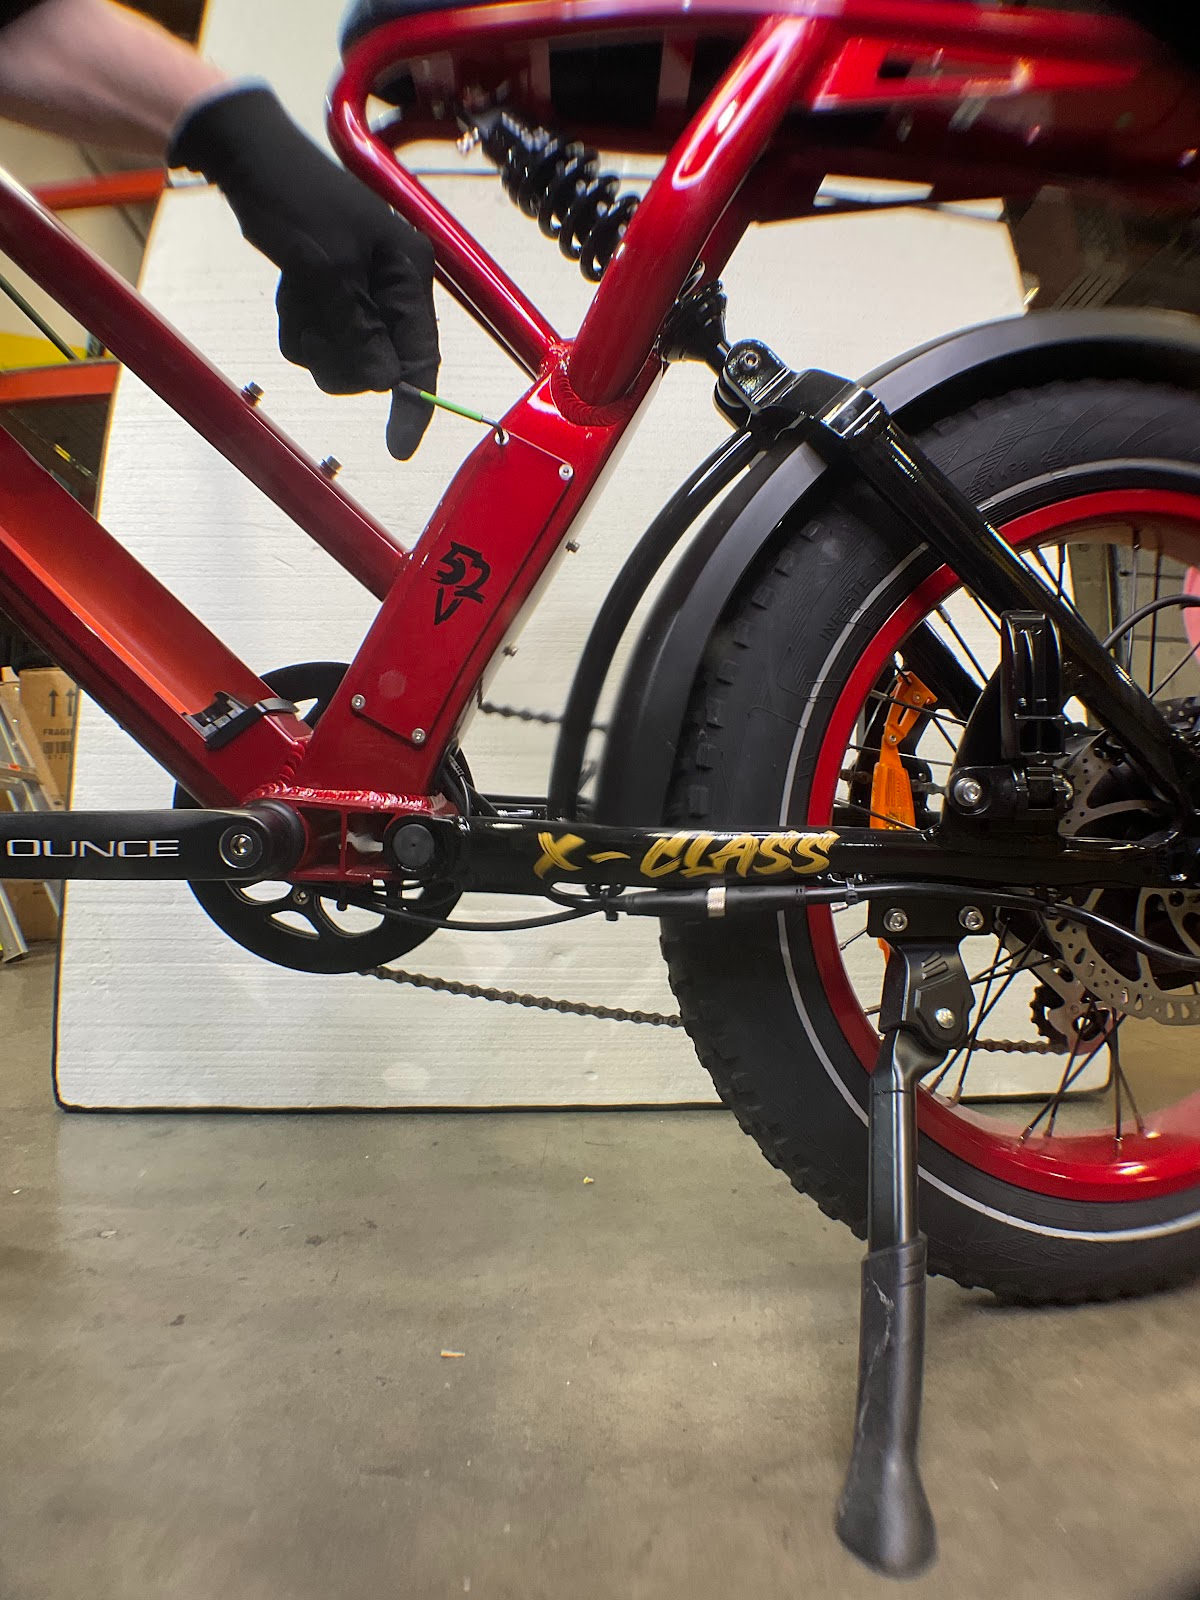
- Step 3: Remove the controller mount bolts.

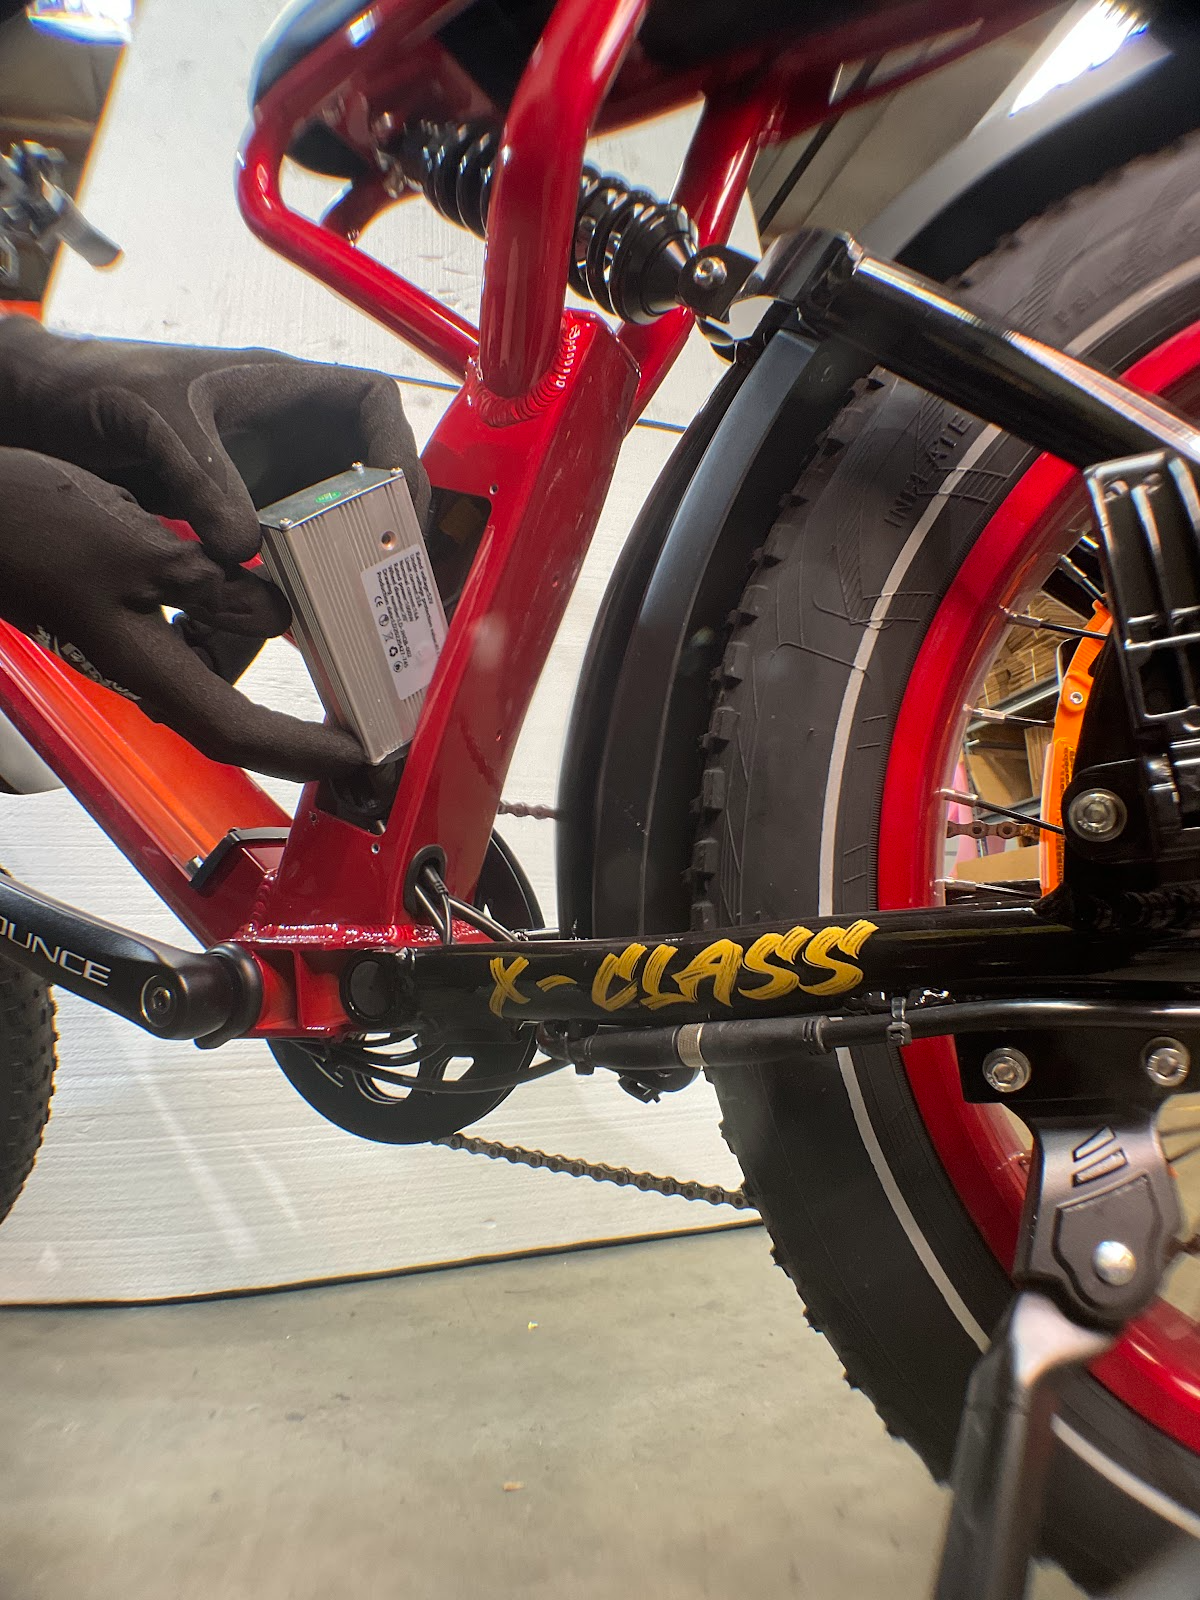
- Step 4: Extract the controller to expose all connections, disconnect all connectors, follow all connections, and remove any zip ties impeding the controller from being fully removed.
- Step 5: If under warranty, put the old controller in the shipping box with the ticket number, your name and address, and postage tag sent to you in this package from AR, securely close the box after packaging, and return it with the provided shipping label:
Ariel Rider Tech Dept
12648 Interurban Ave S
Tukwila, WA, 98168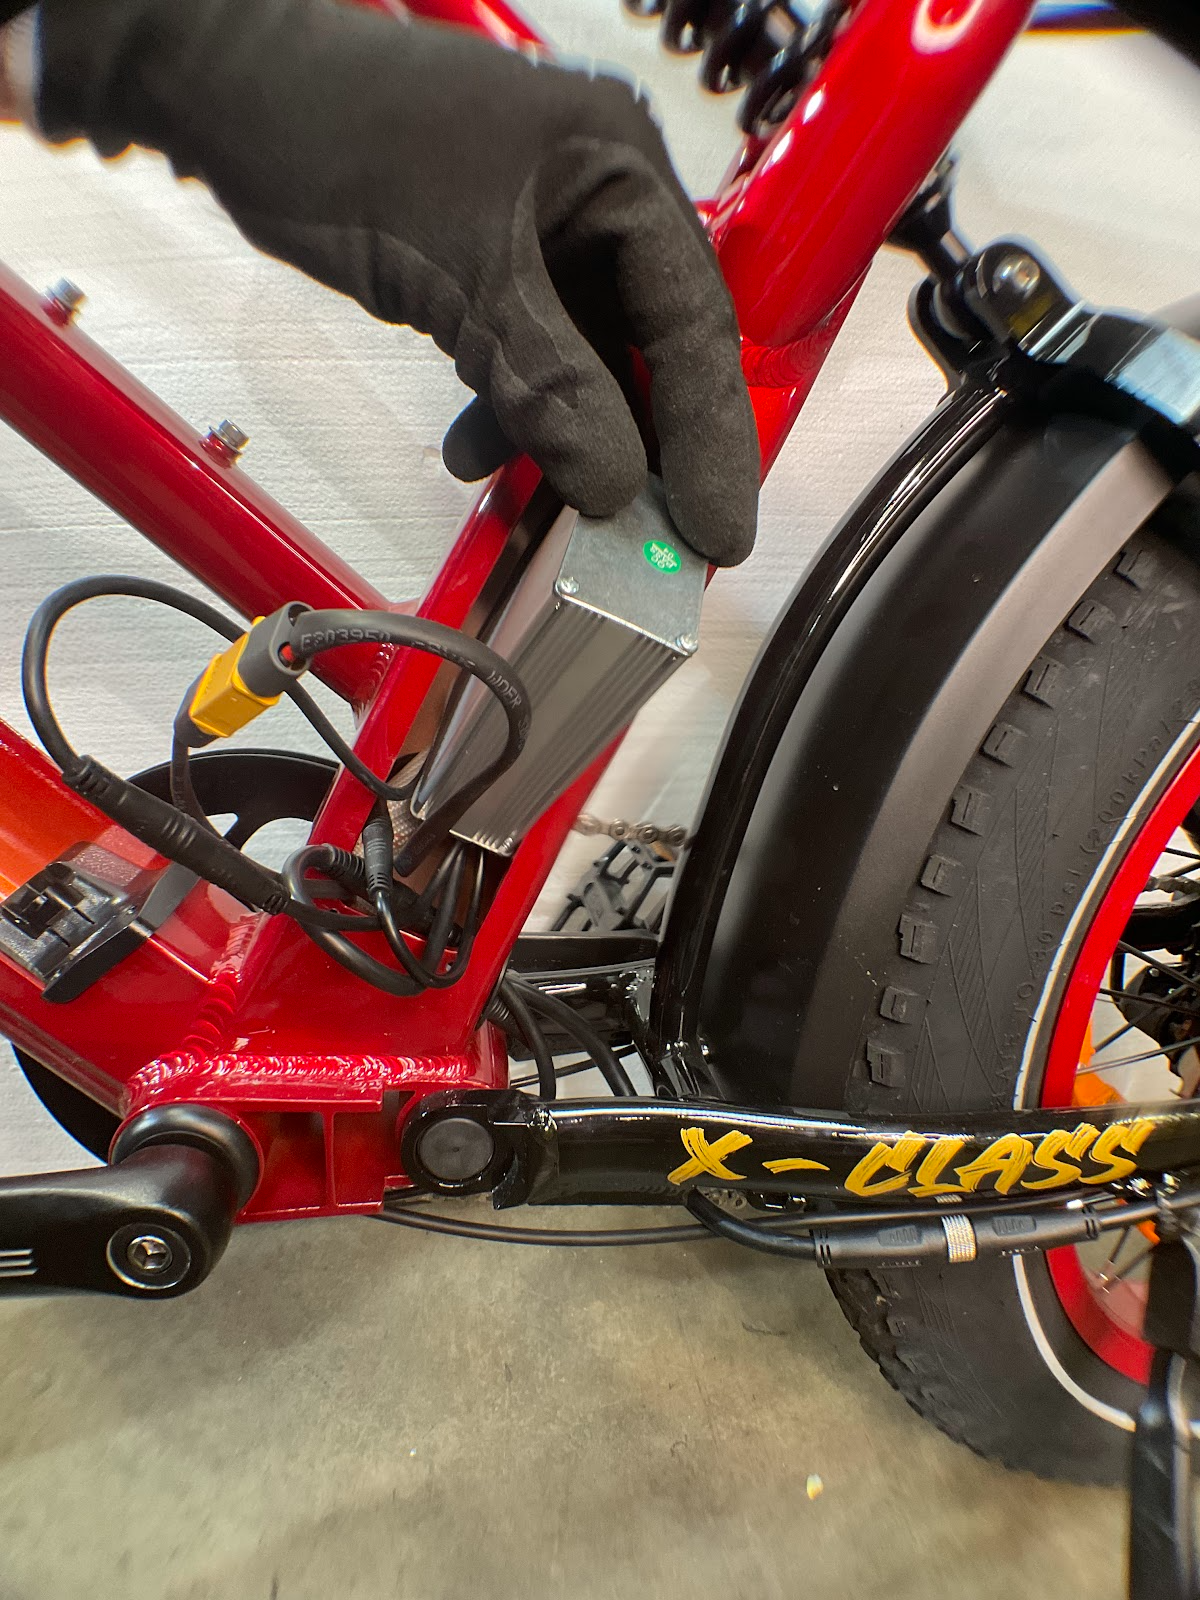
- Step 6: Reconnect all connectors, starting with the motor cable
- Step 7: Then connect the main cable assembly.
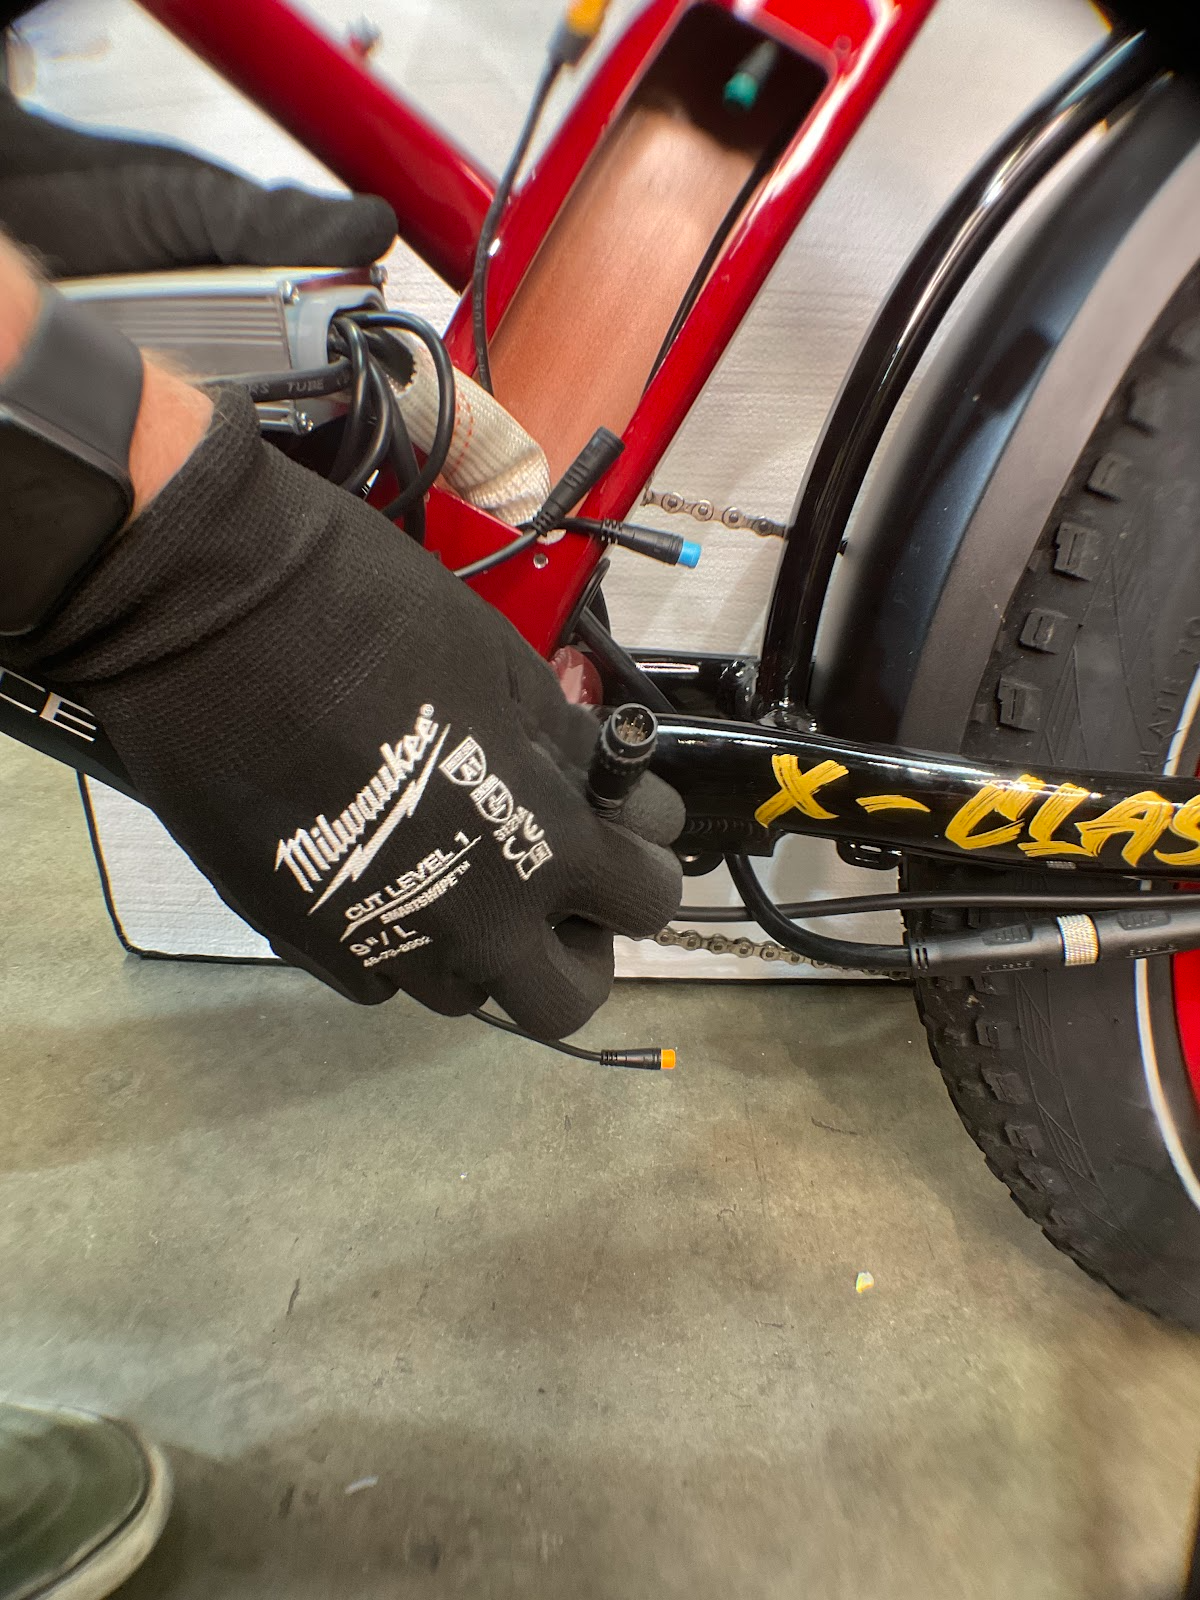
- Step 8: Keep the controller outside of the bike while connecting connectors.
Tip: If you are replacing a broken controller it is a good idea to test it for functionality outside of the bike by connecting only the motor, the main cable assembly, the display, and the throttle as well as the battery before completing the installation.
⚠Attention: Never plug in your headlight while powered on.
Leaving the cadence sensor, brake cut-offs, and headlight unplugged power up the bike. Watch the display to see if there are any error codes.
If the throttle works and the bike accelerates, turn the bike off and remove the battery/power cycle then finish plugging all the connectors in.
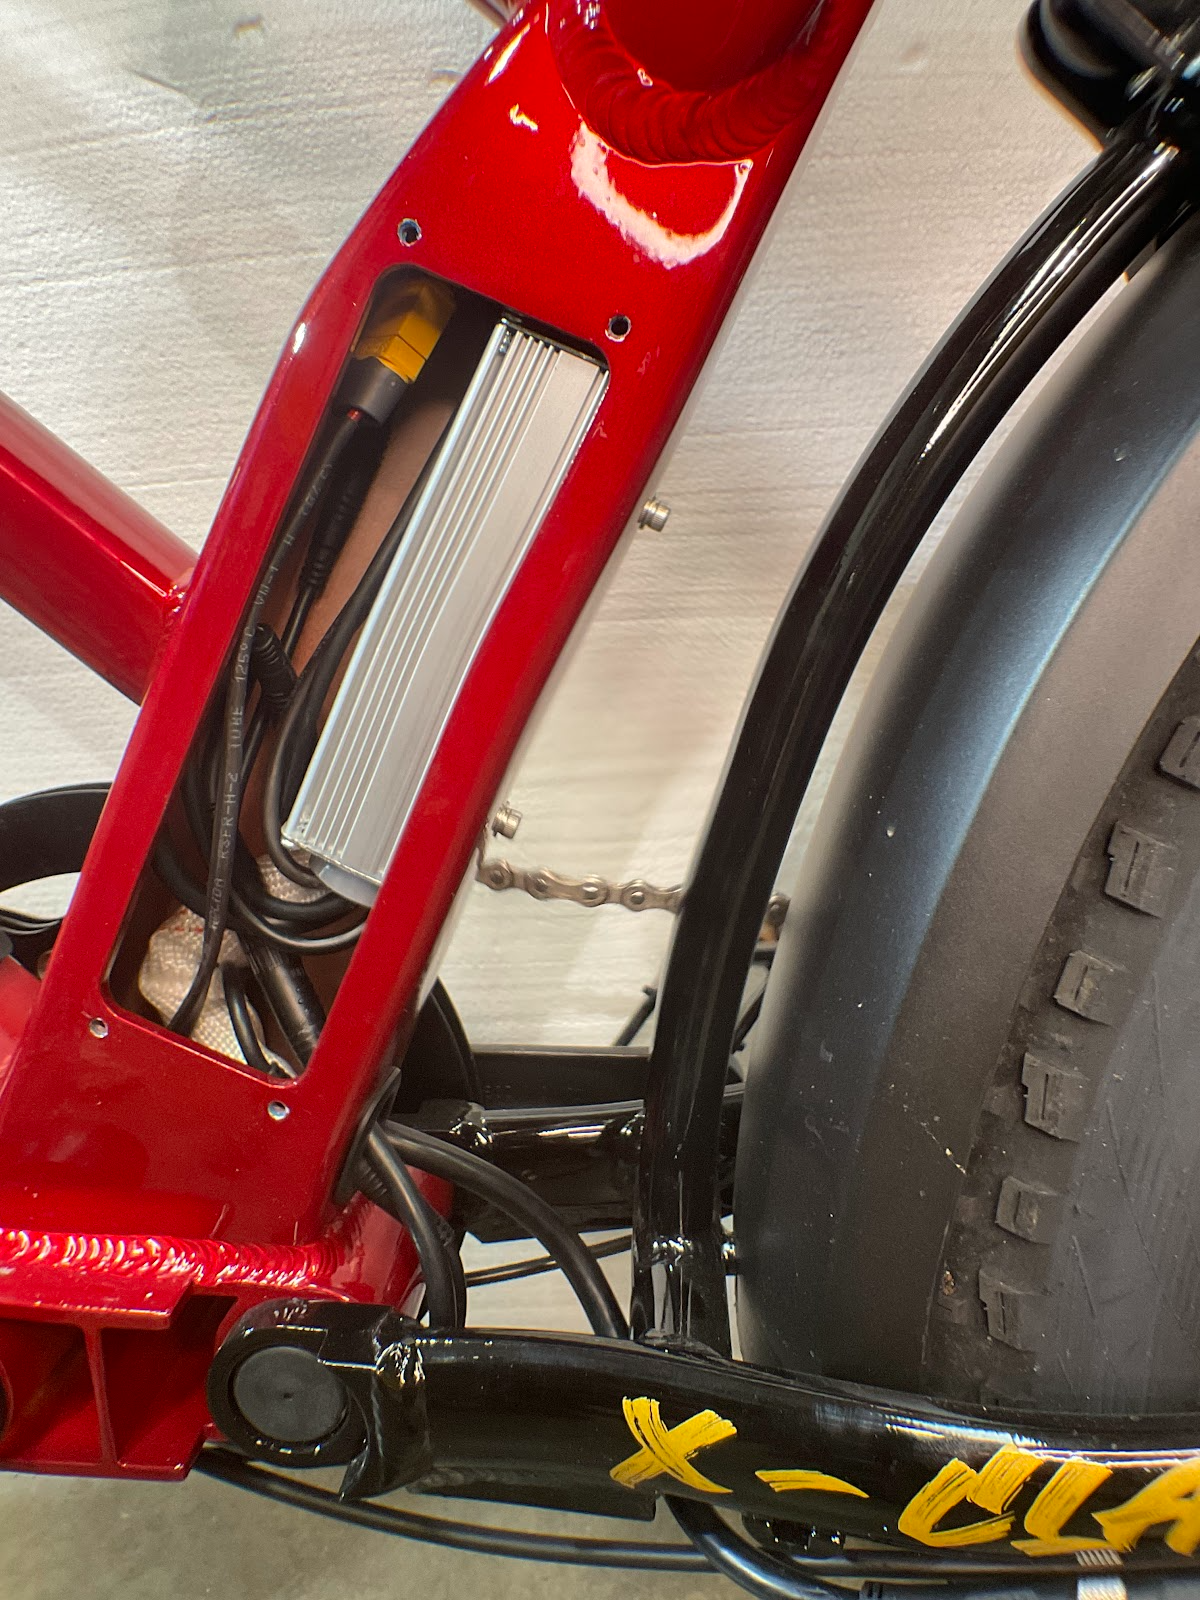
- Step 9: If everything from Step 8 is working as expected, place the controller into the controller box gently.
- Step 10: Replace controller mount bolts.
⚠Attention: Do not over-torque the controller mount bolts (2-3Nm)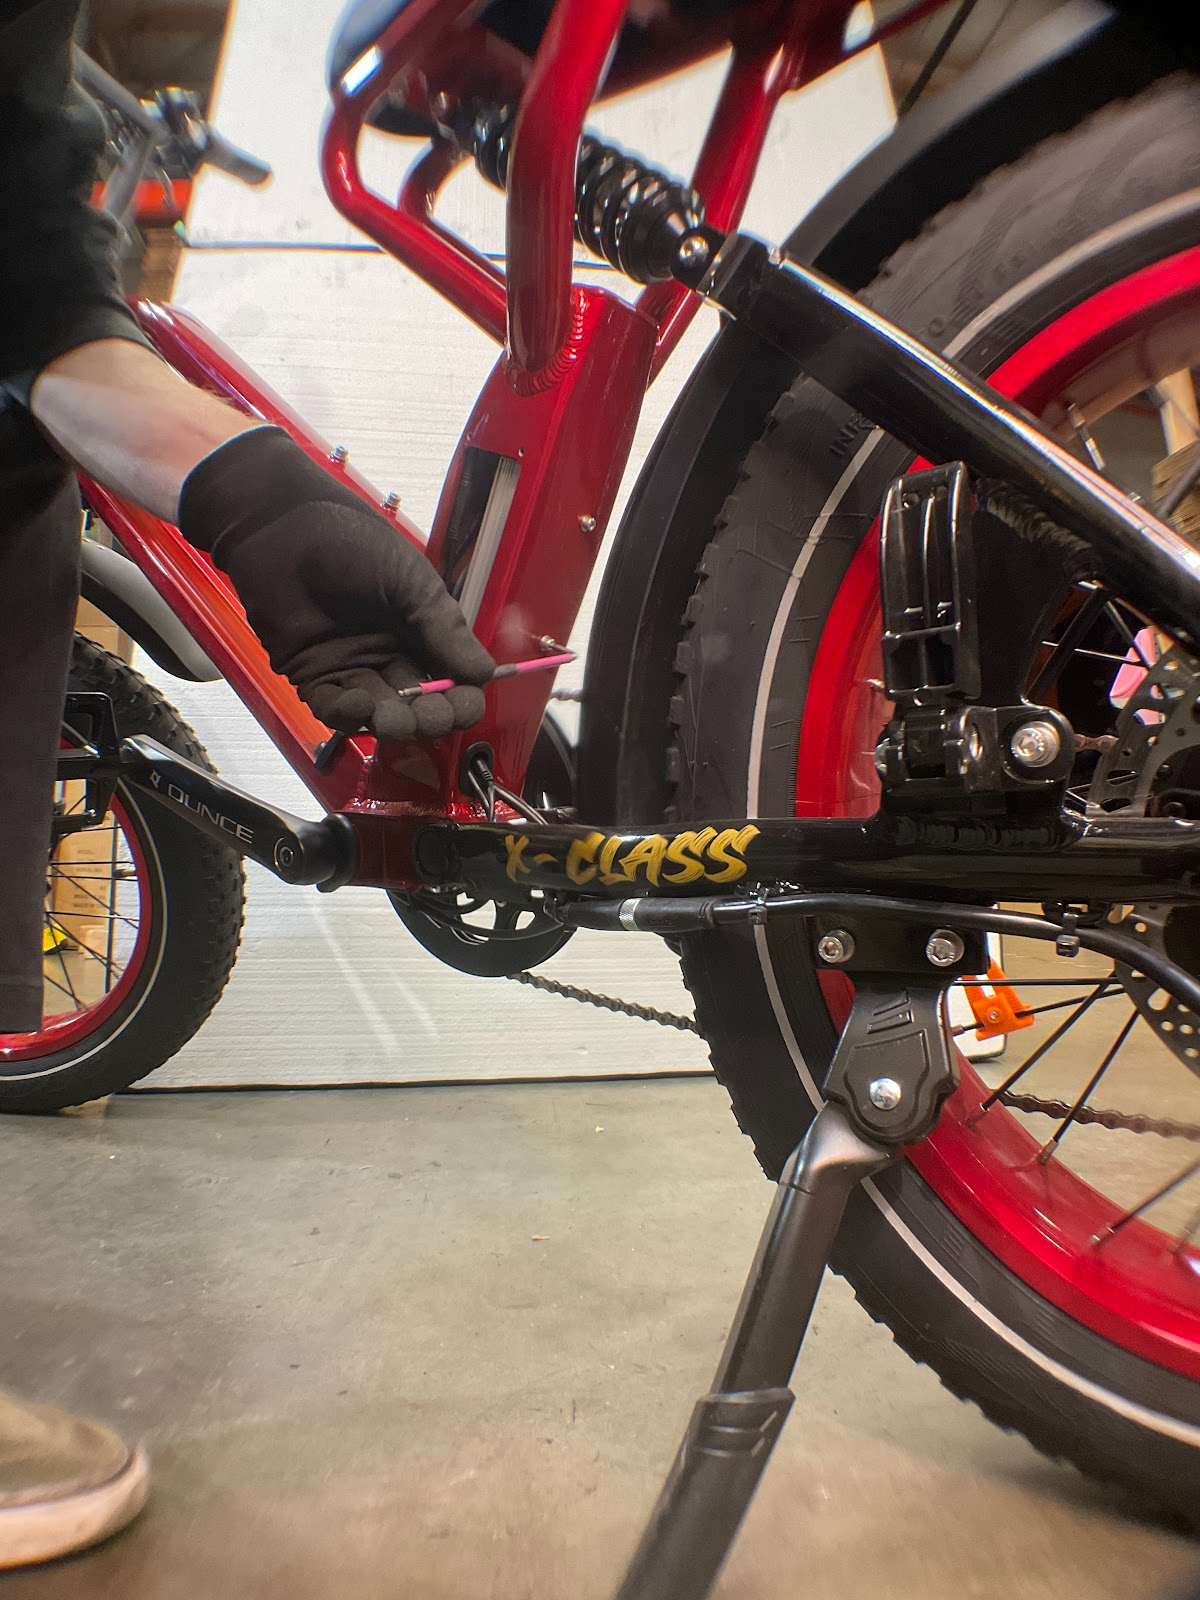
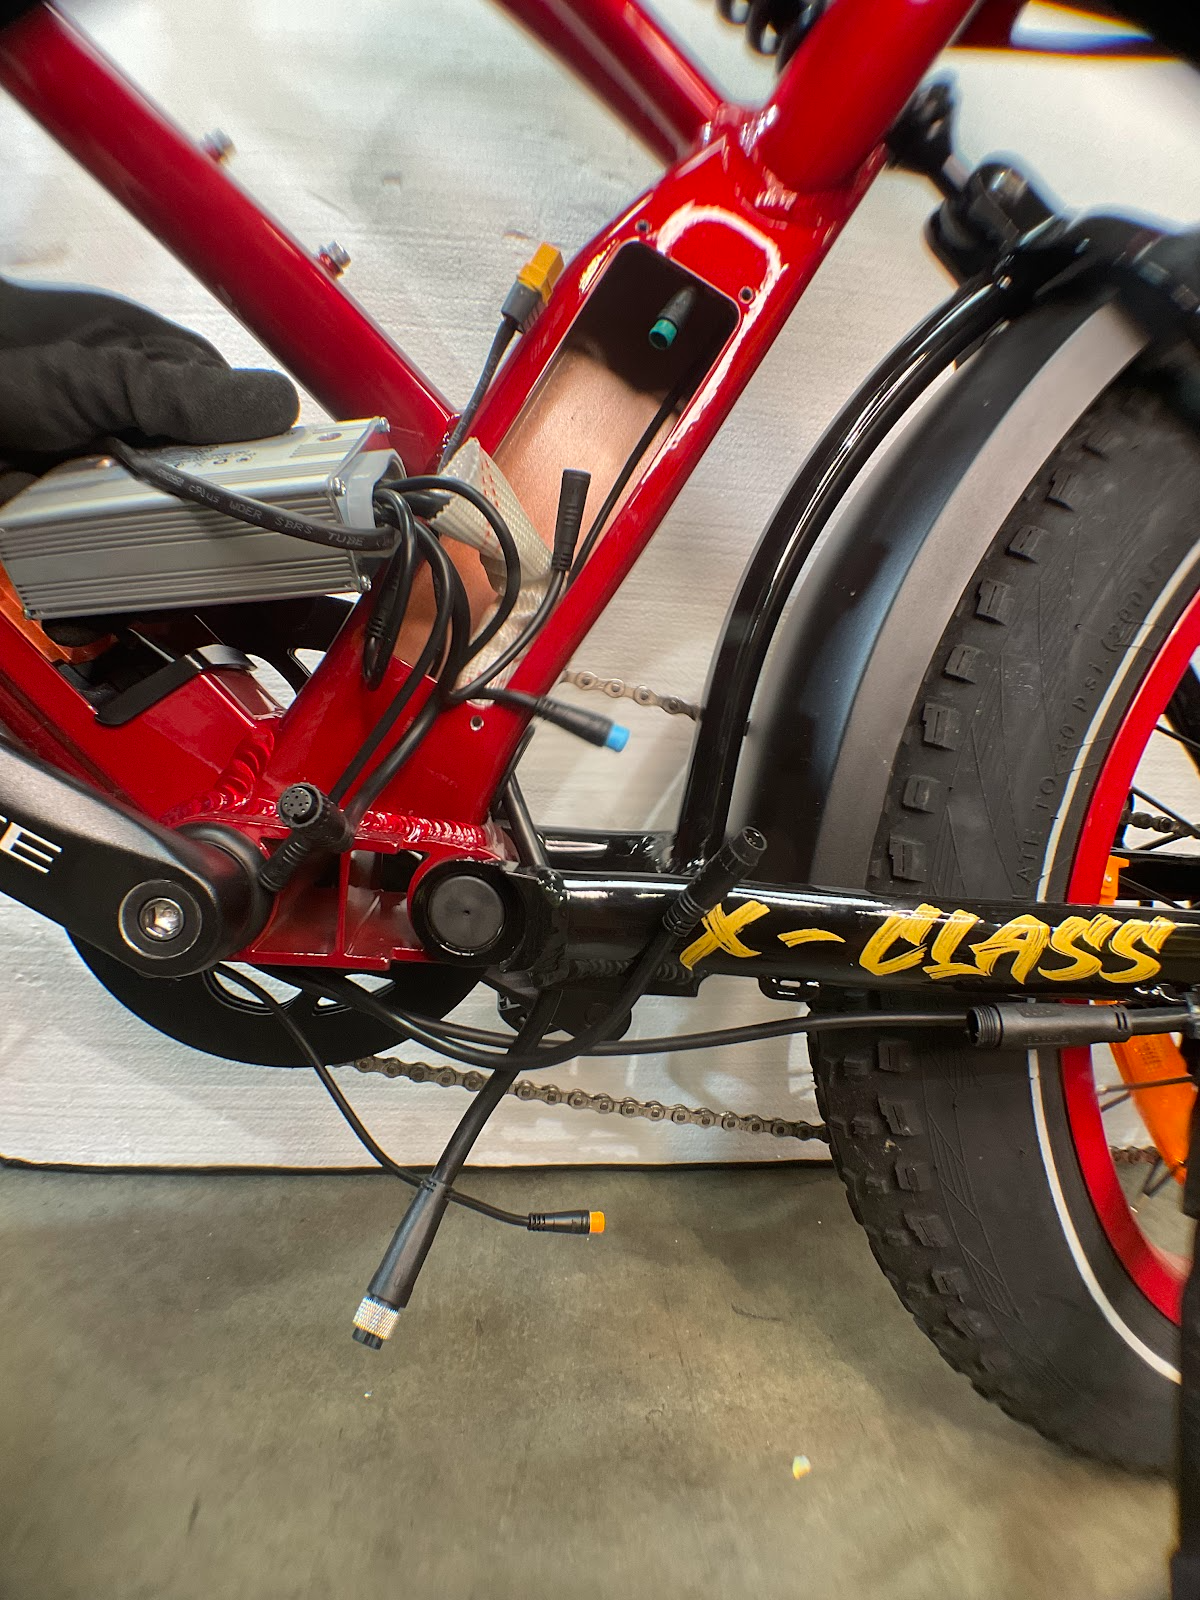
- Step 11: With the controller installed and cables in place, the controller box should look as below:
- Step 12: Replace the controller box cover.
⚠Attention: Do not over-torque the controller cover bolts (2-3Nm) - Step 13: Replace zip ties for the controller to motor connection.
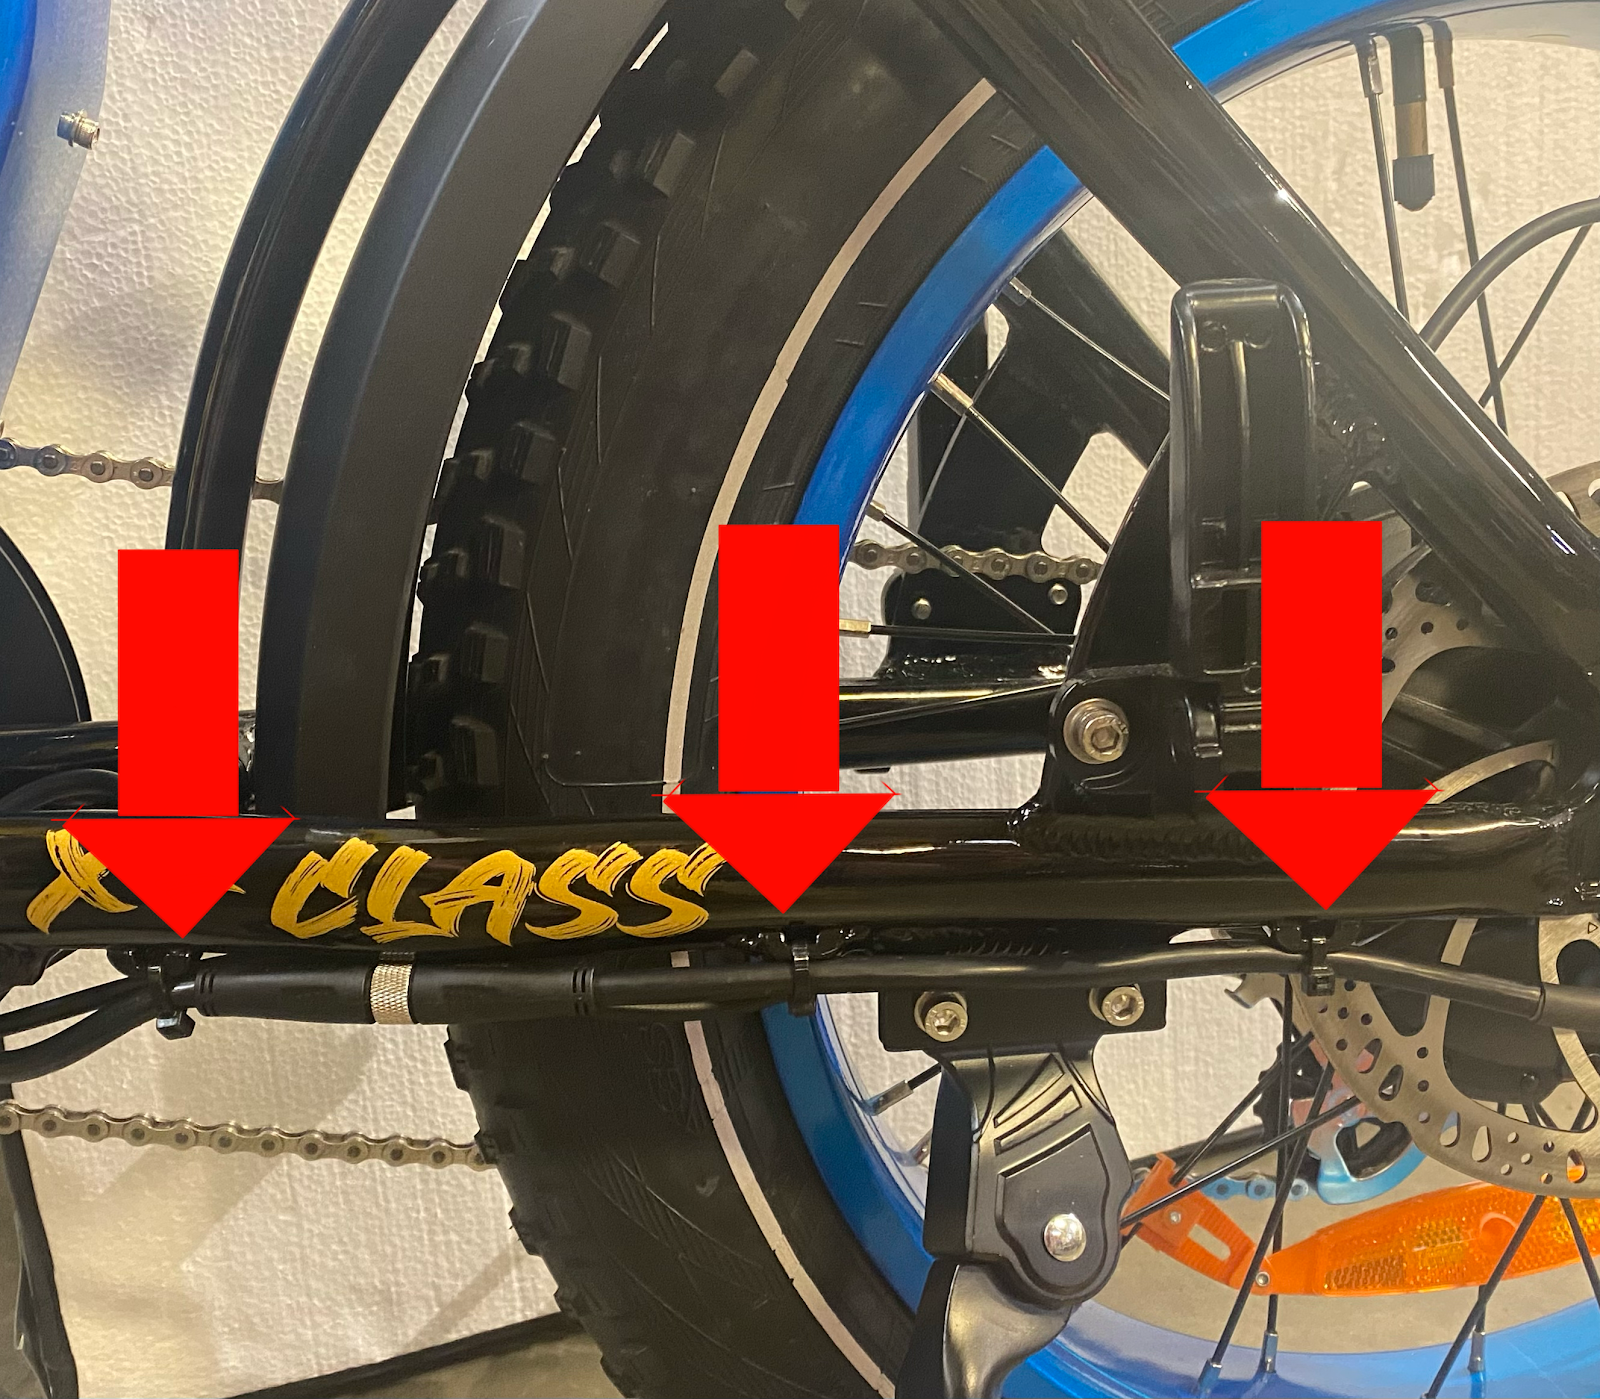
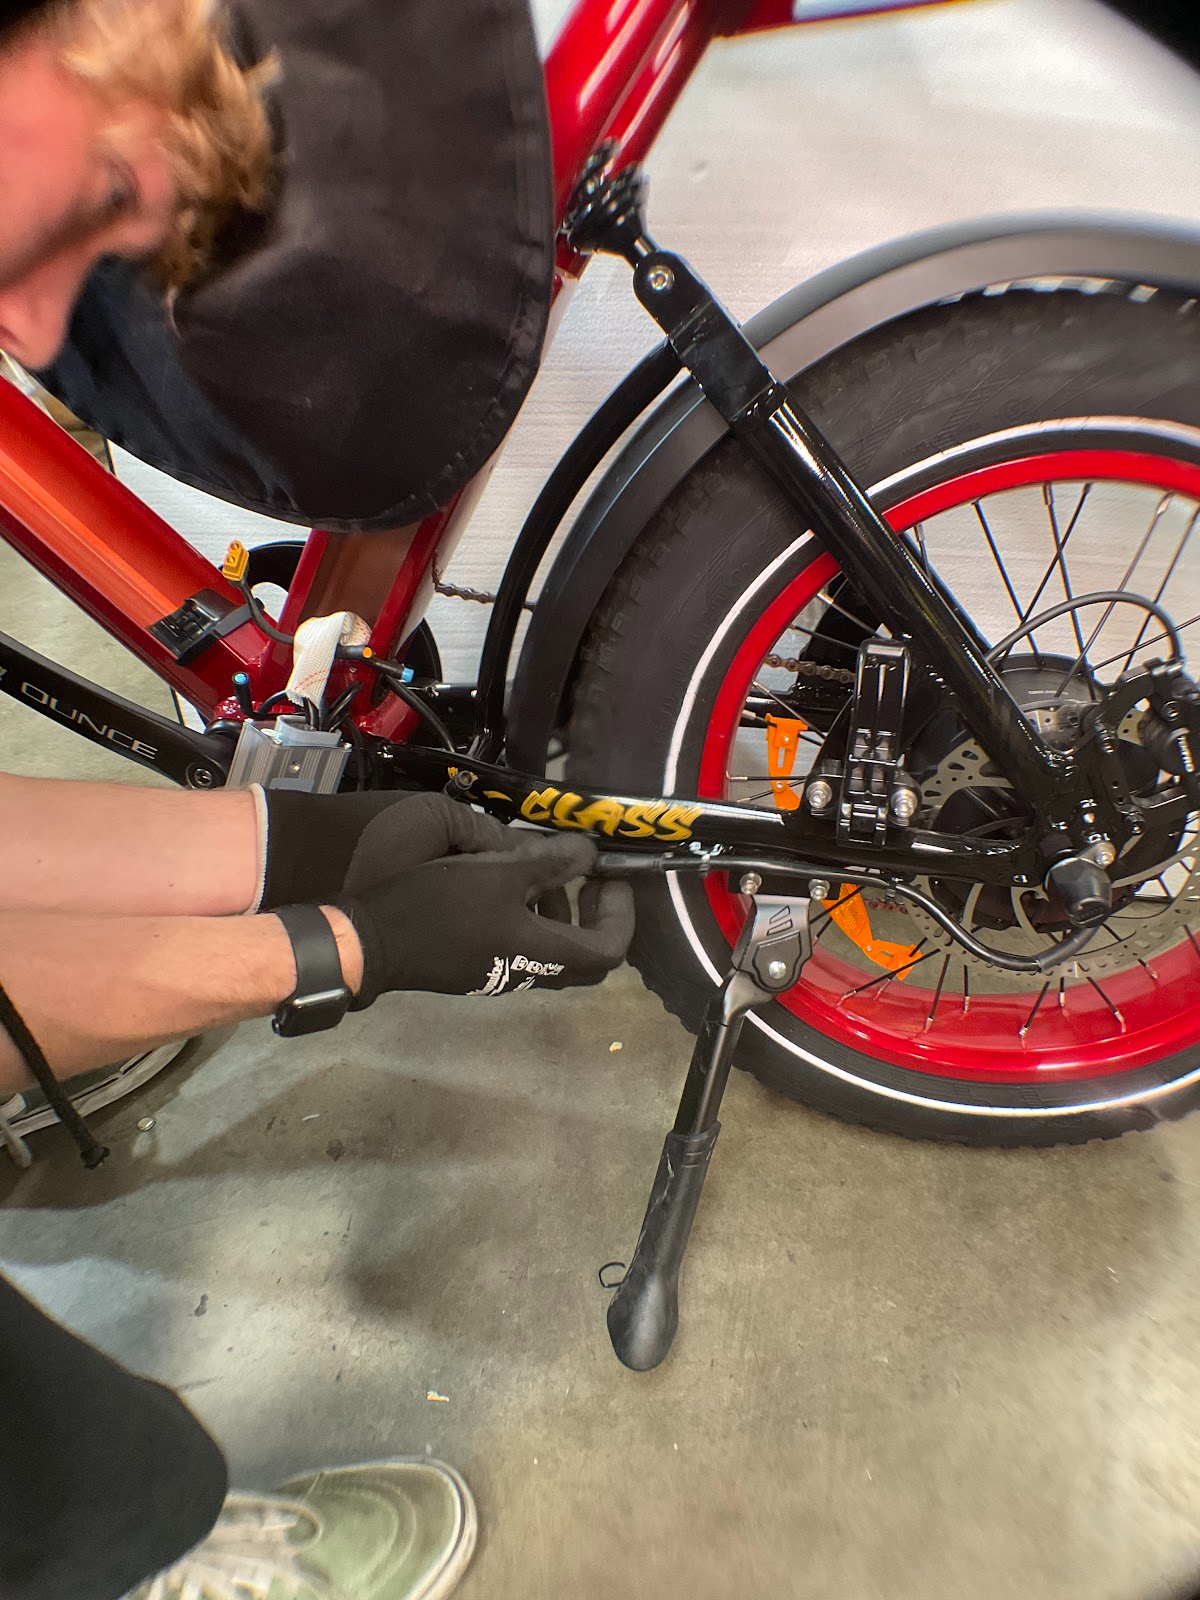
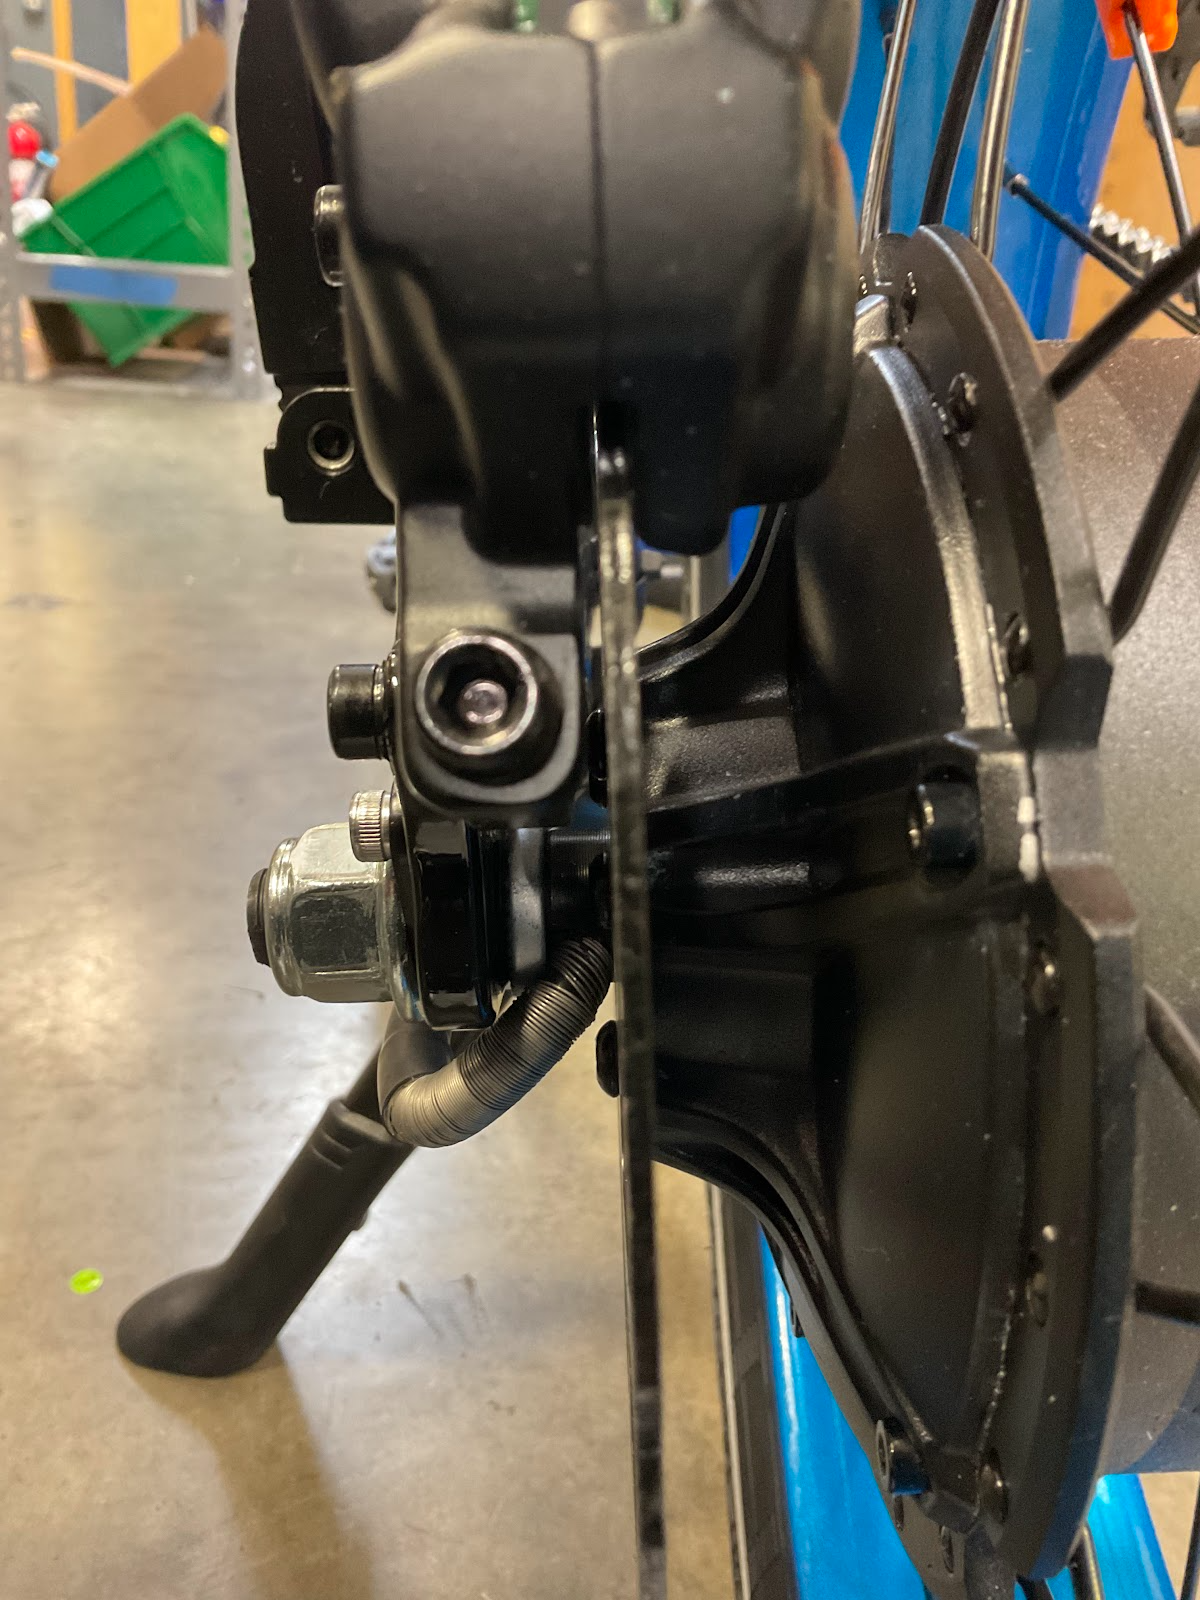
- Step 14: Be mindful of motor cable placement being sure to keep zip ties away from the rotor bolts.
- Step 15: Installation complete!