
Installing Your Brake PadsUpdated 2 months ago
Brake Pad Replacement Guide
Follow the steps below to replace the brake pads on your Ariel Rider e-bike.
Step 1: Remove the Old Brake Pads
- Remove the wheel from the fork or frame.
- Remove the pad retaining hardware:
- Threaded bolt setup:Carefully pull the cotter pin from the pad retaining bolt. Then, use a 3mm Allen wrench to loosen and remove the retaining bolt from the caliper sleeve.
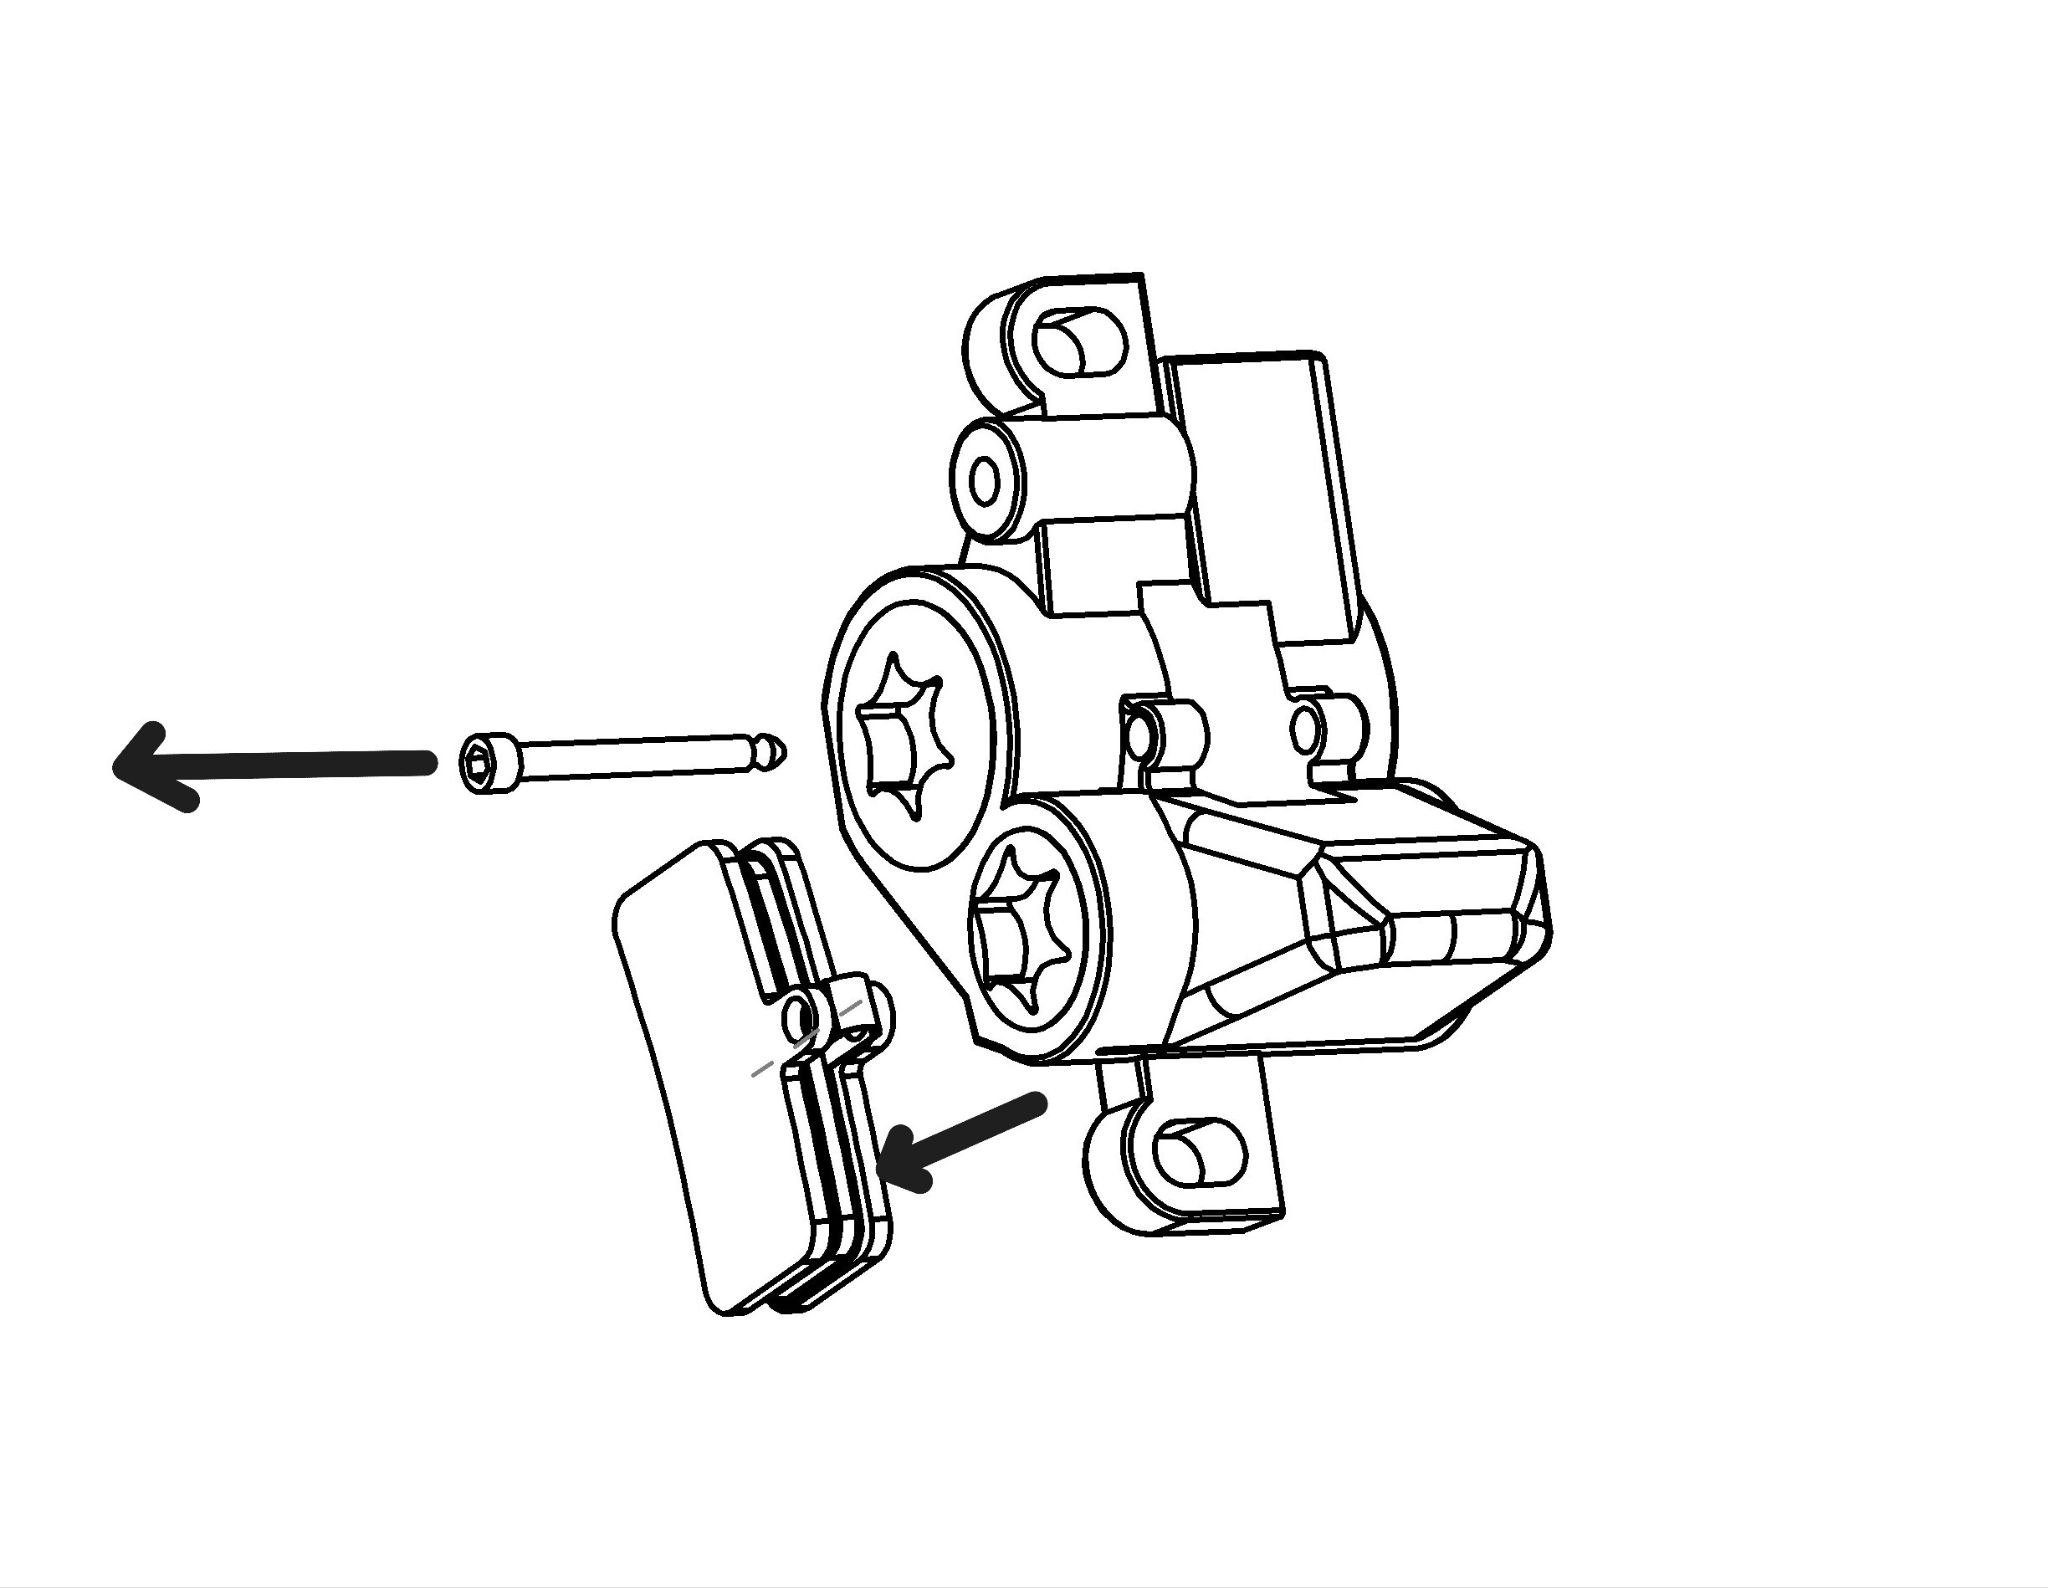
- Split fixing pin setup: If your caliper uses a split fixing pin instead of a bolt, use needle-nose pliers to straighten the bent end and pull the pin straight out.
- Threaded bolt setup:Carefully pull the cotter pin from the pad retaining bolt. Then, use a 3mm Allen wrench to loosen and remove the retaining bolt from the caliper sleeve.
- Using a plastic disc brake piston spreader (or a non-marring tool), push the pistons on both sides evenly back into the caliper housing to create space for the new, thicker pads.
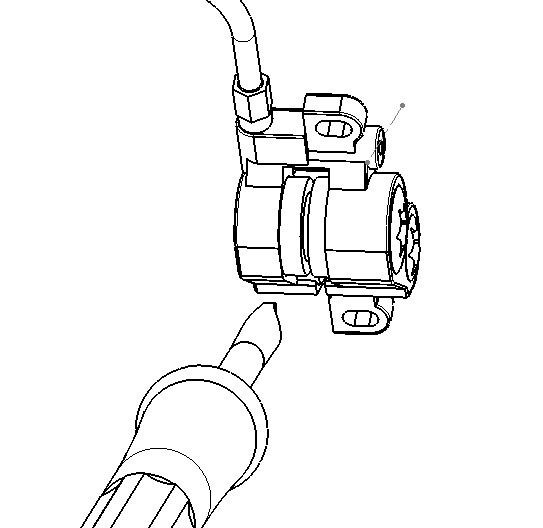
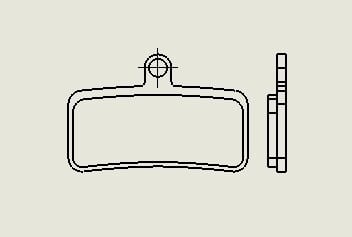
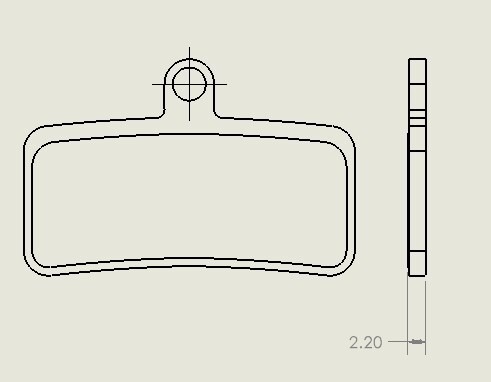
When to replace your pads: Brake pads should be replaced once the friction material wears down to a total thickness of 2.2 mm (applies to both 4 mm and 5 mm base plate types).
New Pad
 Worn Pad
Step 2: Install the New Brake Pads
- Insert the new brake pads and metal spring clip assembly together into the caliper slot.
- Secure the pads in place:
- If using a retaining bolt: Slide the bolt back through the sleeve, torque it to 0.8–1.2 Nm, and reattach the cotter pin through the end of the bolt.
- If using a fixing pin: Insert the pin through the caliper and pad hole, then bend the split end with pliers to lock it into place.
- Reinstall the wheel, ensure the rotor is centered between the new pads, and pump the brake lever a few times to set the pistons.
If you have any questions, please reach out to us through our contact form.