Self Diagnosis SOP for Ariel Rider X-ClassUpdated 5 months ago
Please note that this guide is for Pre-2025 X-Class 52V bikes.
Step 1: Battery and Power Check
Check battery level indicator
Power on X-class bike
Verify brake activated indicators (!) are working
Step 2: Lighting Test
Check headlight, tail light, and turn signal switches
Ensure tail light and turn signals are functioning
Step 3: Power Down Sequence
Turn off power on X-class
Remove battery using key
Slide battery to the left
Hold the power button again to dissipate the remaining power in the controller (Power Cycle)
Step 4: Main Cable (Tree Cable) Connector Inspection
Unwrap wire wrapping around cable assembly
Disconnect each connector by pulling straight apart
Start with display, brake cut-offs, headlight, and turn signal
Note any burnt, broken, or bent pins and take photos for the tech agent
Step 5: Additional Connector Checks
Inspect throttle and right handlebar brake cut-off connectors
Cut zip ties to access main cable assembly under bottom bracket
Pull out main cable (Tree Cable) connector and inspect pins and cable for damage
If you have turn signals this will be an 11-pin connector
If you do NOT have turn signals this will be a 10-pin connector
Check the Cadence Sensor (orange 3-pin connector)
Step 6: Motor Cable Inspection
Cut additional zip ties to access motor cable connector
Unscrew the barrel connecting the motor cable to the controller cable
Inspect pins (ensure no bending, breaks, or burning)
Inspect the motor cable where it exits the motor hub for any damage
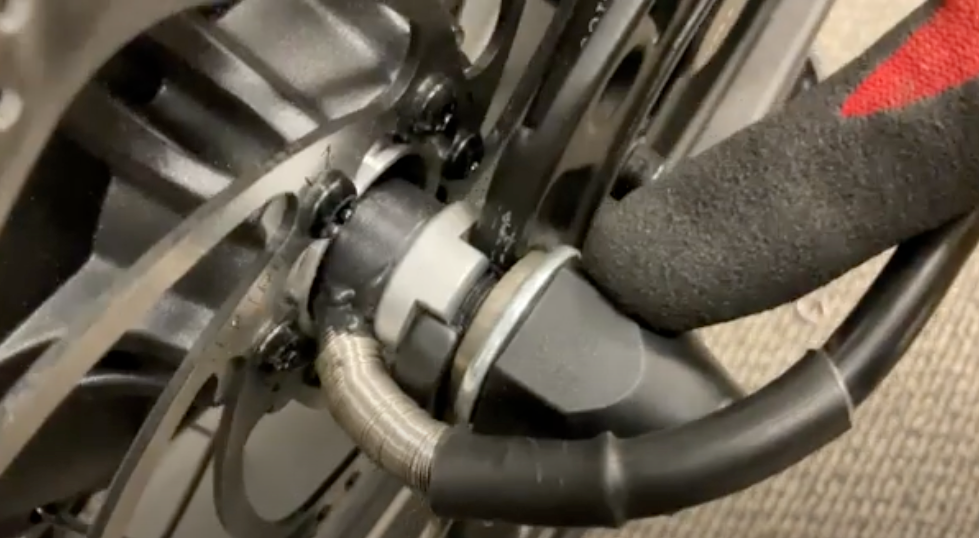
When reconnecting, ensure full seating of motor cable connector
Step 7: Lighting Connector Checks
Unplug headlight and tail light connectors
May need to remove zip ties to access
Step 8: Battery Reinstallation
Return battery to tray and install
Step 9: Display Reset
Hold power and menu buttons
Use plus button to navigate to reset option
Select reset
Step 10: Battery Voltage Tests
Use multimeter to check battery voltage
Please exercise EXTREME caution to not short-circuit the battery. This can happen if you touch the two voltmeter leads together while getting a reading from the battery. Please ensure that while getting a reading from the battery, the two voltmeter leads DO NOT touch.
Also test voltage at controller cable connection
Step 11: Final Check
Ensure bike rolls freely back and forth
Step 12: Documentation
Record all findings to share with tech support