
X-Class 60V: First Tune UpUpdated 2 months ago
Pre-Ride
Pre-Ride Safety Inspection Checklist
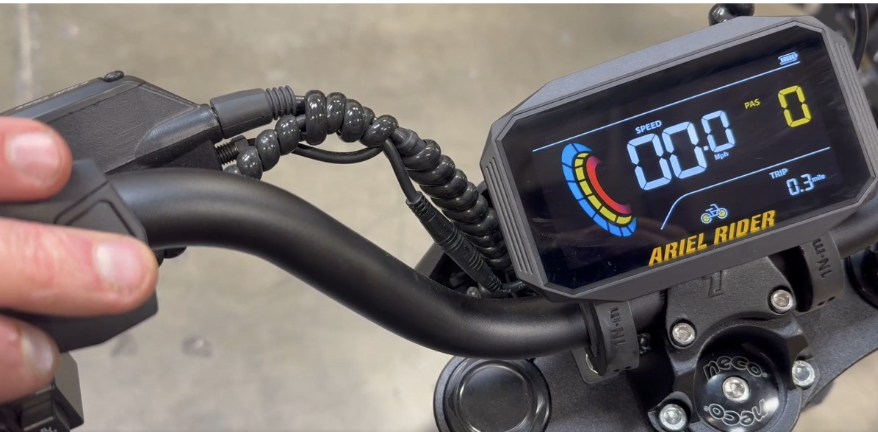
- Power the bike down with the display keypad.
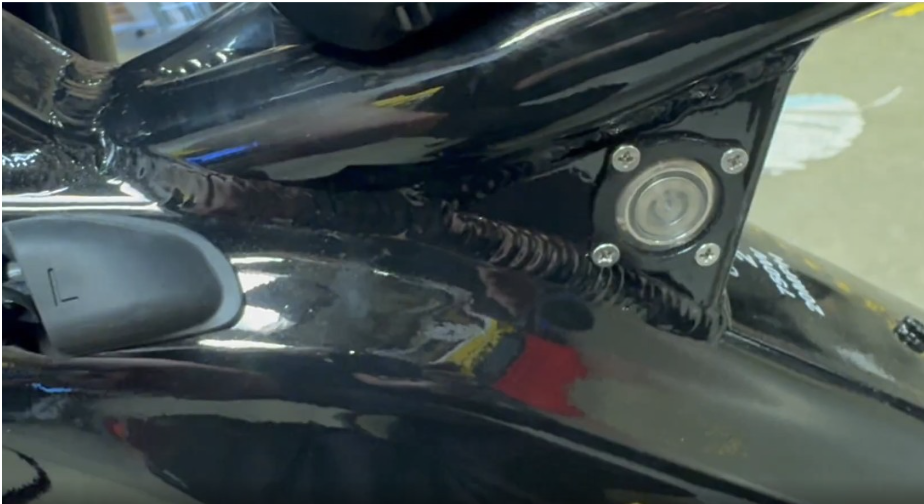
- Press the main power button on the frame.
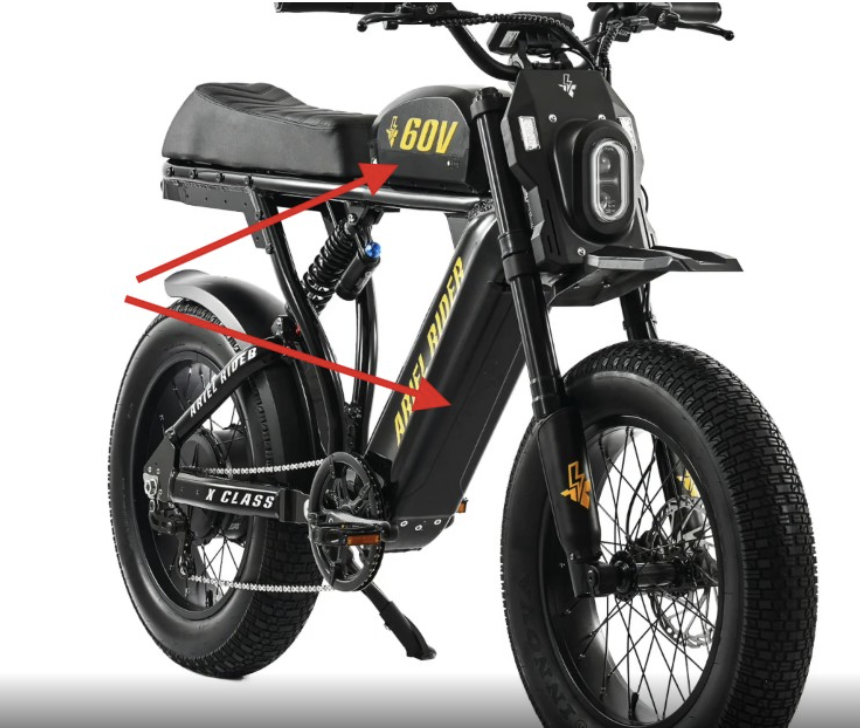
- Remove the top tube and down tube battery.
- Check that all critical fasteners are torqued to specifications.
Part Tool Torque Spec Brake caliper adapter bolt 5mm hex wrench 6–7 Nm Stem faceplate bolts 4mm hex wrench 5–6 Nm Direct mount stem clamp bolt 5mm hex wrench 6–7 Nm Stem cap bolt 5mm hex wrench 6–7 Nm Battery tray screws T25 Torx wrench 5–6 Nm Shock mount bolt 5mm hex wrench 5–6 Nm Drop out adjust bolts 5mm hex wrench 5–6 Nm Chain tensioner bolt 6mm hex wrench 5–6 Nm Rear axle nut 22mm torque wrench 50 Nm Front axle bolt 5mm torque wrench 12 Nm - Note the recommended pressure on the sidewall of your tire.
- Remove the valve stem cap.
- Confirm your tire pressure with either an Ariel Rider Portable Air Pump or any tire pressure gauge.
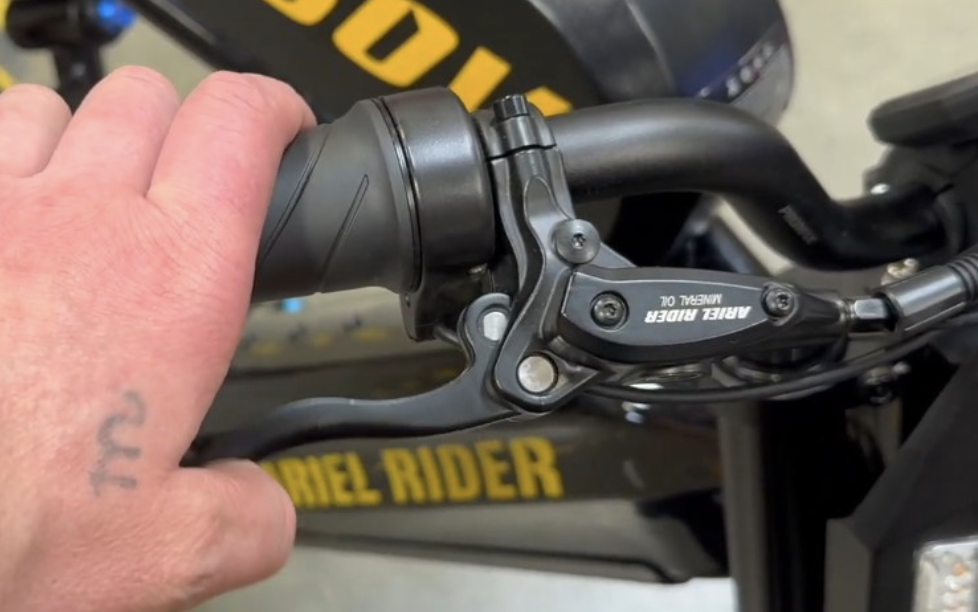
- Check the stopping power of your brakes while off the bike by rolling the bike and squeezing the levers independently to ensure your bike will stop safely.
- Make sure there is plenty of space around the bike when testing your bike. Safety first.
- Make sure the levers are not “squishy” and they do not contact the handle grip when squeezing the lever.
- Check the high and low beams of your headlight, as well as the front and rear turn signals.
- High beams
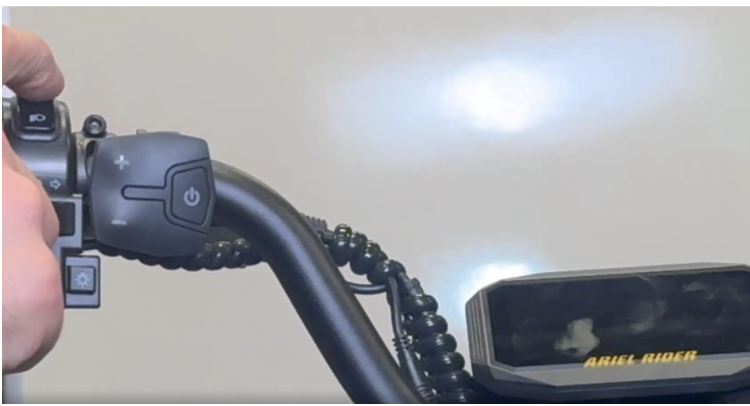
- Low beams
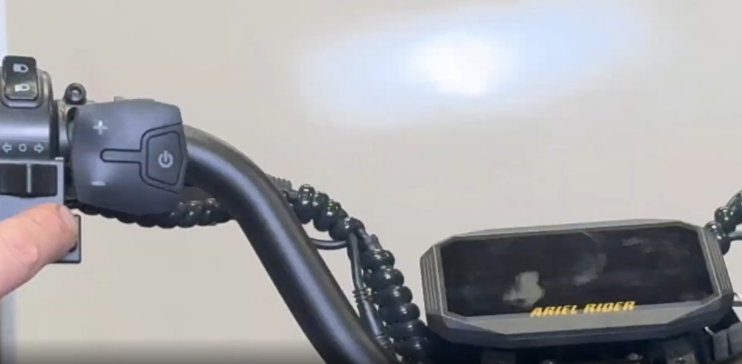
- High beams
- Check that the brake pads are aligned and wearing evenly.
- The brake pads should be changed when they are the thickness of a dime.
- A 2mm hex wrench can be used as a reference for the minimum thickness of the pads.
- Check for even spoke tension by squeezing the parallel pairs and tightening when necessary.
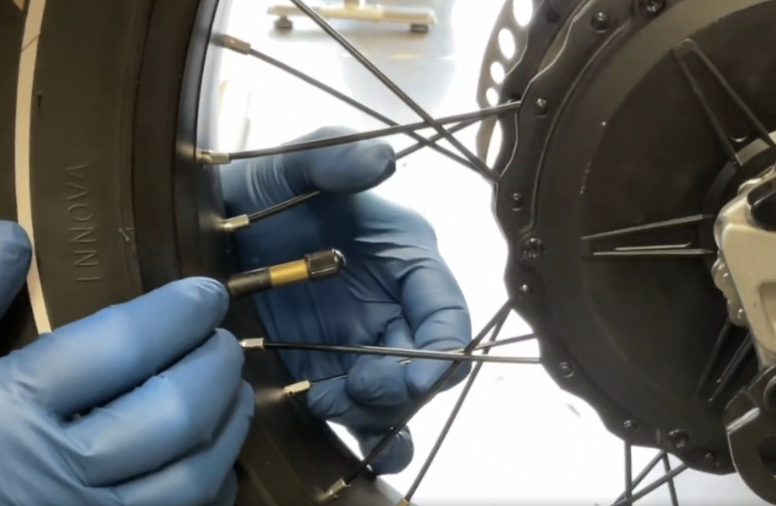
- Next, check to see if the wheel is true.
- Wrap a zip tie around the swing arm and cut it off just long enough to miss the rim.
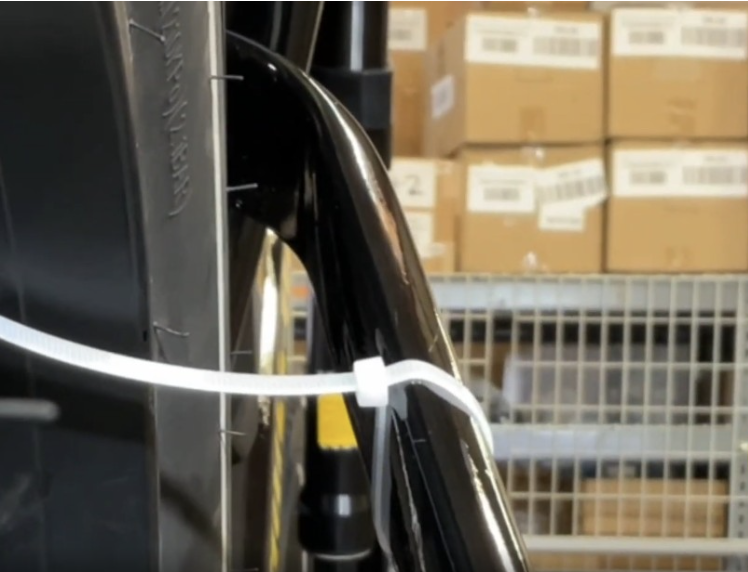
- Adjust the zip tie and spin the wheel to see if truing is necessary.
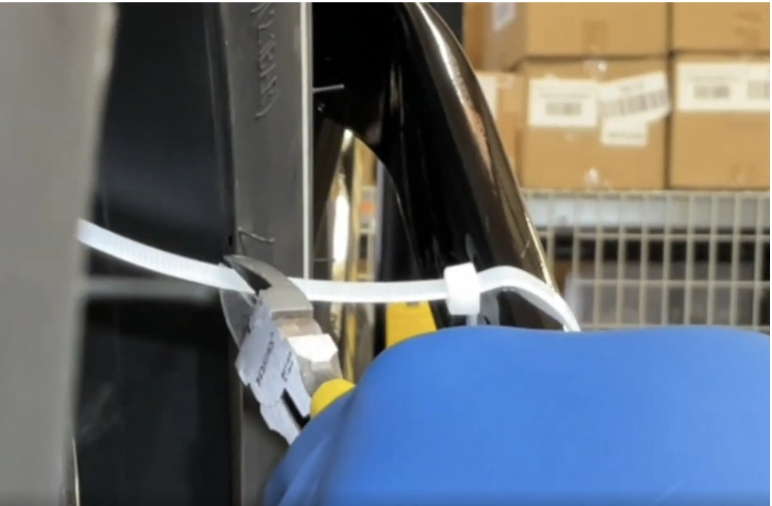
- If truing is necessary, a bike shop will be able to true the wheel for you.
- Wrap a zip tie around the swing arm and cut it off just long enough to miss the rim.
- Check that your motor cable barrel connector is fully screwed together.
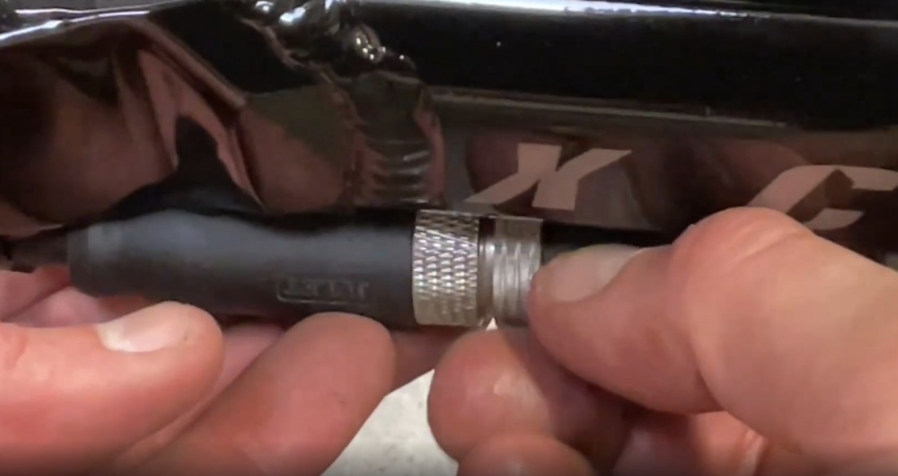
- If your motor cable is in danger of being impacted by the rotor bolts, clip the zip ties along the swing arm and relocate the cable appropriately.
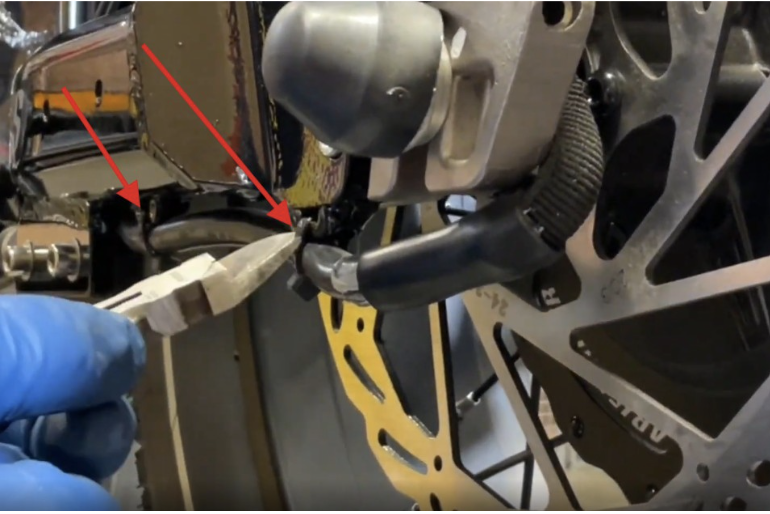
- Check that cables and hoses are not being pinched, impacted, creased, or cut by the swing arm or the fork.
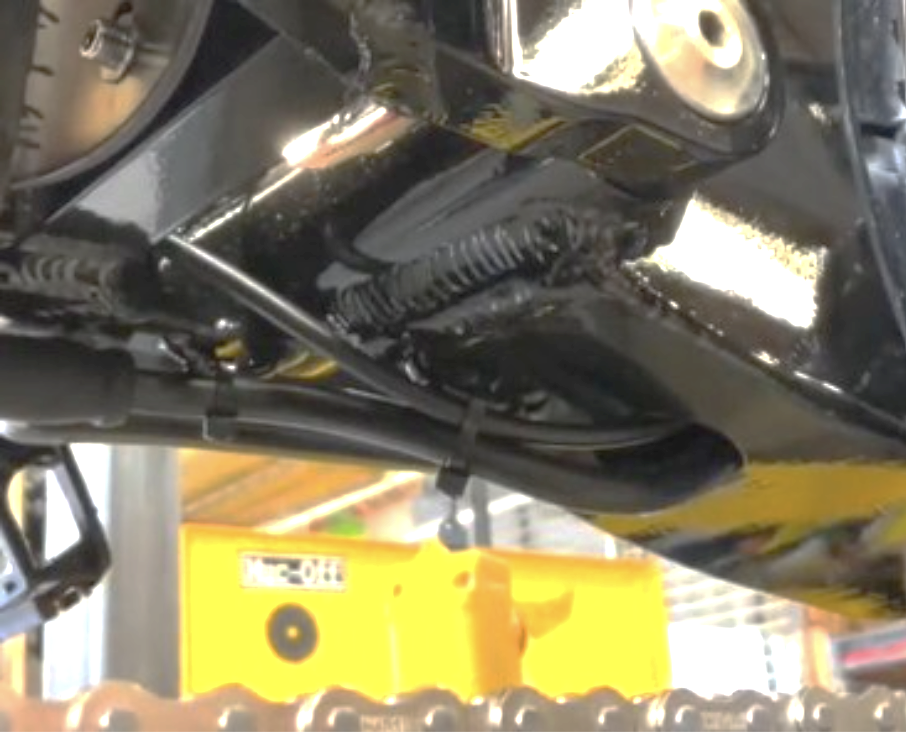
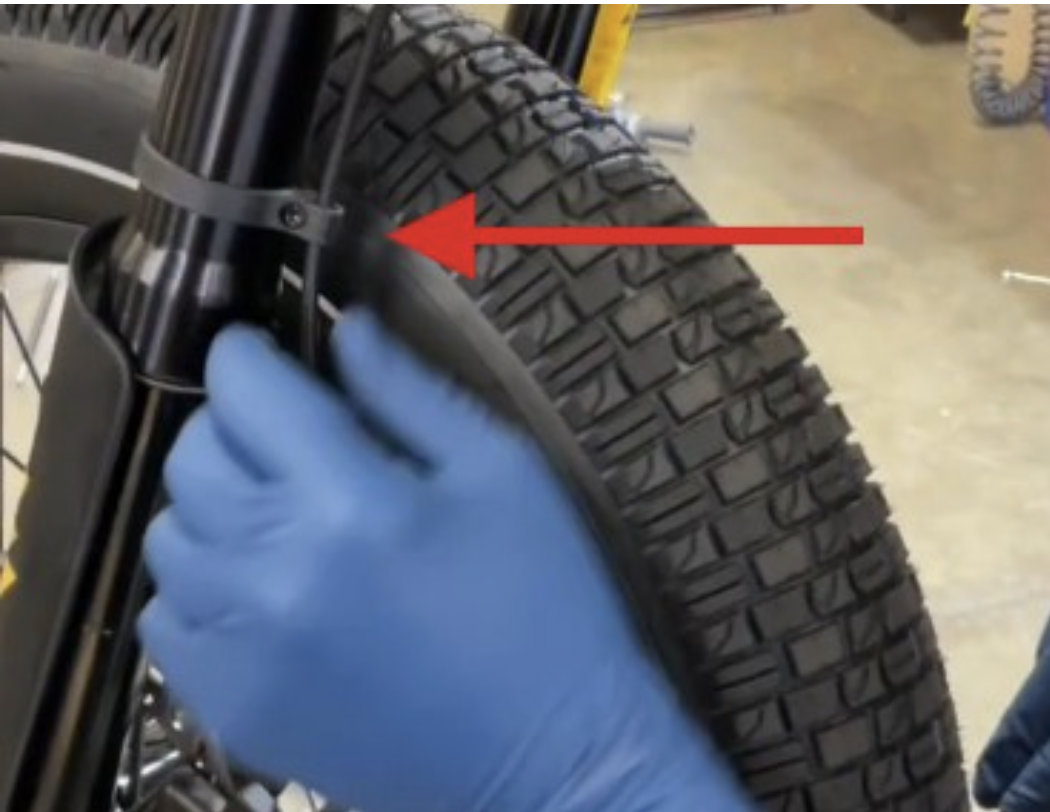
- Ensure that all bolts are secure and torqued to their correct specifications.
- Check the chain tensioner is functioning correctly by back-pedaling the bike and ensuring the chain is rolling smoothly.
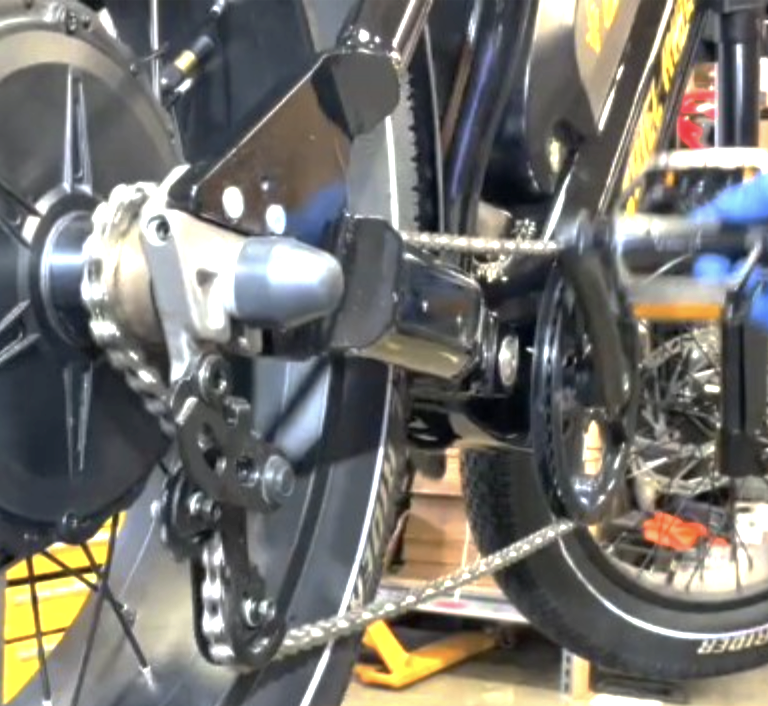
If you find any issues, take your bike to a reputable bike shop for assistance.
If you have any questions, contact Ariel Rider technical support through our contact form.