Kepler 52V 1.0 - Pre 2026: How to Install/Replace the ControllerUpdated 11 days ago
Installing a new controller can seem like a daunting task, however if you follow the directions below you will be able to replace your controller with ease.
Kepler Controller Removal/Installation Instructions
Install time: 30 minutes
Hardware and Tools Needed:
New controller
3mm Hex Key
Flat Head Screwdriver
Needle Nose Pliers
If you have received a new controller, you will want to test the new controller prior to making the final installation. To do so, follow the Kepler Controller Pre-Check instructions.
Step 1: Start by removing the battery with the bike powered off. 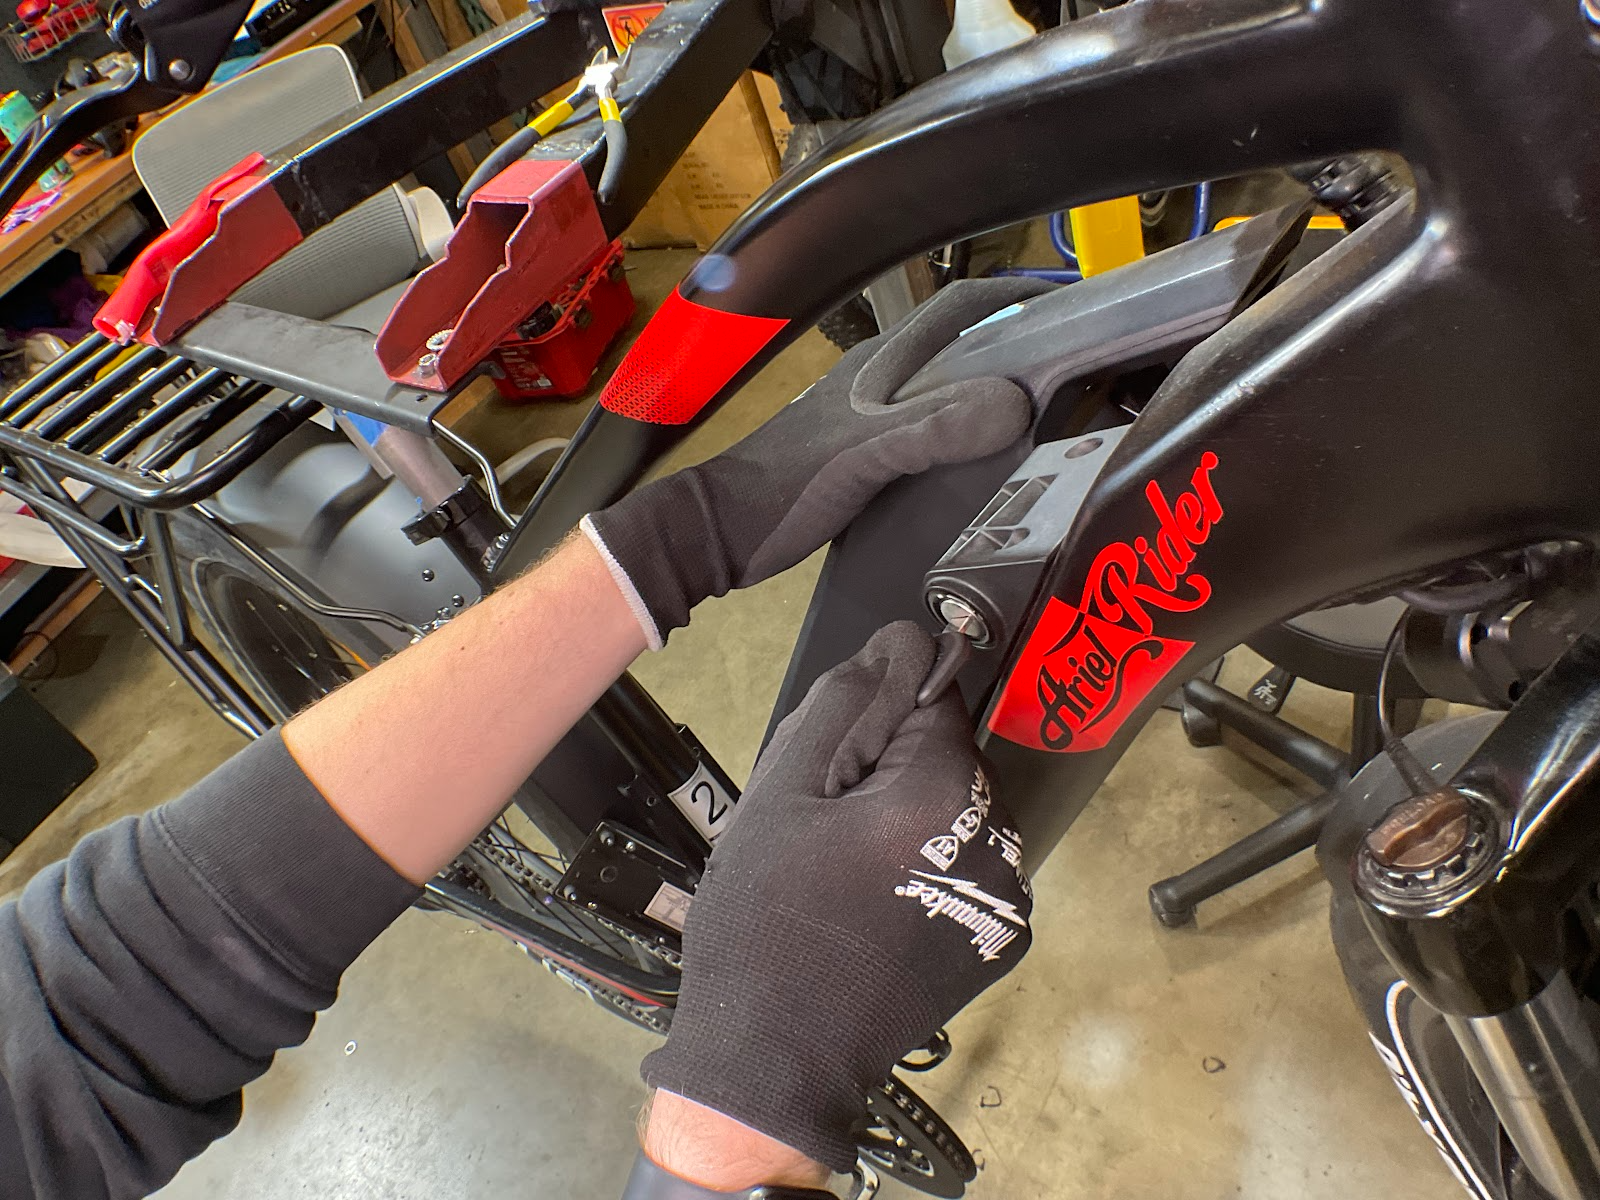
Step 2: Power cycle the bike by holding the power button down. This will drain any remaining voltage from within the system.
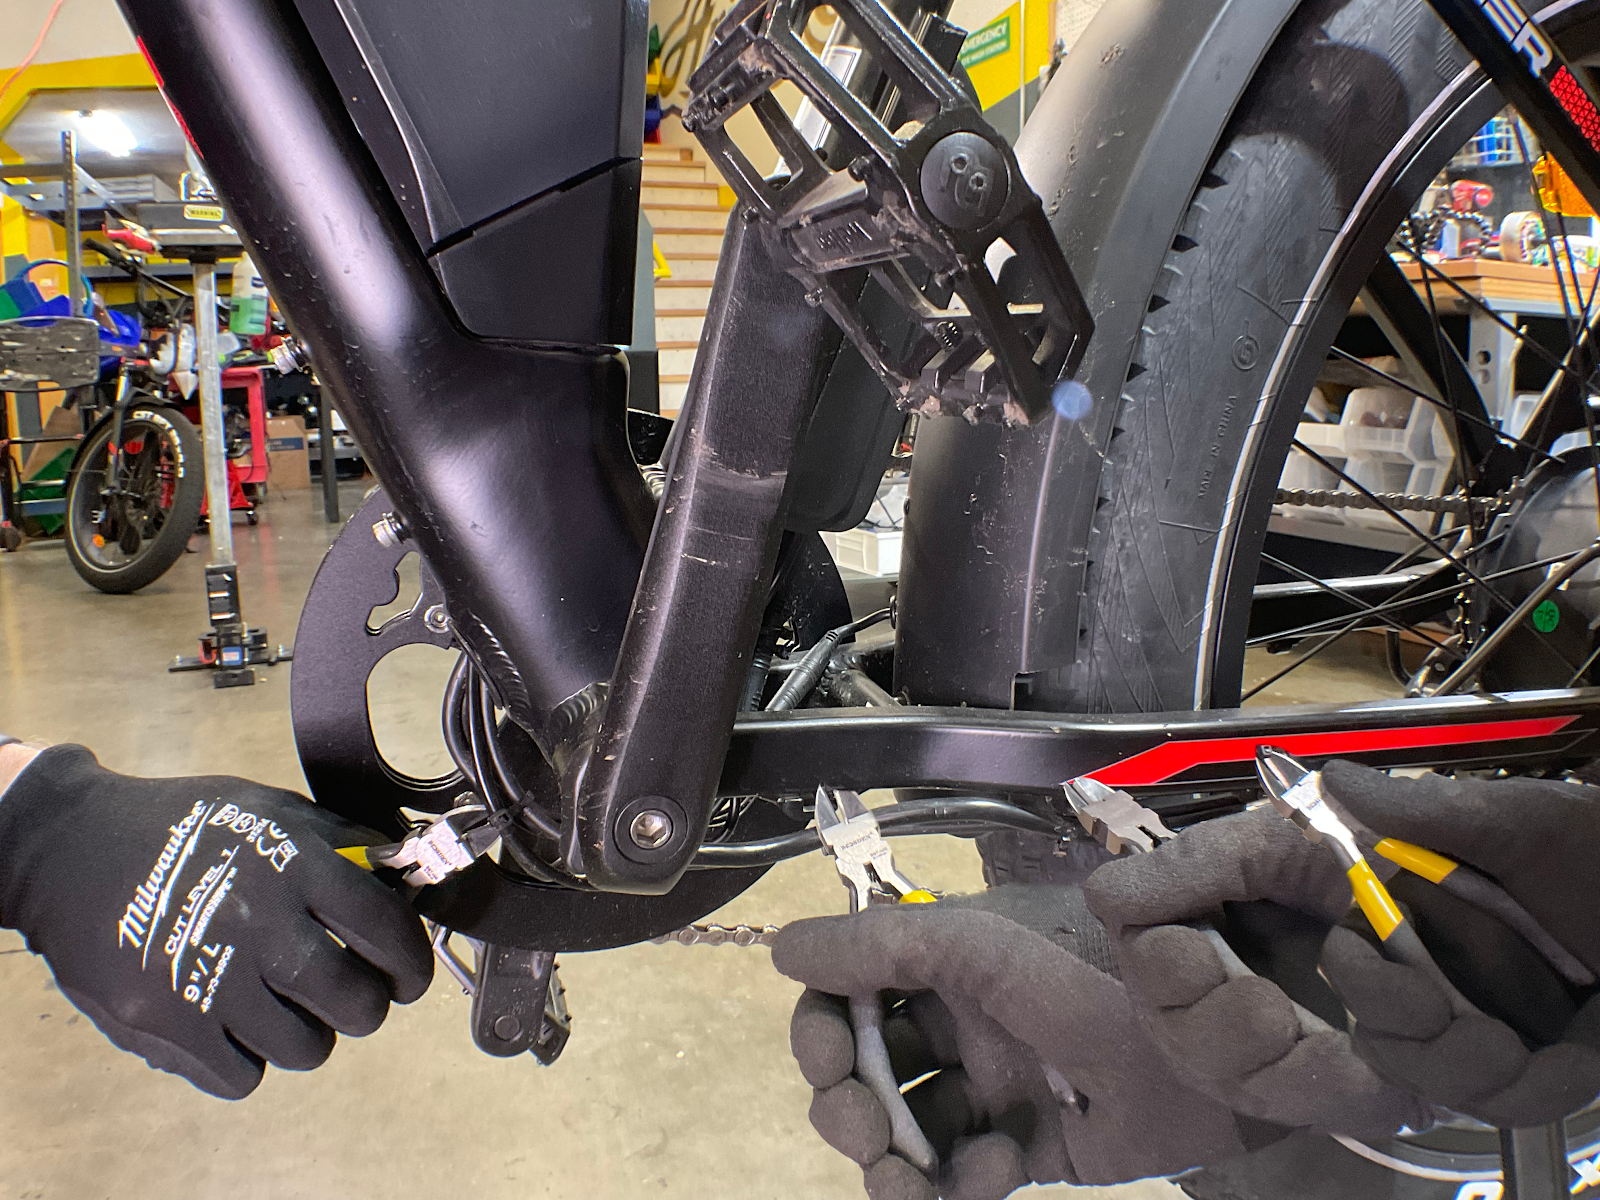
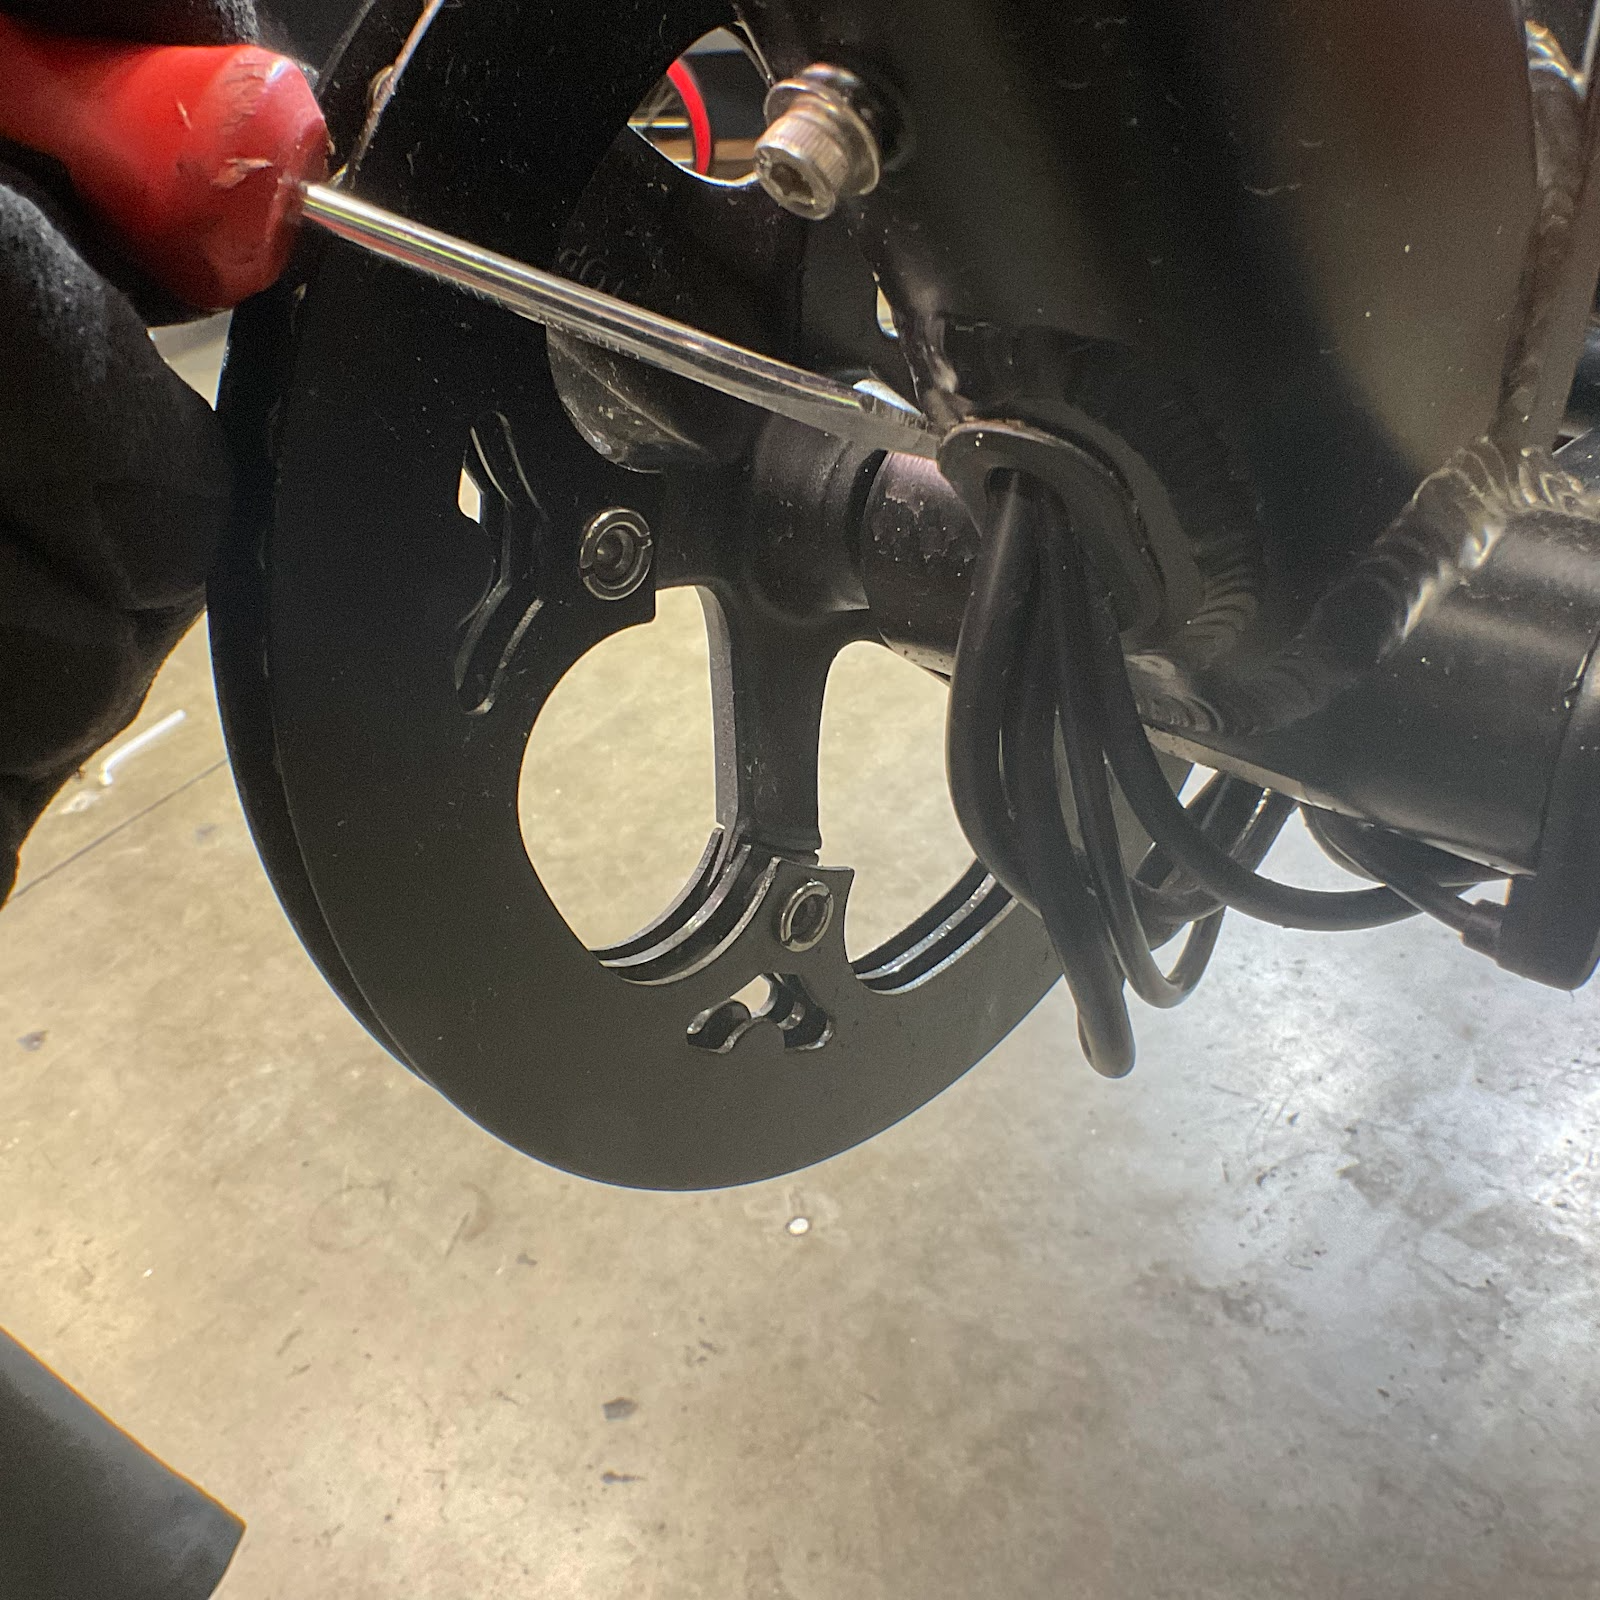
Step 3: Clip all Zip Ties.
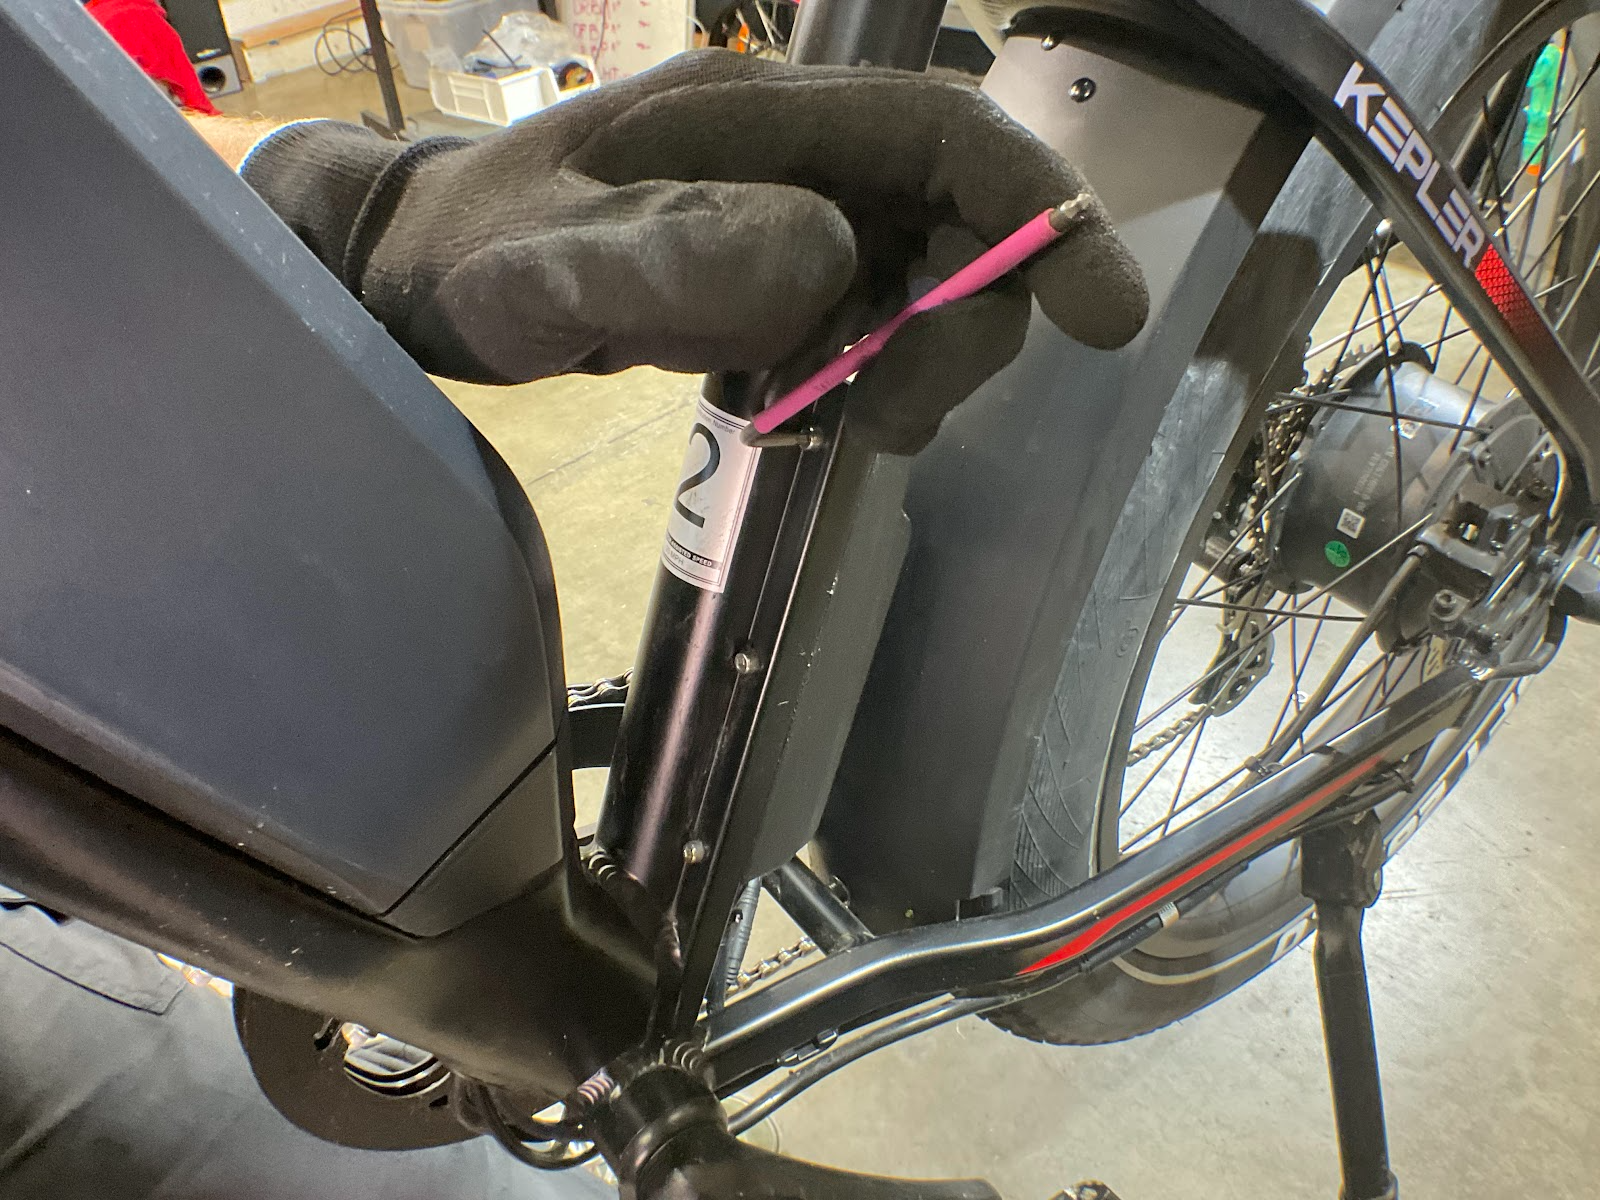
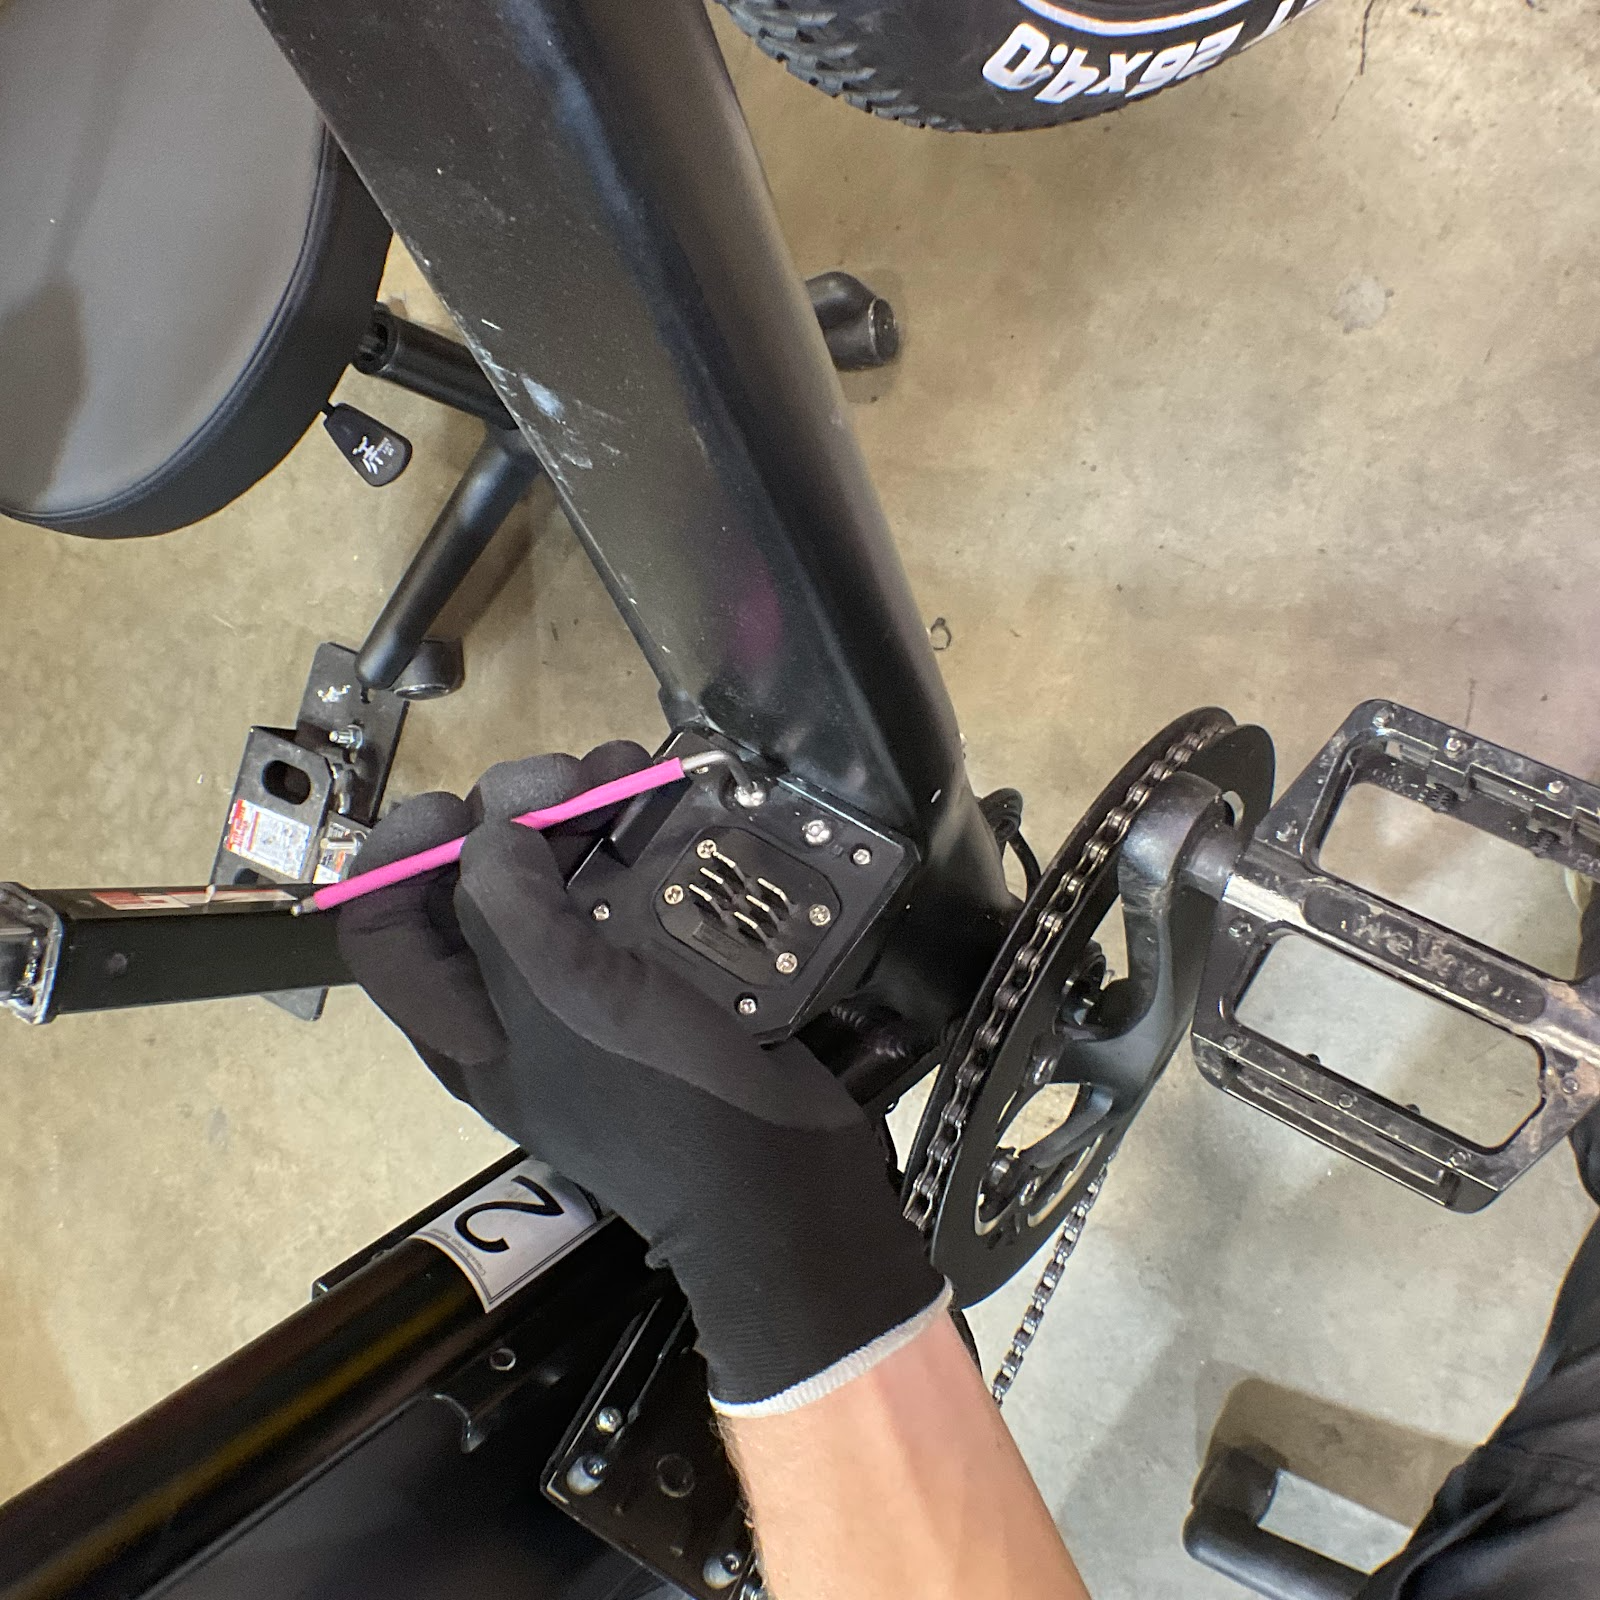
Step 4: Remove Controller mount bolts (X6) with a 3mm Allen wrench.
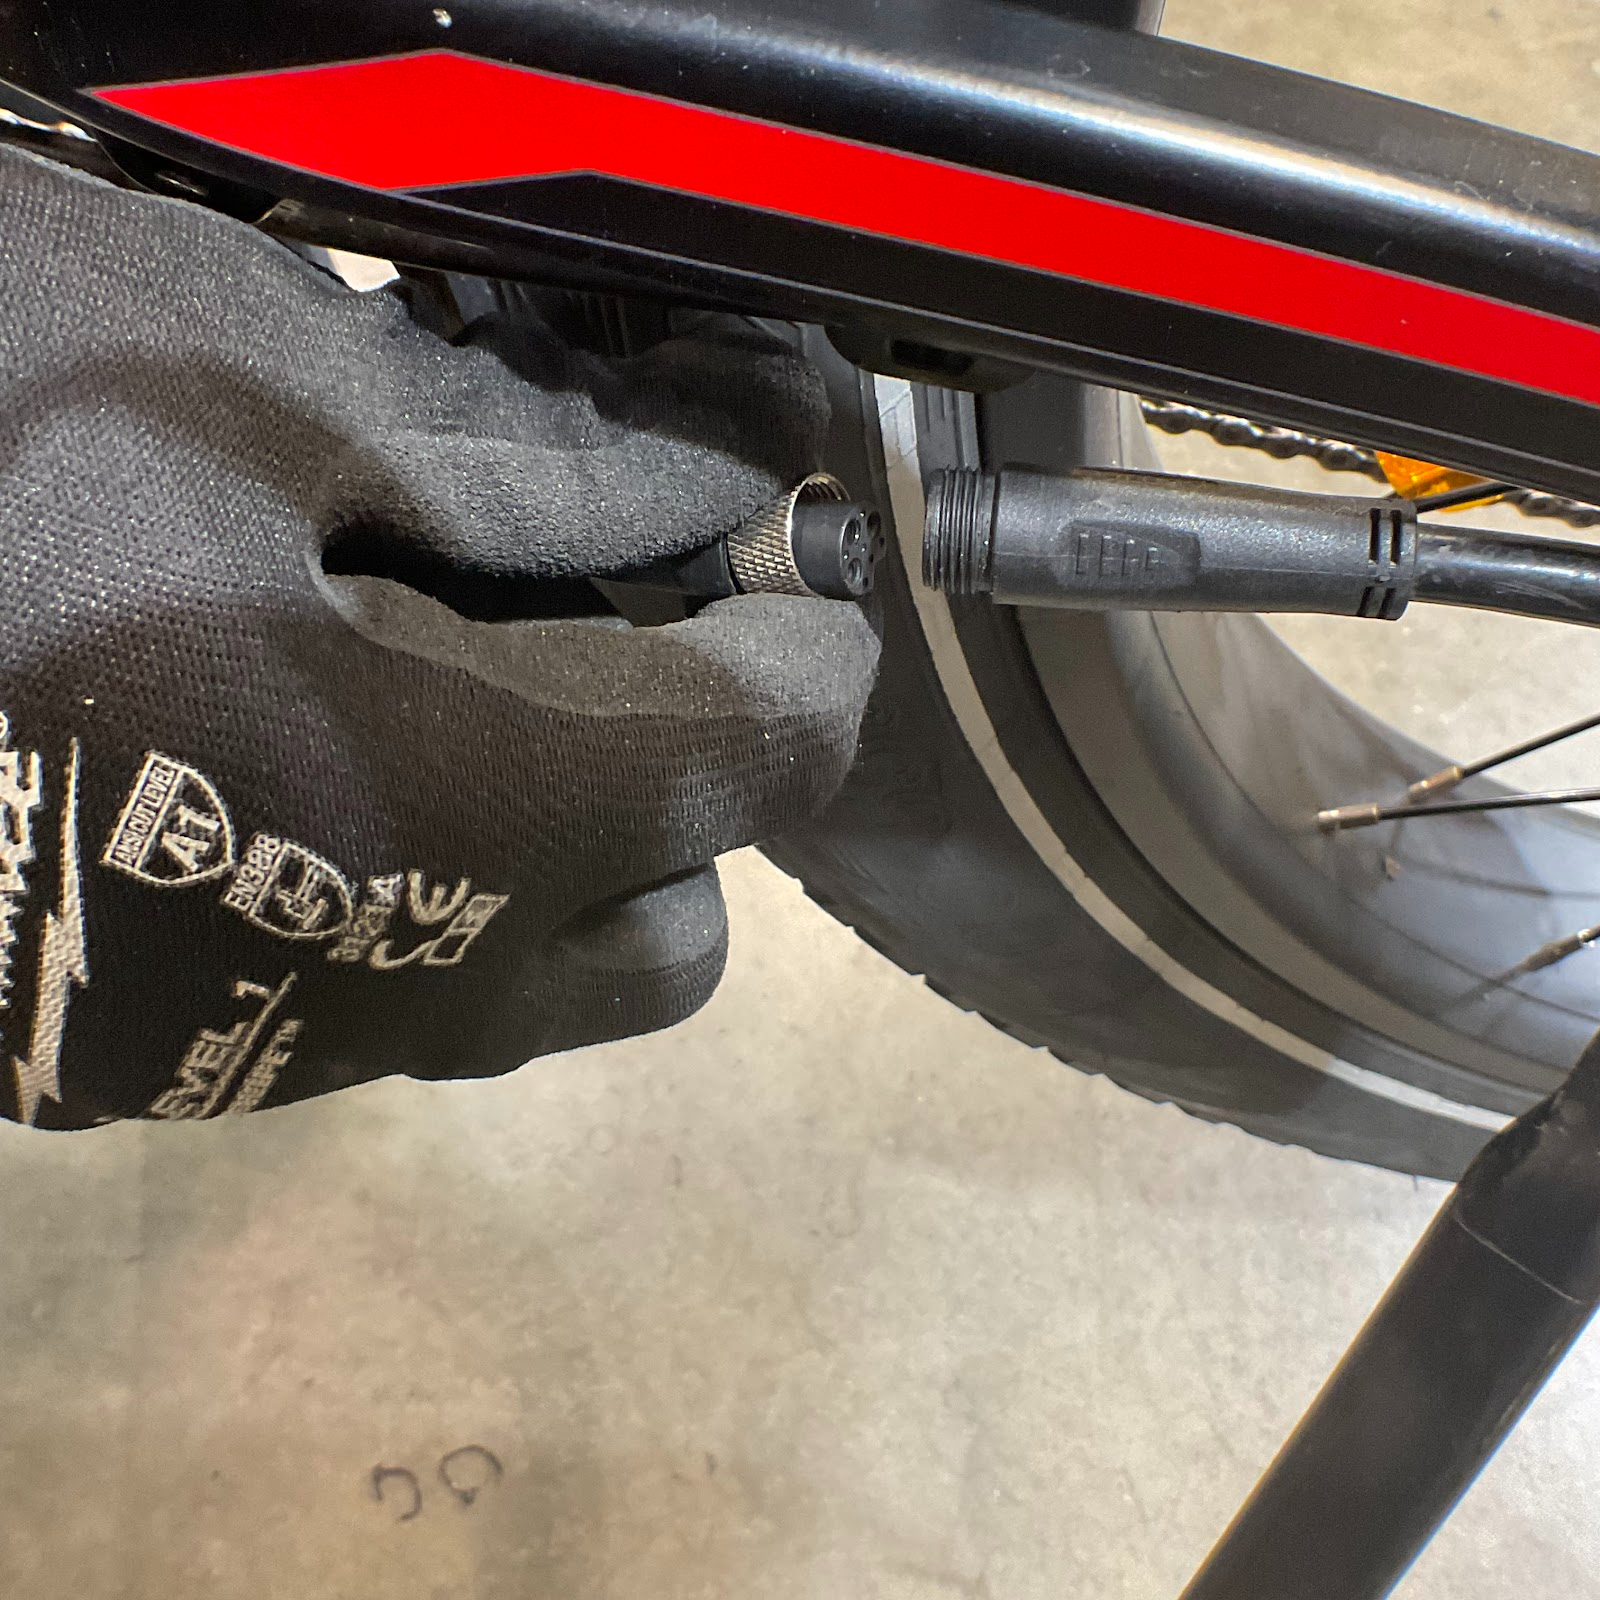
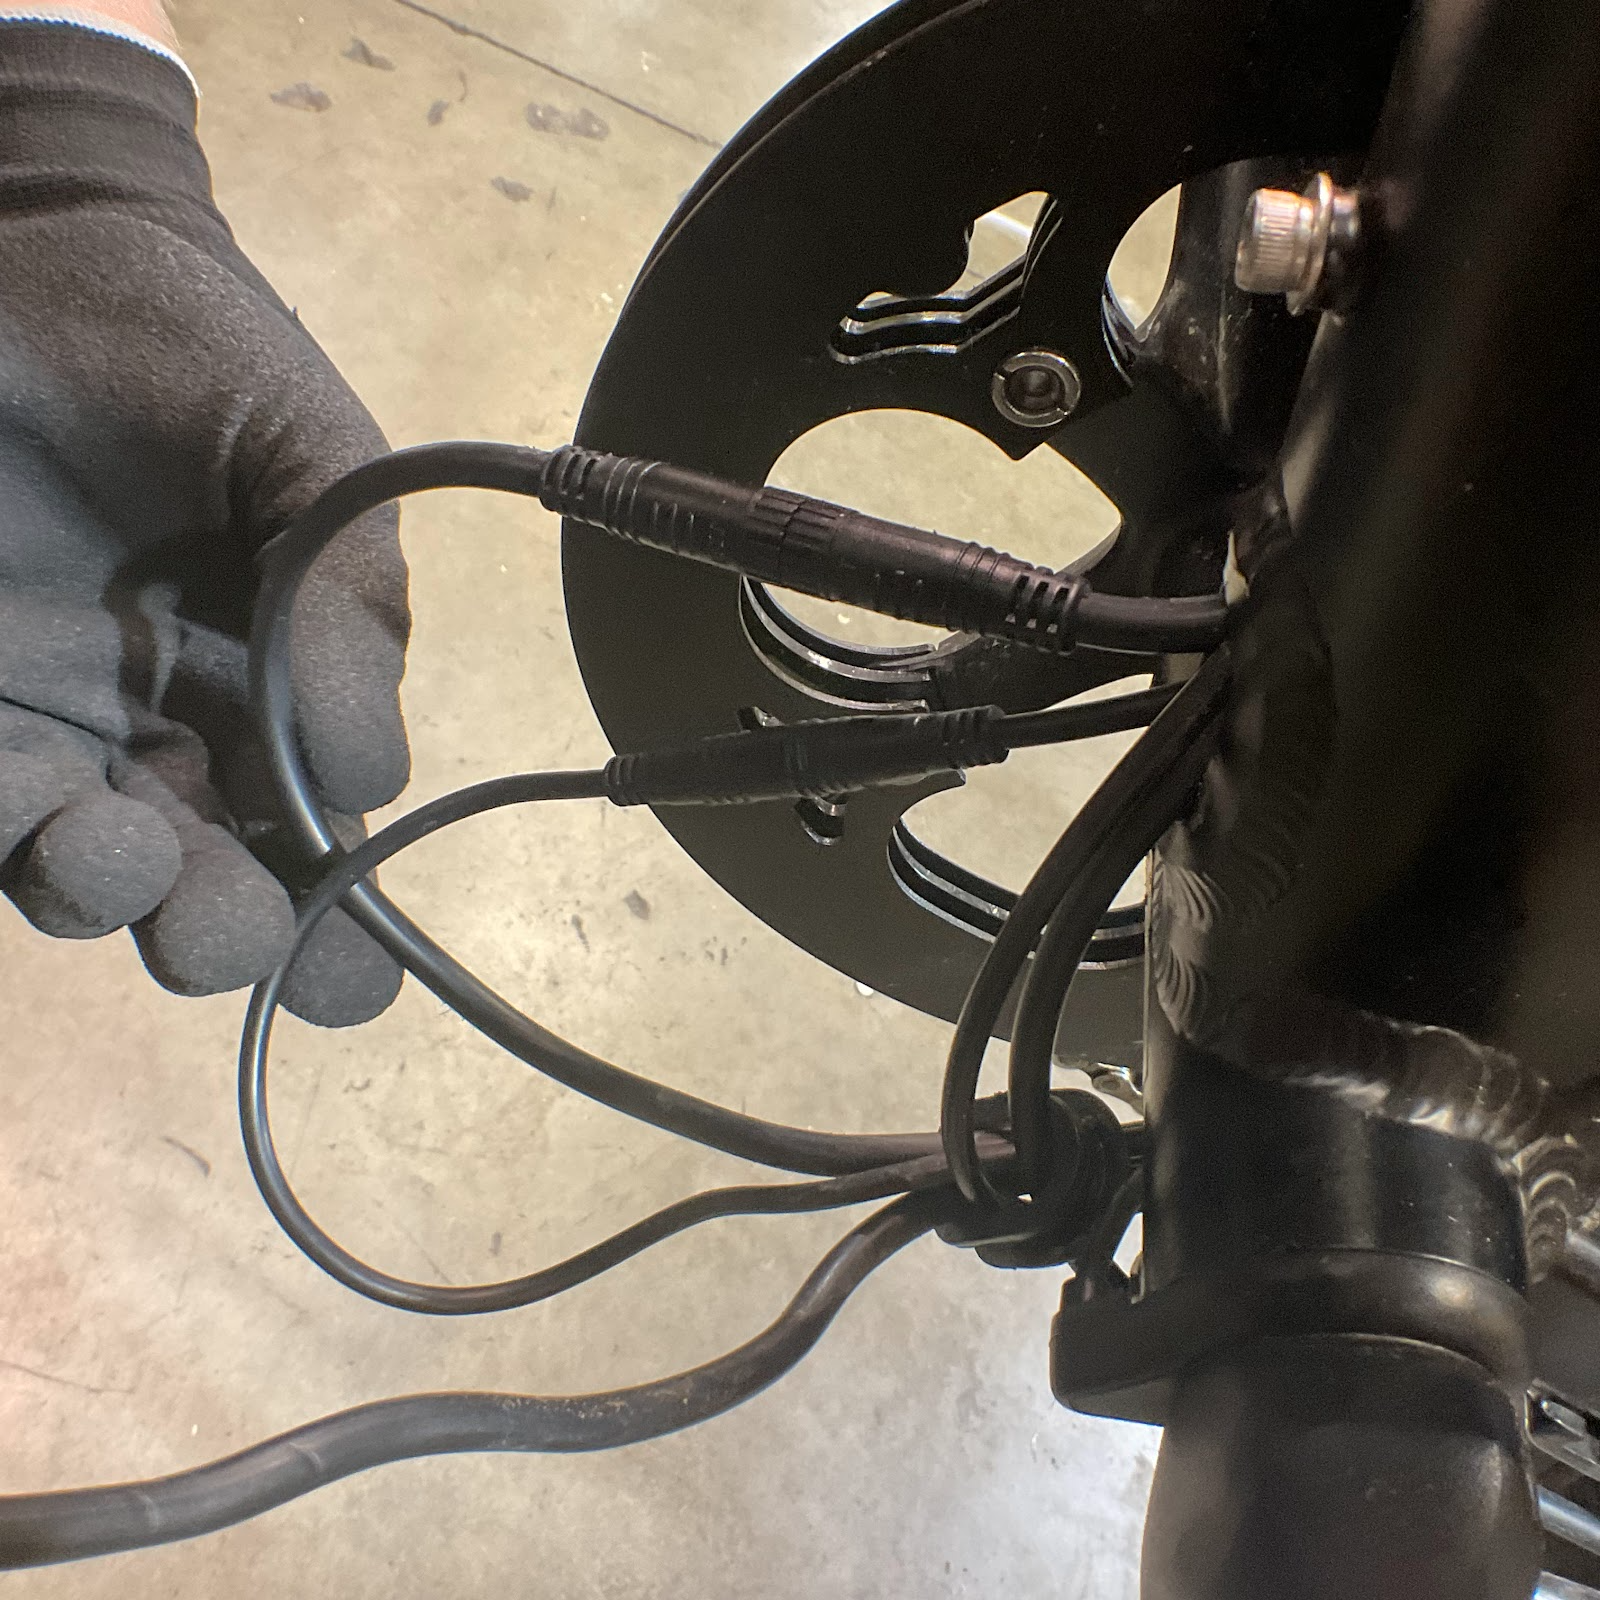
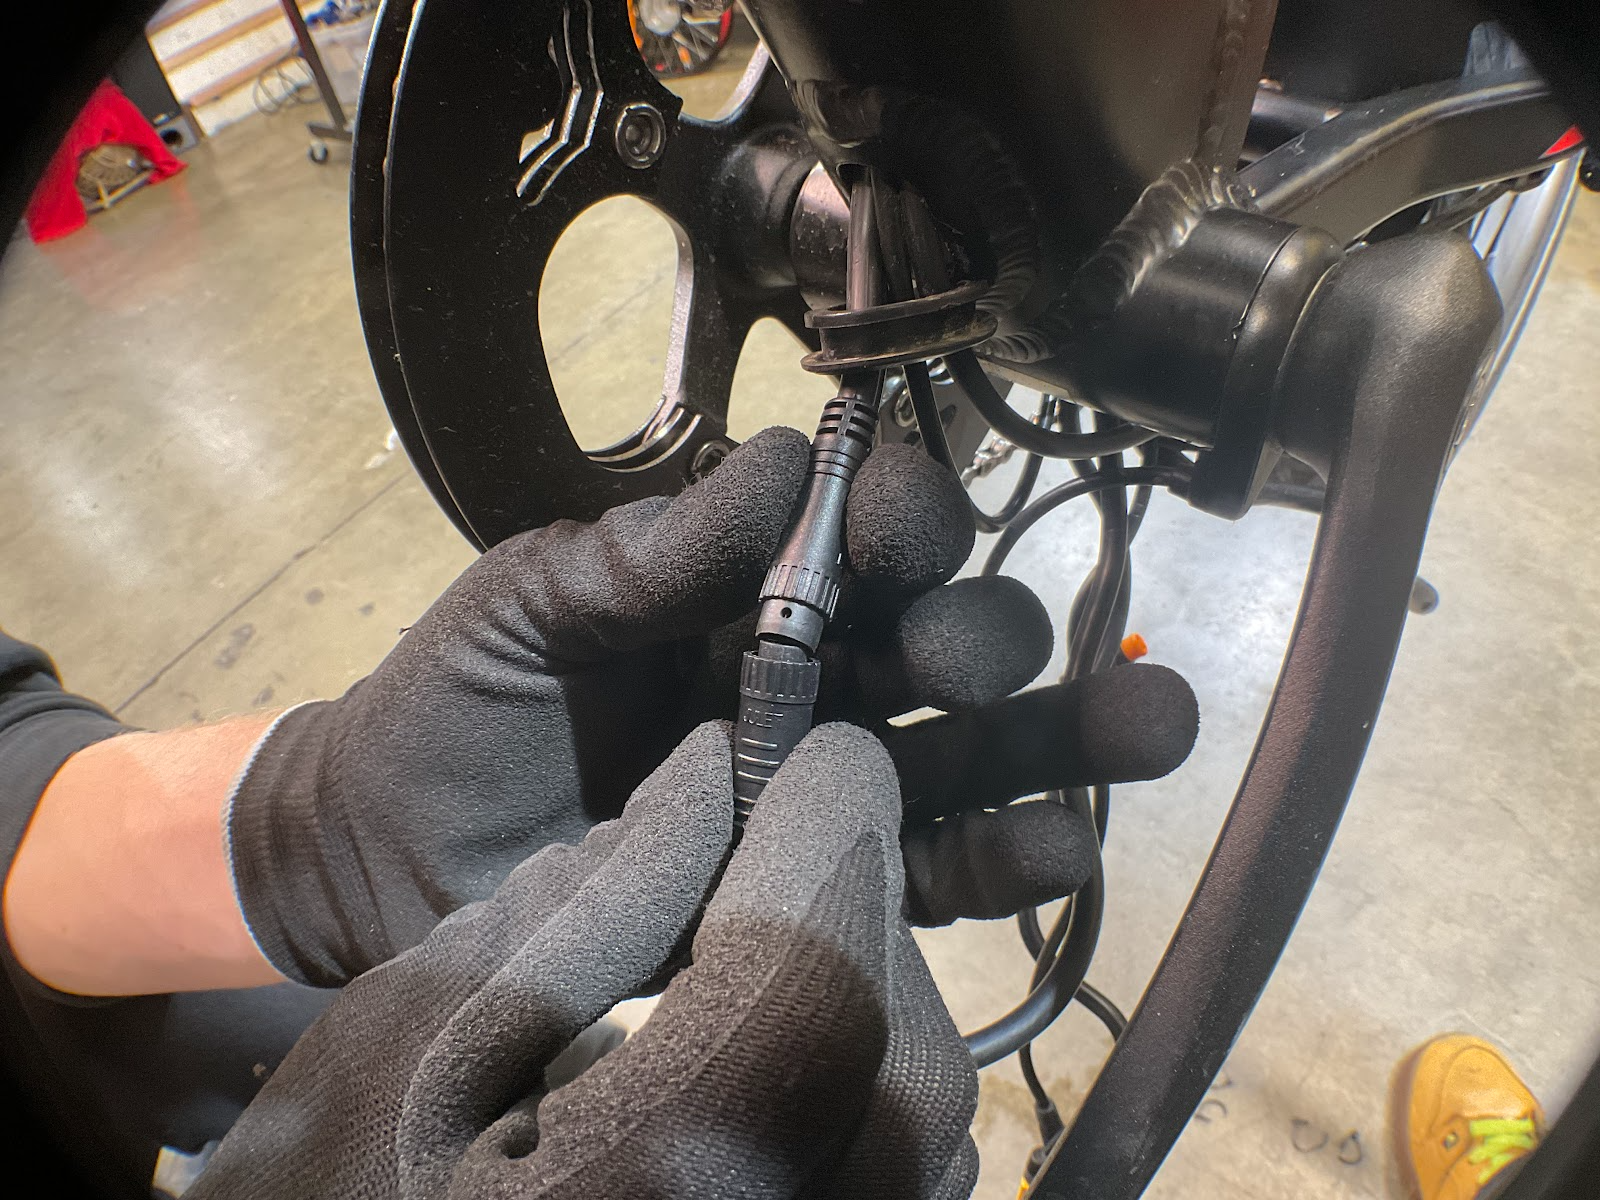
Step 5: Disconnect the Controller to Motor Connection. You will need to unscrew the metal ring on the cable connector before removing the controller. This is located on the left side of the swing arm near the kickstand.
Step 6: Remove the rubber grommet from the frame. Use Pliers and/or flat head screwdriver.
Step 7: Remove Battery Tray bolts (X2) with a 3mm Allen wrench and disconnect the yellow power connection. Doing so will provide better visibility and maneuverability of connections within the frame of the bike.
Step 8: Pull out the main cable harness and disconnect the remaining connectors.
Step 9: Disconnect all connectors from the malfunctioned controller and simply plug in all the connectors to the new controller and power the bike up with the display and keypad currently installed. If the replacement has shown to function properly, proceed by installing the new controller onto your Kepler. If it does not, contact Ariel Rider Tech Support at [email protected]
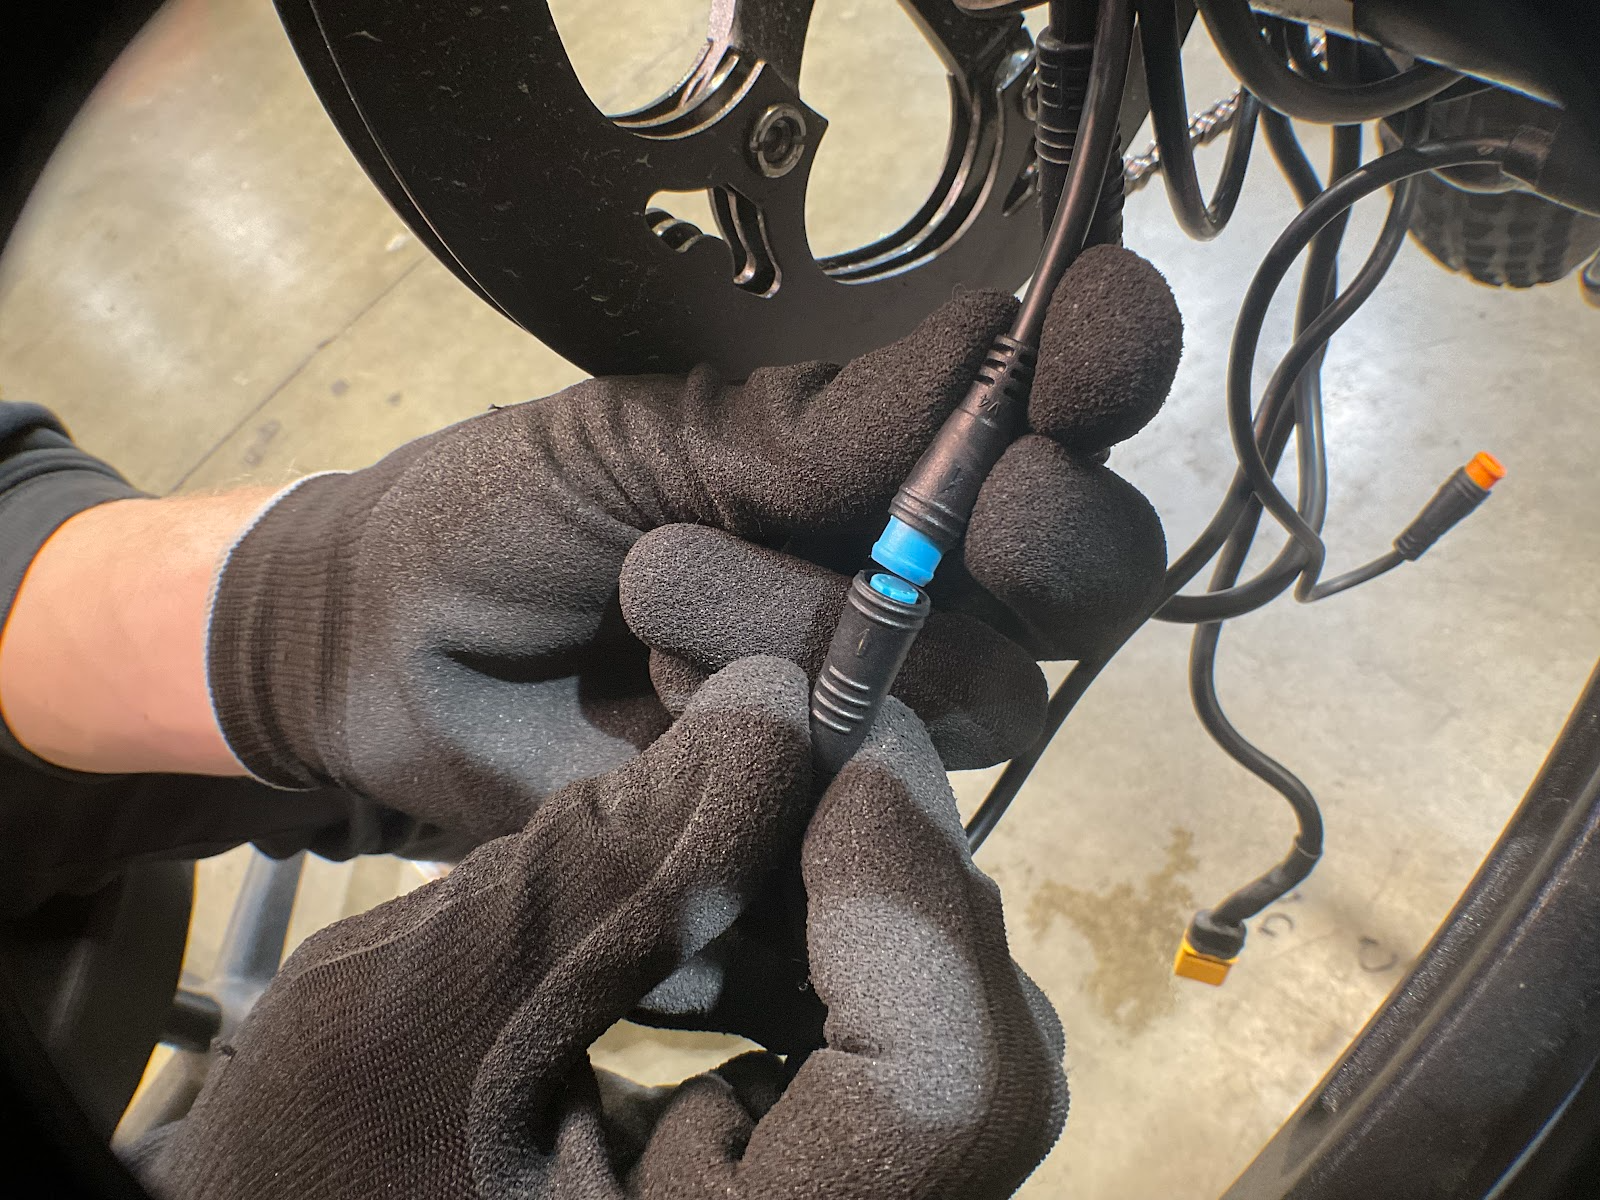
Step 10: Pull out the main cable assembly connector (black 10-pin Julet) and turn signal/headlight switch connector (4-pin HIGO blue) from the frame.
To replace or reinstall, repeat these steps in the opposite order.
If you are unable to do these steps, for any reason, please do not hesitate to reach out to your local bike shop for assistance.
If you have additional questions, or need any further assistance, please don't hesitate to reach out to use through our contact form, available here.