Kepler 52V 1.0 - Pre 2026: Controller Pre-CheckUpdated 11 days ago
Kepler controller Pre-check
Prior to installing your new controller please test the functionality by going through the Controller Pre-Check instructions below. Once complete, you can proceed to installation.
Whenever performing any maintenance or service, always dissipate controller's energy, (DCE) by:
1. Remove the battery.
2. Hold the power button on the display keypad for 5 to 10 seconds.
Step 1:
Remove your old controller. Additionally Remove Battery Tray bolts (X2) with a 3mm Allen wrench and disconnect the yellow power connection. Doing so will provide better visibility and maneuverability of connections within the frame of the bike.

Step 2:
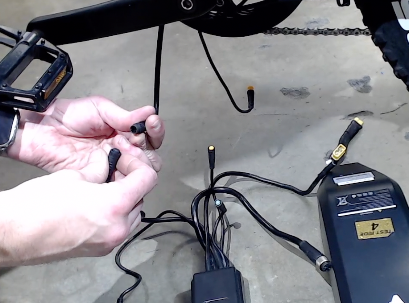
Plug in only the main cable assembly (10 pin connector) and XT60 yellow battery connector to the controller. Do not connect the motor cable connector.

Step 3:
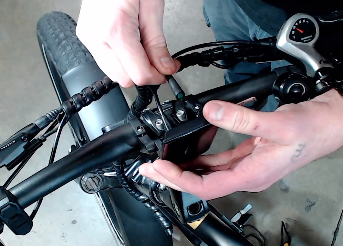
Plug in only the display to the main cable assembly. This is a green circular connector and purple square connector.
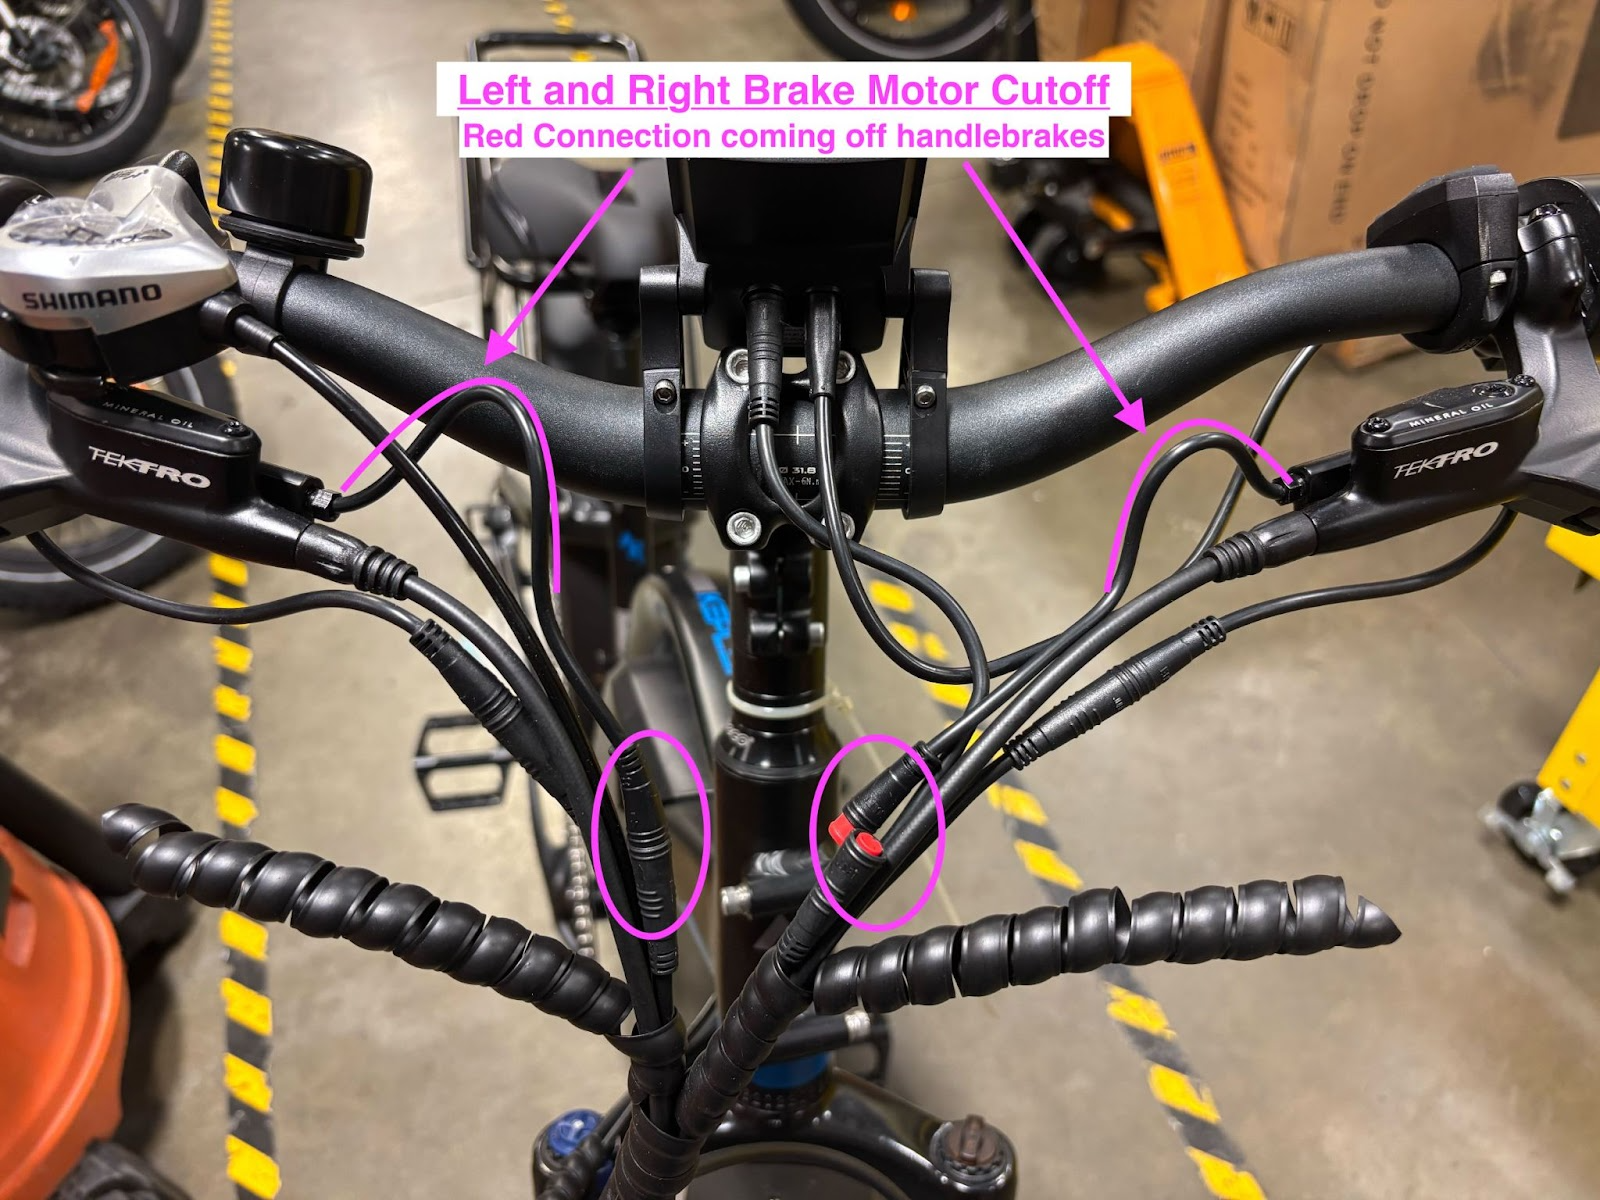
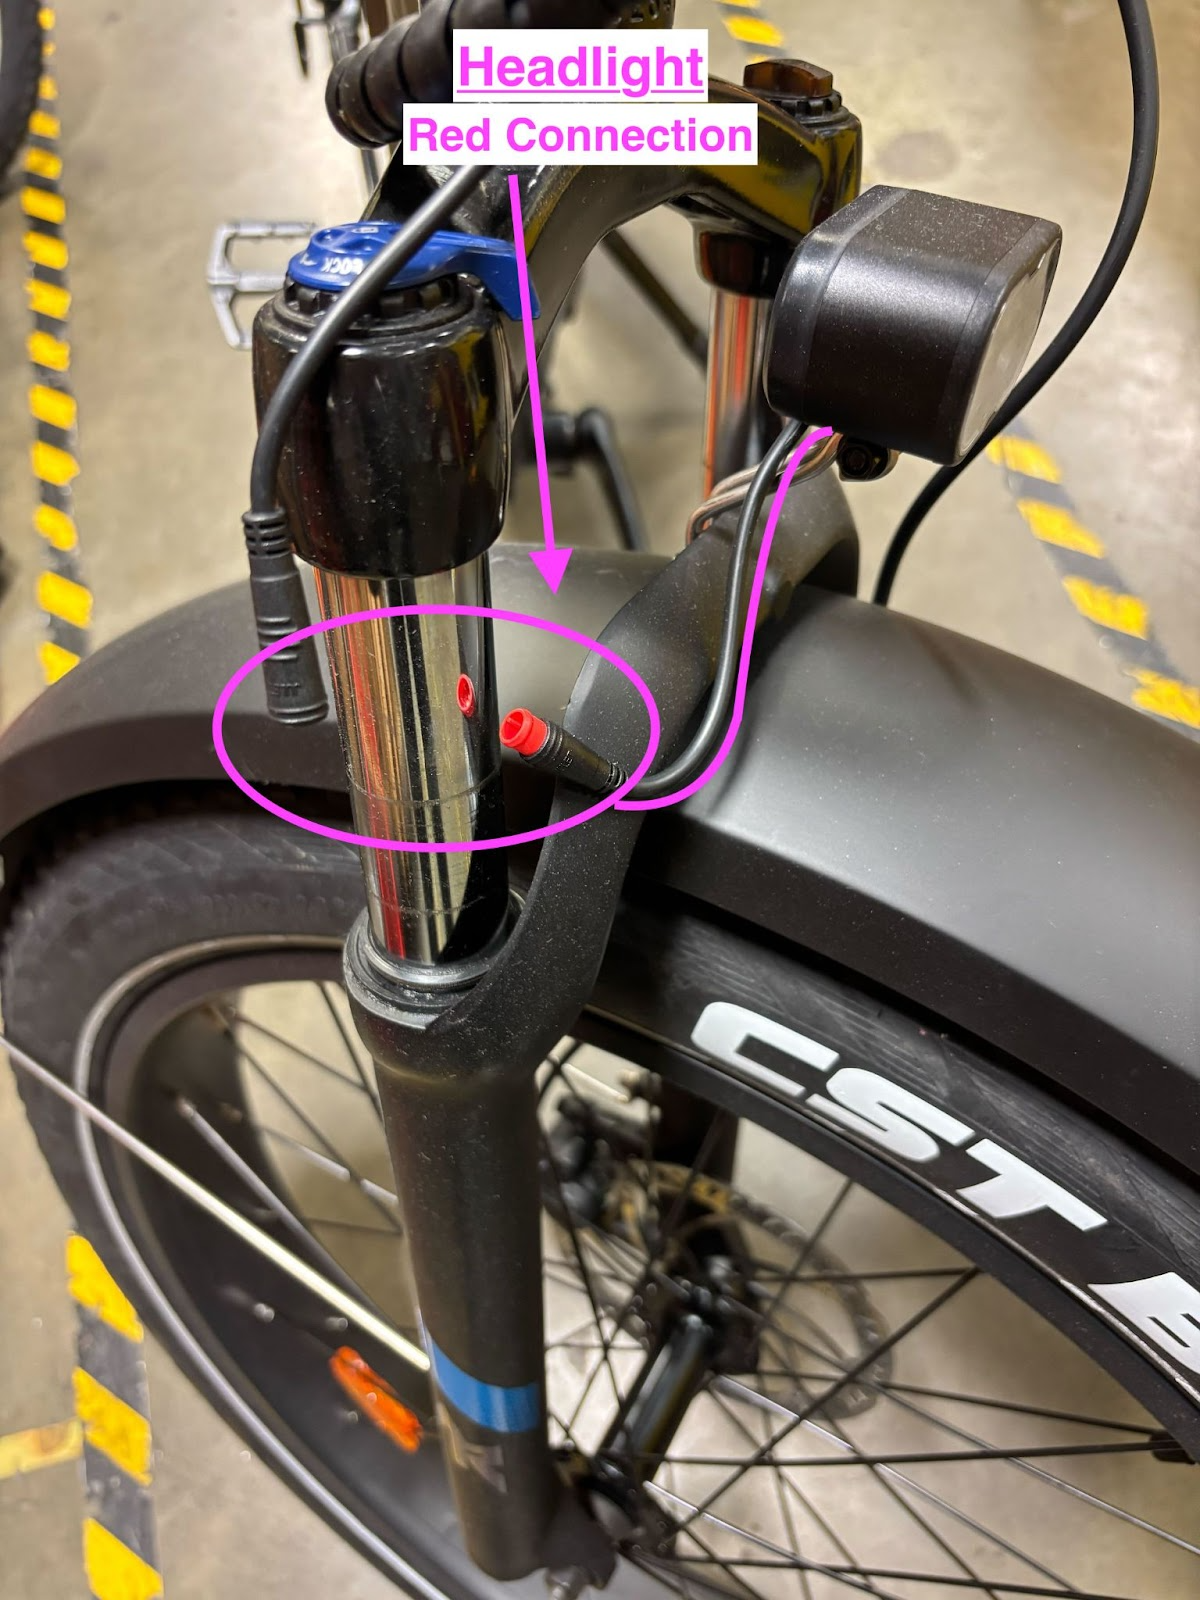
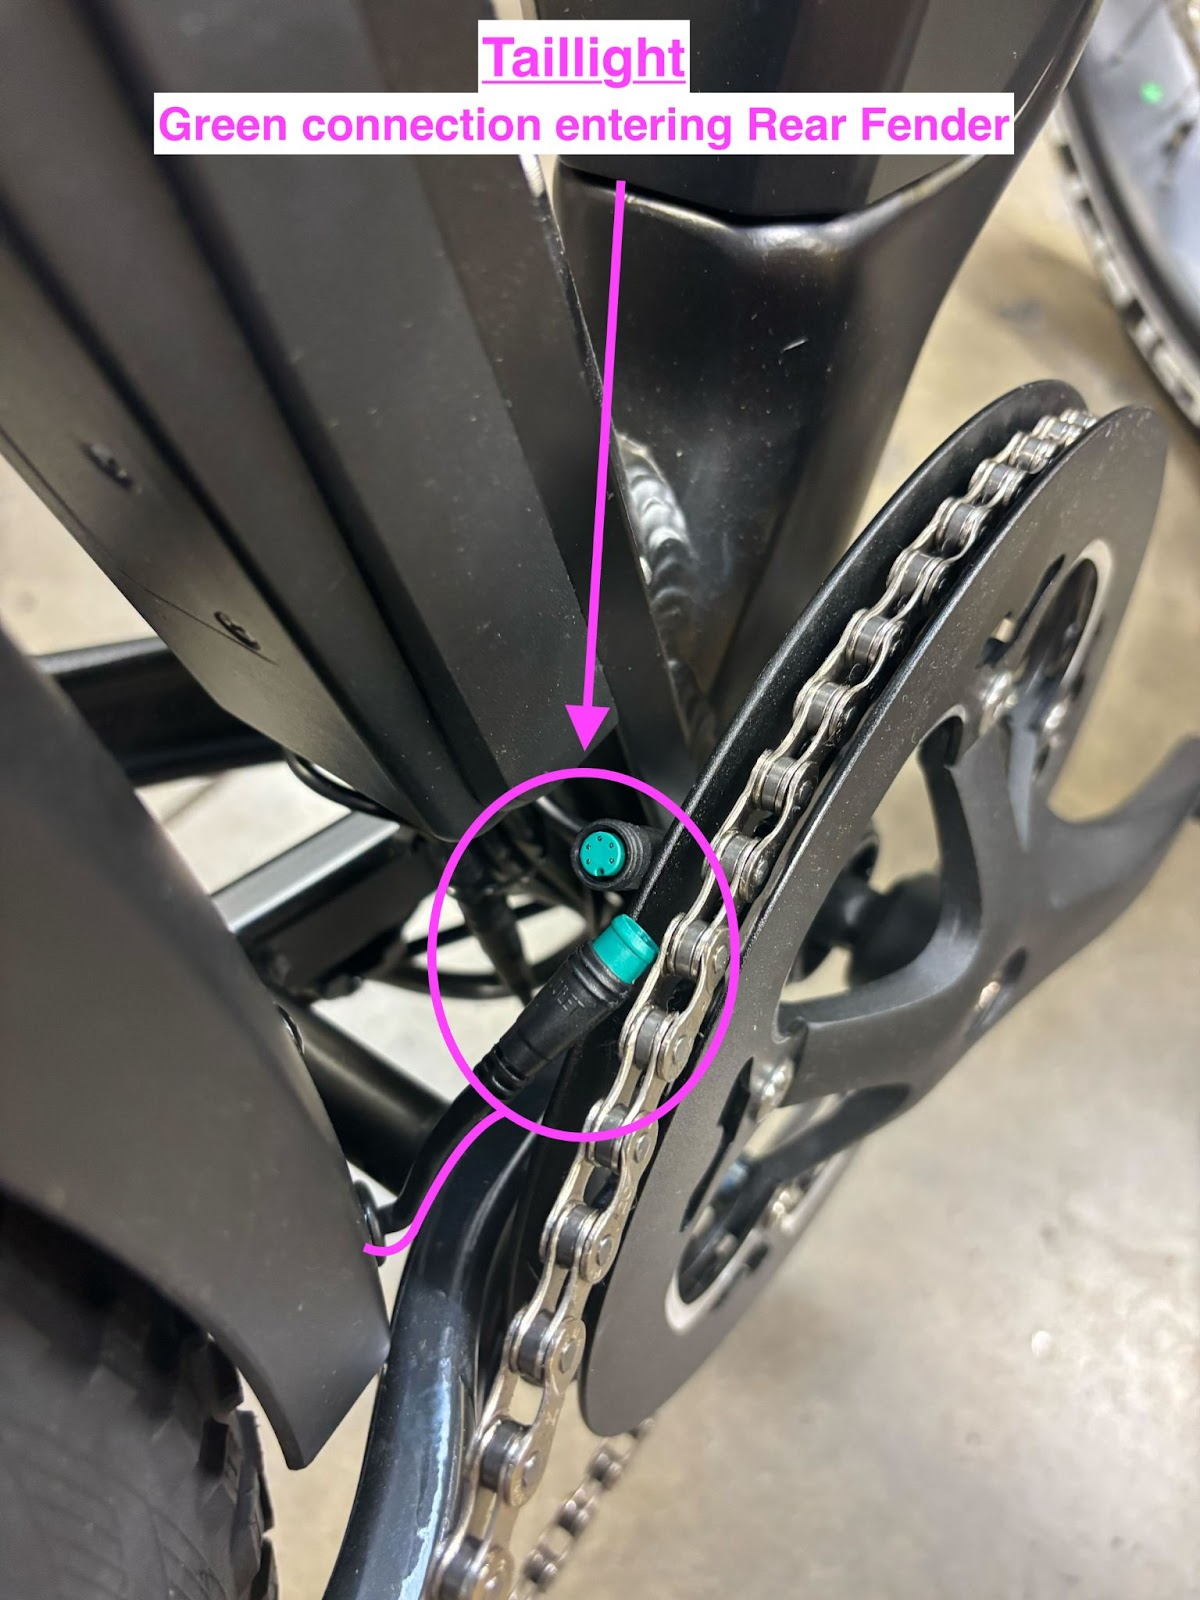
This means the brake motor cutoff connections (red), throttle (orange), turn signal/headlight switch (blue), headlight (red), tail light (green), cadence sensor (orange) and controller to motor cable should all be disconnected.


Step 4:
With the battery in the bike, power up the bike by holding the power button on the display keypad.
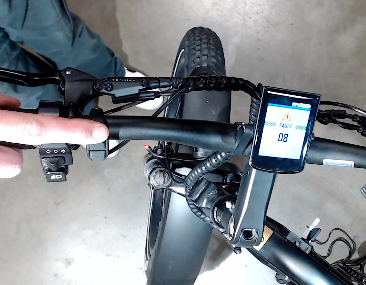
The display should show an 08 error code. If it does not show an error 08 and shows another error code such as error 30, stop this process and immediately contact Ariel Rider through our contact form, here.
Step 5:
Remove or power off the battery. Hold the power button on the display keypad for 5 to 10 seconds. This will dissipate the remaining energy in the bike's electrical system.
Step 6:
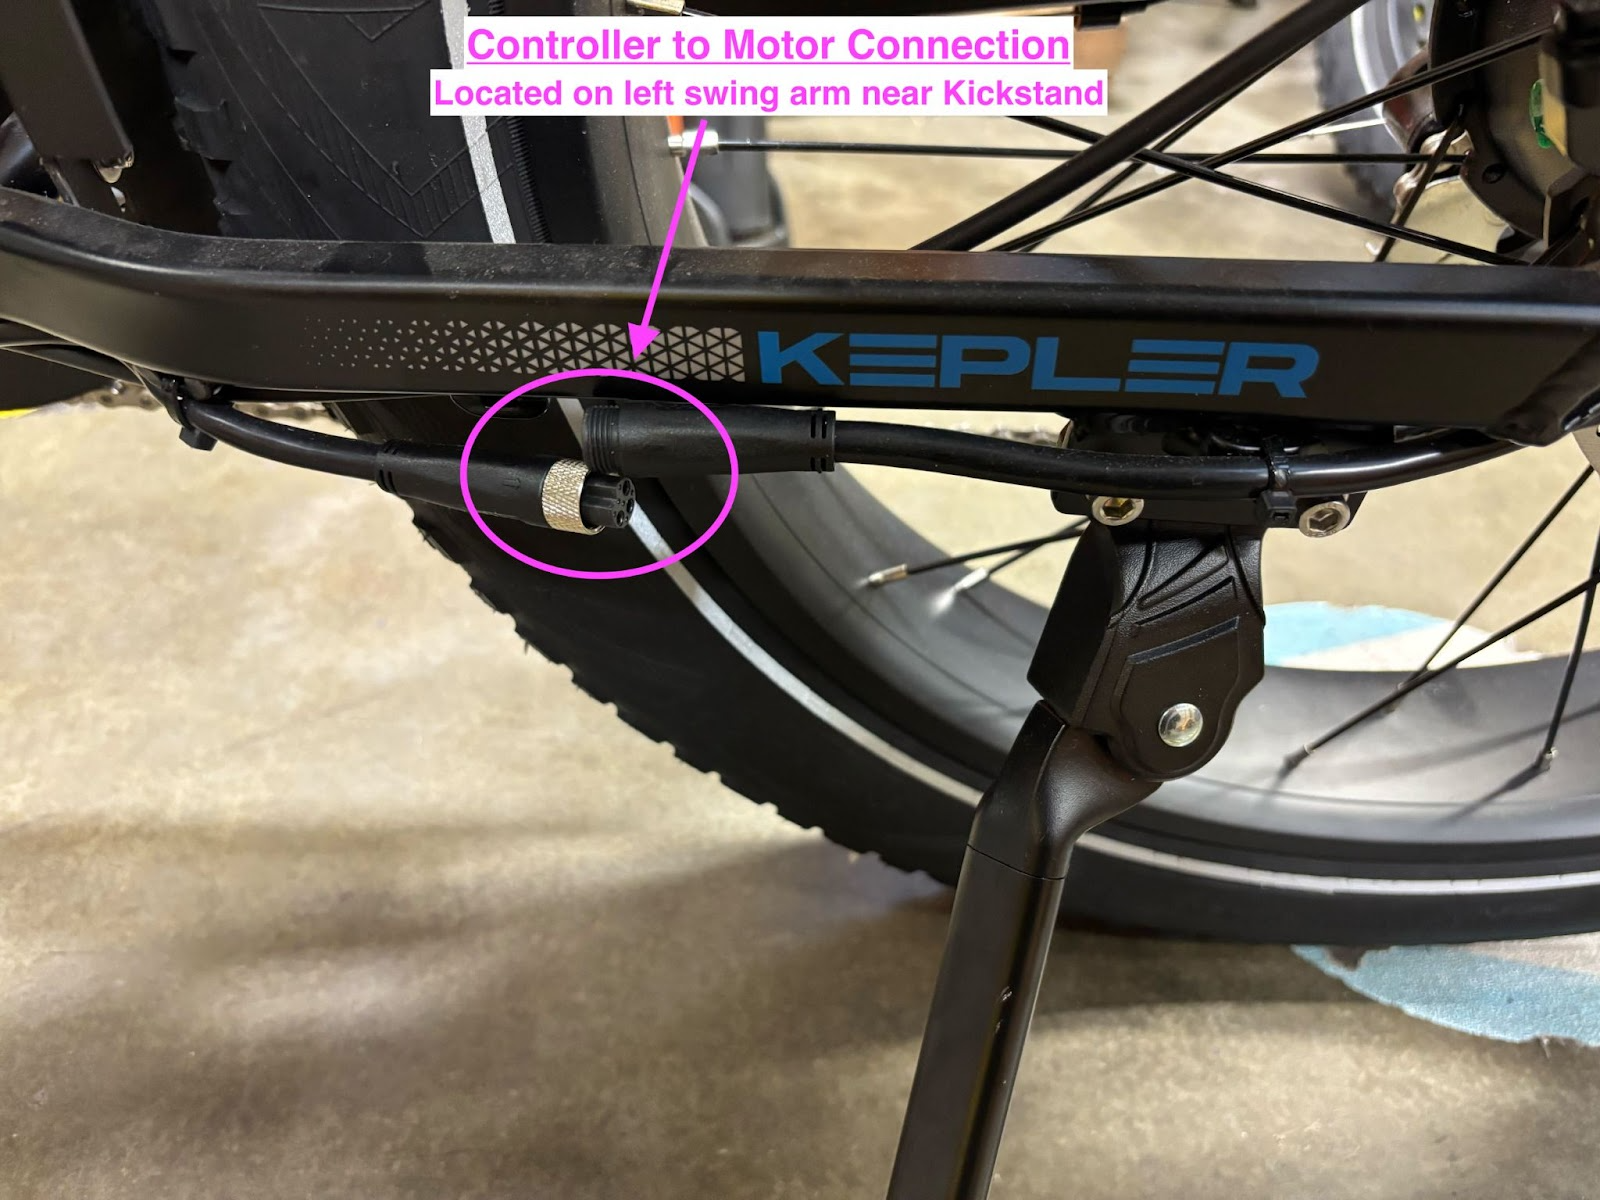
Connect the controller to motor connection.

Step 7:
Power up the bike using the display keypad power button and verify that there are no errors.

Step 8:
Verify that the walk mode is working by holding down the minus button on the display keypad. Please ensure that the motor cable is clear of the brake rotor and crank arms prior to testing. Additionally, please make sure that the rear wheel is off the ground so the bike doesn't roll away from you.
With the kickstand deployed, you can do this by standing on the side of the kickstand and tilting the bike toward you so the rear wheel lifts off the ground.
Step 9:
Power the bike off and remove the battery. Hold the power button on the display keypad for 5 to 10 seconds to dissipate the controller’s energy.

Step 10:
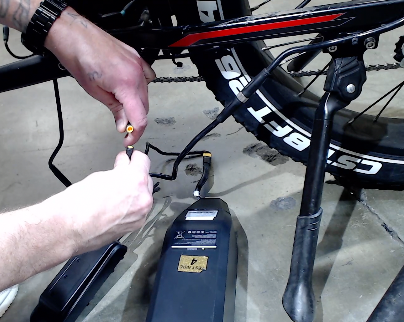
Connect the yellow/orange 3-pin throttle connector and verify that the throttle is working correctly. Make sure that your motor cable is clear of the brake rotor and crank arms before you test.

Dissipate the controller's energy by removing the battery and holding the power button on the display keypad for 5 to 10 seconds.
Step 11:
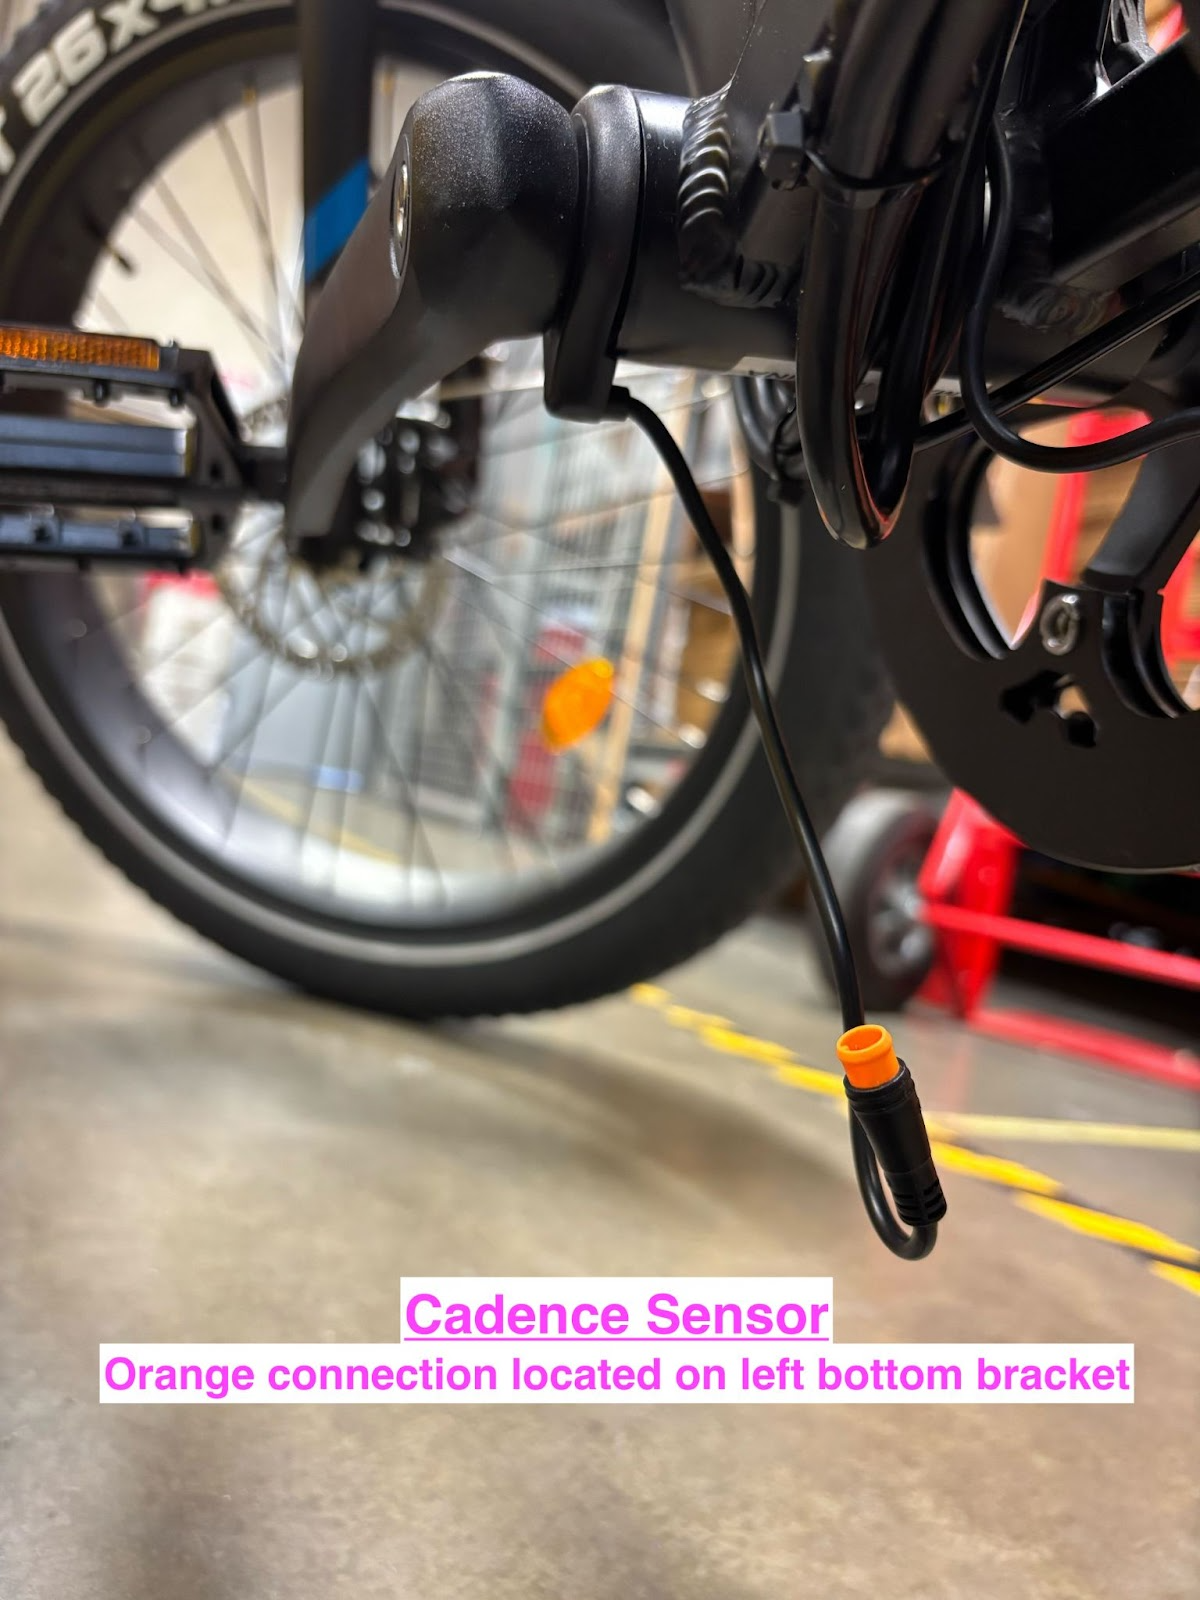
Connect the yellow/orange 3-pin cadence connector sensor down near the bottom bracket. Then, test the functionality of the cadence sensor by powering the bike on and turning the pedals with the rear wheel lifted off the ground.
Make sure that your motor cable is clear of the brake rotor and crank arms before you test.
Step 12:
Dissipate the controller's energy by removing the battery and holding the power button on the display keypad for 5 to 10 seconds.

You can now complete the installation of your controller. Please reference the article How to Install/Replace the Controller on your Kepler.
Follow these instructions exactly. If you get unexpected results contact Ariel Rider tech support through our contact form.