X-Class 60V: Pre-Support Guidance.Updated 2 months ago
PRIOR TO CONTACTING AN ARIEL RIDER TECH SUPPORT AGENT, COMPLETE THESE STEPS TO GATHER VITAL INFORMATION REGARDING YOUR VEHICLE'S OPERATIONAL STATUS.
Below are the instructions for this pre-support you can follow along with this video while you work through this troubleshooting guide.
TOOLS NEEDED:
- Wire cutters
- 4mm Hex Wrench
- Zip Ties
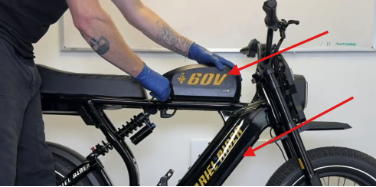
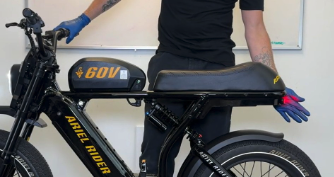
First, remove all the batteries.
To check the voltage level, turn the battery on.
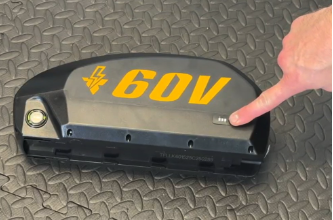
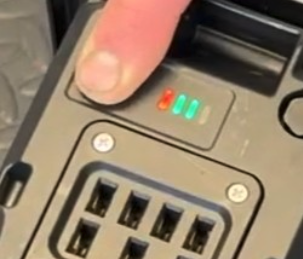
Simply press the button on the battery power level indicator by holding it down for 10 seconds. Now you can check the power level by holding the button momentarily. d
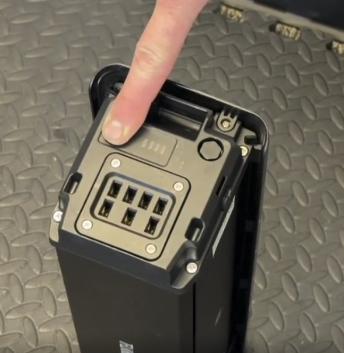
You must turn the battery off before returning it to your bike by simply holding it down for 10 seconds.
The battery will prompt you when it is off because the power level indicator will cease to illuminate.
Insert all batteries if they are adequately charged for testing your electrical system.

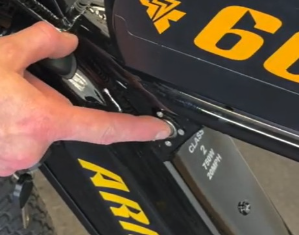
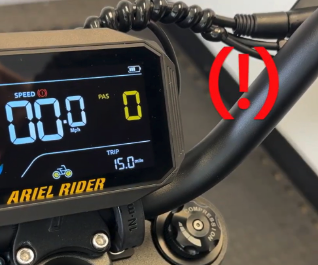
Power the bike up by pressing the frame power button
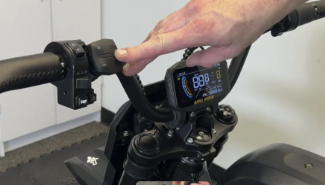
and then the keypad power button
If you have seen any error codes,
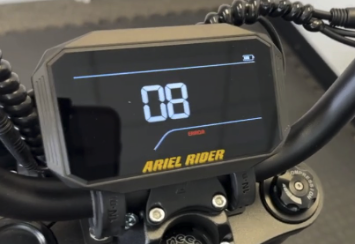
turn your bike off, remove the batteries, and contact Ariel Rider technical support.
Check all controls are functioning correctly.
Does the headlight and taillight illuminate when activated by the button?
Do the turn signals illuminate when switched on?
Does the brake switch indicator stay off until you pull the brake lever?
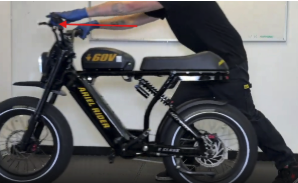
Stand next to your bike while holding the minus button down to activate walk mode.
Power your bike down by pressing the in-frame battery button

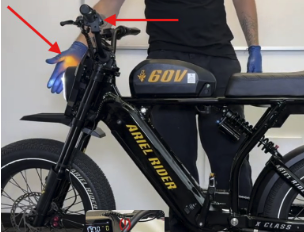
Check that all connectors in the cockpit and behind the fairing are seated and there is no visible damage to the cables.
For the next step, it may be easier if you can flip your bike upside down in a clear, safe area and with plenty of space around you.
Hold your brake levers tight and walk backwards, lifting the front wheel off the ground until you can gently place your handlebars on the ground.

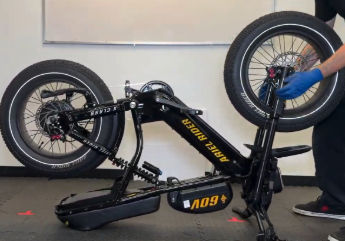
Get a friend to assist you if necessary.
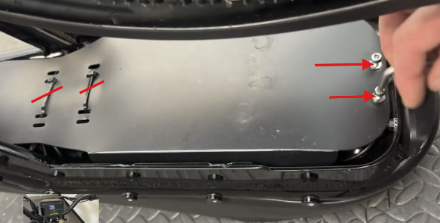
Take the plastic cover off from under the seat with a 4mm hex wrench and by cutting all the zip ties holding it in place.
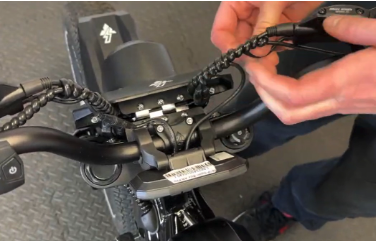
Check that all connectors under the seat are well connected and there is no visible damage to the cables.
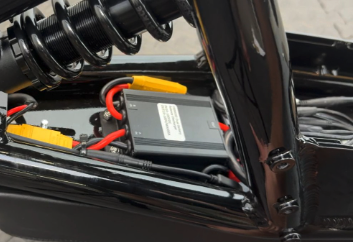
Make sure both battery leads XT90 connectors are well connected to the battery balancer, and the balancer is connected to the controller without any damage to the connectors or cables.
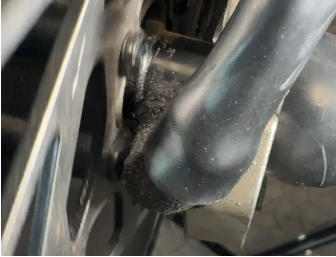
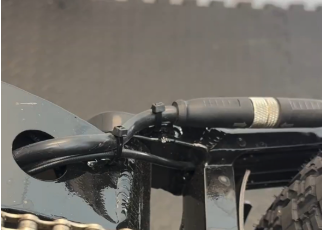
Make sure your motor-to-controller cable is not damaged, paying close attention to where it exits the axle and passes by the rotor. Make sure all the zip ties are still in place.
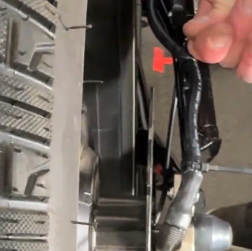
Also, check where the motor cable comes out of the bike frame near the bottom bracket. Also, make sure all the zip ties are still in place.
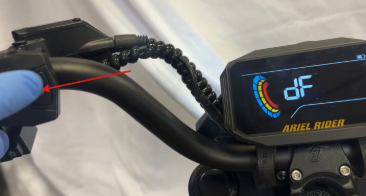
Reset your display settings by double-tapping the power button on the keypad.
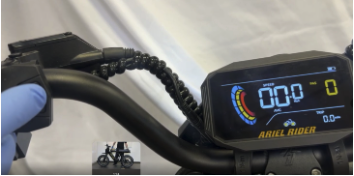
Then scroll through the menu with the plus until you reach the "DF" menu.
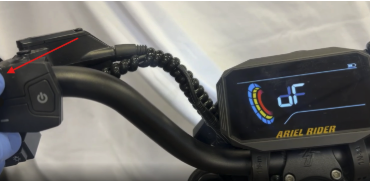
Tap the power once to open the "DF" menu.
Scroll to the "Y" option and tap the power button one more time.
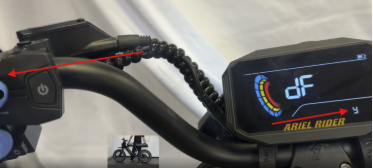
Now the display will reboot to complete the default setting reset.

If you have seen any error codes or issues with your bike, turn it off, remove the batteries, and contact Ariel Rider technical support through our contact form here.